Motorized Bicycle Carburetor pictures how to install and rebuild

norman, i rebuilt my carb a few days ago, and moved the E-clip on the 3rd notch from the top. it runs smoother, but im still flooding the cylinder with gas. i did adjust the float, but i need a measurement. any ideas?
 
adjusting the float, with the float chamber off and with the carb upside down the float is level setting on the brass tangs. Measurement should be about 5mm or 7/32" from the raised edge of the carbs body(there is a small raised edge all around the carbs housing) you will have to hold the float level and shoot for this measurement. Something else I do is place the float in the chamber so the floats seam it at the top with the carb right side up when reassembling it.
Norman
 
I have the throttle cable installed on the sliding cylinder exactly as pictured, however when installed in the actual carburetor it does not move at all. any suggestions? maybe a picture of how to properly install?
 
Thank you Very much norman, I could not figure out what was wrong with my bike, i have now realized the needle spring is not at that second placement, but most likly at the bottom, running very rich.

this was causing my bike to have a top speed of 30kmh. and horrible gas mileage.

I have exacly the same problem. I have to check it in my engine. I can ride max 32 km/h,
and 26km ride dunk out around half of gas tank :[ :-||
 
Ya know I've never owned anything that had a carb with a "tickler". So, is it just a way to prime the engine by depressing the float to allow more gasoline into the carb ? It seems like it would create a condition like slightly flooding the engine a bit so you have a rich start condition.

When I was a kid there were some older guys with Cushmans and "Mustangs"
that I would see reach down and hit a "prime" two or three times before kicking
the starter. I once watched this guy who had recently purchased one of these old bikes and was kicking himself numb. I'm with my mom and at like five years of age point out to that part of the carb (as I'd seen these other guys press on it a few times) and the guy looks at me dumbfounded. So he does it and kicks the starter and it starts. He pulled out looking at me in shock.

So.....is this tickler a primer or what ?

A lot of weedeaters and chainsaws have ticklers on them--some lawnmowers do also often they start without it but in cold coditions--ei cold engine--they work well
 
Ya those are some funny pics....Not much on like the pictures my 9 year old draws,but is still very cool....very informative for someone who never took one of these carbs apart before....I have to give you 2 thumbs up for the time and work you put into these pics....
 
Here's a quick question I haven't seen asked...
Since I don't know the name I'm going to call it the "cap" in this post.
Assembly: Cap/Spring/C Washer/Clip & Needle/Slide....
How tight should one tighten the "cap" down after re-assembling the carb?
 
I'll add if you tighten the cap with pliers or too tight it can warp the carbs body enough to stick the slide.
Another thing when you insert the slide into the body there is a slot the length of the slide. Same slot that you install the throttle cable into.
This slot goes in the carb on the opposite side of the idle screw. The slot engages a little guide pin in the carb body. Once you get the guide pin and slot to line up the slide will drop all the way into the carb.
You can check the slide for being completely in by looking into the carbs throat with the air filter off.
 
Last edited:
Re: Carb pictures how to

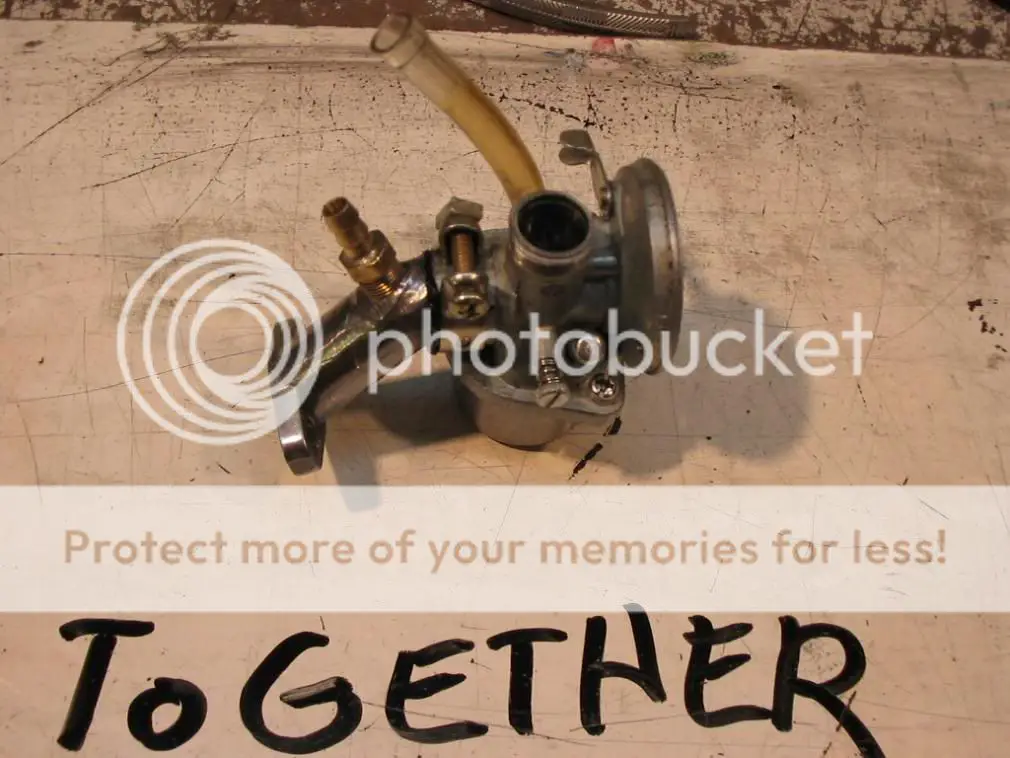
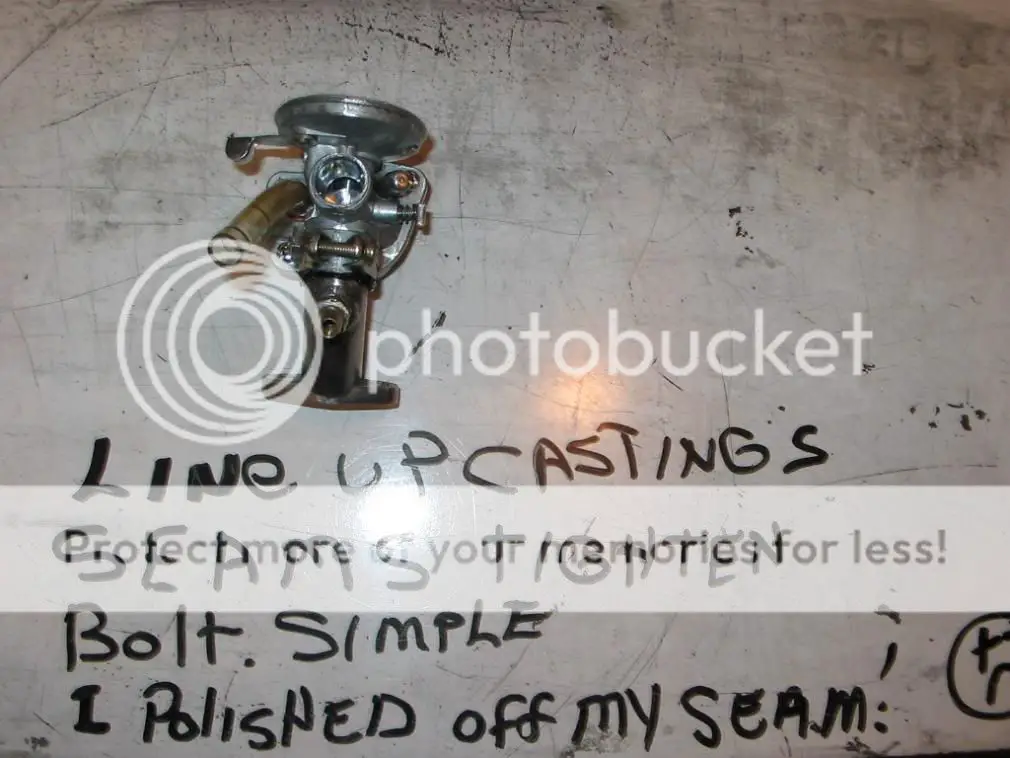
push it together. you can do this on the bike if you got the room sometime you will have to remove the aircleaner to mount the carb on a tight fitting frame. after pushing it together just a little twisting to help spread the silicone and aline up the casting seams on the carb and the manifold tighten the bolt and TADA.( I polished off the seam fooling around with the polishing wheel and never mind the weird fitting its for a boost bottle and I wanted to try one so I made one. I would recommend a tuned pipe money better spent and thats my 2-cents but they don't hurt anything and if you want it to look cool sticker and all go for it. I did find the engine will idle at a much lower setting on the idle screw and the thing seems to run smoother but top end nada.
I realy don't think it's worth the money for a boost bottle and besides you end up with a holed manifold so now I will need to make a steel one someday. I make offset intake manifolds on special order for $30.00 shipping is $5.00 if you want to make your own I can sell you the machined part that goes into the carb its a little short stub of machined steel for $10.00 if you can't find one or don't have the tools to make one. PM me and I can knock you out one even an off set one


carbpict018.jpg


carbpict019.jpg

norman i am sorry if this sounds dumb. I keep trying to figure out what that brass fitting like piece coming out of your intake manifold? Is it like a mod to help the carb run better?
 
I was doing boost bottle testing at the time. I found that they are a waste of time.
The only thing they boost is the money out of your pocket into the sellers pocket.
Which didn't happen to me as I made all of mine even an adjustable one. Now the sellers will say I didn't do it right and didn't get a good test. I say Bull$hit!!! If you want to spend money on your bike
buy an expansion chamber forget the stupid sticker that says boost. The pipe really works the sticker with the bottle is a wanta be thing in my book.
 
Norm,
Thanks for the great instruction. I started having a problem with my idle. The engine will not idle and die or it will rev extremely high. Some people here on the forum pointed me to an air leak. I took the carb off the manifold and did not see an O-ring. I did smell some burning rubber before my problems happened. I used some high temp silicone as you suggested but am waiting for it to dry. Can the missing o-ring that I did not know existed until I read your instructions be the source of my problem?
Sparks
 
I know you don't recommend using an o-ring. You use the high temp silicone as shown in the pictures. I am saying that I did not see an o-ring or any type of seal from my carb to my manifold.
I am wondering if these things usually come with an o-ring and if my o-ring went through the ringer so to speak and that's why my idle is so messed up. I did what you suggested and used the high temp silicone. Sorry about the confusion.
Sparks
 
The kit does not come with an O-ring, or anything to seal the carb & manifold for that matter lol - so no worries, you've not lost anything and yer doin' the right thing w/Norm's advice ;)
 
If your smelling burnt rubber check both main crank seals they may be rubbing either
the magnet rotor on the mag side, or on the clutch side it could be rubbing the small gear.
They can be pushed into the case so they are flush or slightly under flush.
If you find black oily poo leaking from the seals then you will probably want to get some replacement seals soon. Some of the vendors sell them they are not expensive, just a little time consuming to install.
For most engines to get a good idle the throttle slide needle E-clip should be on the #2 notch from the fat end on the needle.
Check your carb and make sure that the main jet and it's attached tube are tight.
What oil mix you running 24 to 1 is a good start. 16 to1 is on the oil rich side they don't run real good at 16 to 1 mix. If your running 16 to 1 go ahead and run it. On the next batch of fuel go to 24 to 1 see if it helps.
 
Last edited:
I noticed after I had a few float bowl over flow issues that the tangs on the float bowl need to be gently curved. All the ones I had were straight and gave me grief until I gave them each a gentle arched curve. So what I had when done was a float that re-centered it self in the bowl and the needle began working perfectly.
 
Back
Top