Tom from Rubicon
Well-Known Member
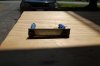
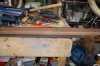
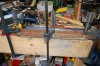
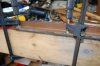
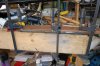
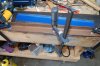
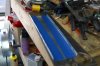
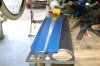
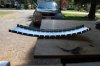
Nice work Steve, I would recommend elongating one idler hole to a slot for future adjustment. Need not be more than 3mm.This is the plate I made for the pedal chain idler. The steel rod is just to take the place of the chain stay. Welded two small pieces of bar to the plate that will sit on top of the chain stay to prevent movement.
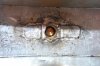
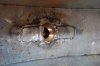
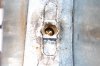
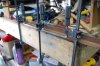
Small U bolts will hold the idler to the chain stay. If one link was removed the chain was too tight so I used two idler pulleys to take up the slack. That way slack is available to adjust the back wheel.
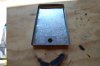
I reversed the bolts that the pulleys ride on for clearance of the wheel. The excess will be cut off.
Steve.
View attachment 101492 View attachment 101493 View attachment 101494 View attachment 101495 View attachment 101496 View attachment 101497 View attachment 101498 View attachment 101499
Tom