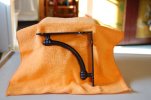
Tom, It was simply desperation. I need it, no one is doing it so I have to. Also fifty years of making fake antique furniture that wasn't two hundred years old helped. I fooled a lot of knowledgeable antiques dealers along the way, They would look it all over and see the construction was right. No obvious fakery evident and the dealing was on. Then I'd tell them it was made by me and they wouldn't believe me. Point of pride for me and I'd sell it and then I'd hear that they sold it not mentioning its true origins. Kind of fun hearing about this fantastic piece of furniture they had found and sold for some formidable amount. Everyone's amazed that he or she found it. Old wood and old tools used with some knowledge of chemicals to give the new work an old look. Some black smith skills for hardware and nails helped.
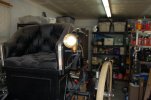
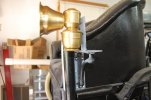
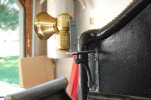
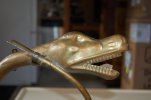
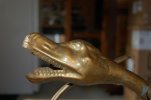
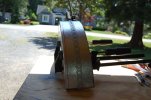
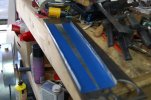
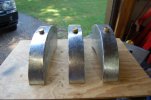
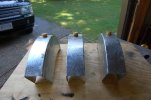
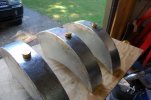
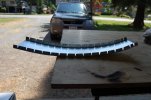
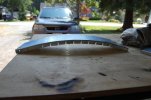
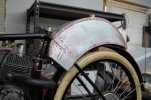
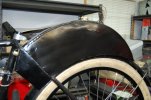
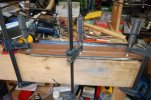
These tanks are the third round of them. Make one, look at it compared to the original photo and see if all the points match. Is my tank in line with the seat for height? Is the length of the tank stopping in line with where the original did? Visual clues mainly. What is inline on the frame below it. How close to the fender strut or how far away from the axle on the rear wheel? I think the original one is still in the shop. It truly was cringe worthy and then the second one was about an inch and a half short of hitting all the points then the third time was the charm and I was happy. Getting the height of the curve of the tank right compared to where it was on the fender was the hardest part.
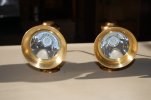
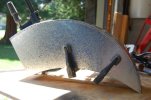
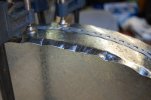
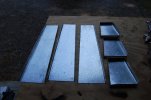
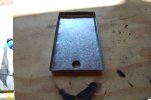
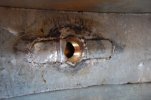
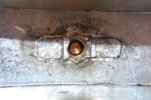
From what I read the original tanks were poor quality. They were made of thin tin and they would leak at the seams from the vibration. I used 20 gauge galvanized steel. Then it was simple matter of figuring out how to make it look like the way they were originally made.
Glad you enjoyed them.
Steve.

")
")