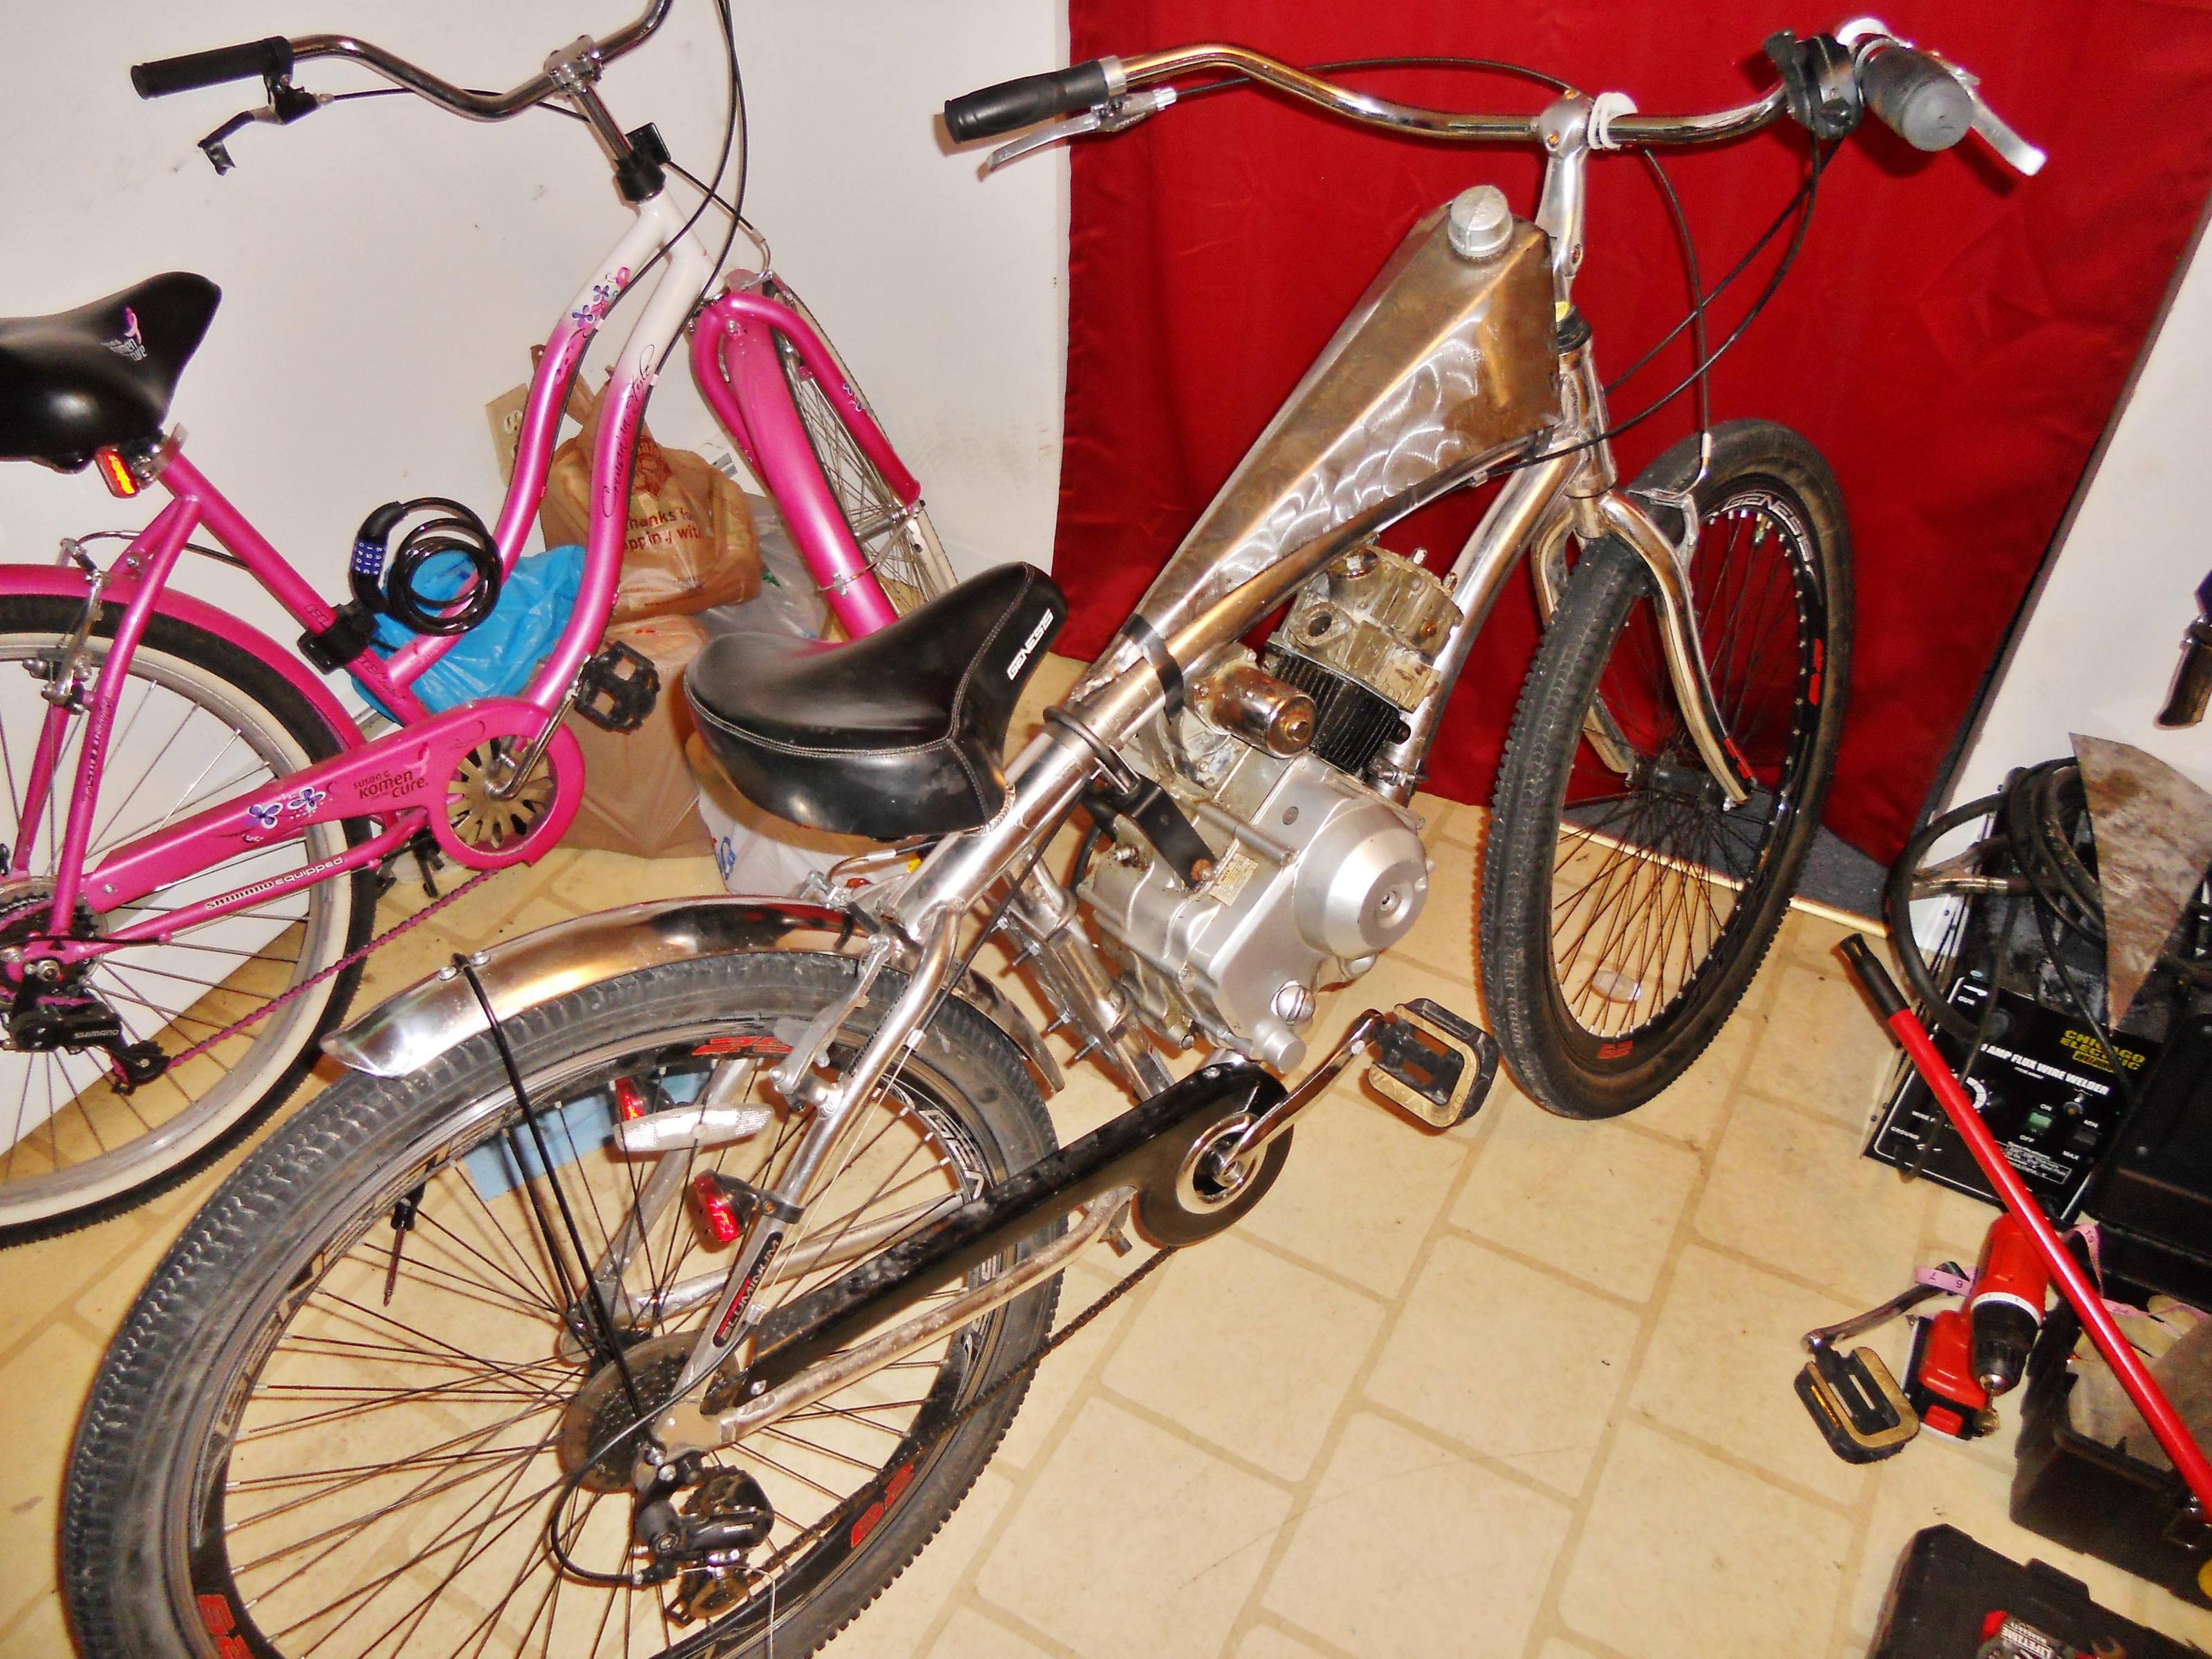
Genesis 29er+ Kid's ATV engine= WINNING

GoldenMotor.com

KCvale

Well-Known Member
Feb 28, 2010
3,966
57
48
Phoenix,AZ
The tank is just to keep me from going crazy (or losing momentum)
I completely understand the desire, jezz I have been holding off for a year on my current project until I could even get something made and buy what was needed to see if the drive train will work.

The difference between you and I is I make a plan and have enough to cover the cost of parts without killing me.
Yes, a rare luxury (thanks Pops).

You are trying to shove a heavy 4-stroke engine someone found in a forest and attach it to an Aluminum bike frame with some drive and mounts you think will actually last more than month, or week, or even a ride around the block.

My builders tip #2 for you:
Quit avoiding the huge drive challenge you face.
Hide the whole bike.

While you save all of your darn money figure out the EXACT parts you need to make an entire working drive train.
I only give ya a 50/50 you can even get that engine (if it even runs) mounted let alone your own makeshift jackshaft only attached to that seatpost.

Hey bud, I am just trying to help you.
All I am saying is you may be much better off using a 2 or 4 stoke kit with your spiffy tank and not destroy the bike trying to shove in something that has no business there even for free.

Just my take on this months long topic with no drive train, take it or leave it, it's your project.
 

Motojoe2492

Member
Aug 18, 2014
169
8
18
32
Ellsworth, ME
I completely understand the desire, jezz I have been holding off for a year on my current project until I could even get something made and buy what was needed to see if the drive train will work.

The difference between you and I is I make a plan and have enough to cover the cost of parts without killing me.
Yes, a rare luxury (thanks Pops).

You are trying to shove a heavy 4-stroke engine someone found in a forest and attach it to an Aluminum bike frame with some drive and mounts you think will actually last more than month, or week, or even a ride around the block.

My builders tip #2 for you:
Quit avoiding the huge drive challenge you face.
Hide the whole bike.

While you save all of your darn money figure out the EXACT parts you need to make an entire working drive train.
I only give ya a 50/50 you can even get that engine (if it even runs) mounted let alone your own makeshift jackshaft only attached to that seatpost.

Hey bud, I am just trying to help you.
All I am saying is you may be much better off using a 2 or 4 stoke kit with your spiffy tank and not destroy the bike trying to shove in something that has no business there even for free.

Just my take on this months long topic with no drive train, take it or leave it, it's your project.
I'm not one to ignore a good tip from someone who knows what they're doing. This is my first attempt at any installation like this, so all is new (and fun).

I'm not avoiding the drive situation. Actually, I have it planned with no question weather it will work or not. Only for the fact that it is the same design Scotto used: Drive on one side of the shaft with disk brake on the other. As a whole, this project is slowly taking shape.

As far as the clamps go, I noticed that on the yellow aluminum bike you built had the same clamp set up that I am going with (Though I have the added clamp to the the backbone as well)

At this point, I thank you for your concerns. But I'm pretty set on what I want and intend to take every aspect into consideration with safety the top priority. dance1
 
Last edited:

KCvale

Well-Known Member
Feb 28, 2010
3,966
57
48
Phoenix,AZ
Cool MotoJoe, just call that a 'preventive maintenance' post to help you focus, I really want to see you pull this off!

Actually I have no doubt you will get everything put together and make it go.
I just think all of us just want to help you make it not just go around the block before breaking and hurting you bud.
 

mapbike

Well-Known Member
Mar 14, 2010
5,502
109
63
Central Area of Texas
Cool MotoJoe, just call that a 'preventive maintenance' post to help you focus, I really want to see you pull this off!

Actually I have no doubt you will get everything put together and make it go.
I just think all of us just want to help you make it not just go around the block before breaking and hurting you bud.
Well said KC, I completely agree.

we want to see that bike in just got back from a long trouble free ride state.
 

wtwrestling07

New Member
Jun 15, 2014
11
0
0
Defiance, OH
I have a quick question for you about your build. How did you clean up your welds on the gas take to make it look like it did afterwards. In the first few pictures your welds didnt look to great except in one of the other pictures the welds looked perfect like it was done with a tig. The reason I am asking is because I am currently working on a custom build and I am going to be starting the gas tank very soon and I am going to be welding it myself. I was thinking about using 16g so the welds dont burn through the metal. I thought anything less would burn through only because I have a mig and I cant turn it that low of a setting. In your pictures it looks like you used a mig on the 22g. Are those 2 different pictures of the same gas tank or did you redo it or is that what it looked like after you grinded it down? If I can use a smaller gauge sheet I would like to because to make it easyer to make different shapes. Also have you done anything else to the tank and how is it holding up. Here are a few pictures of my build, The cardboard is the template I made for the tank.
 

Attachments

Motojoe2492

Member
Aug 18, 2014
169
8
18
32
Ellsworth, ME
I have a quick question for you about your build. How did you clean up your welds on the gas take to make it look like it did afterwards. In the first few pictures your welds didnt look to great except in one of the other pictures the welds looked perfect like it was done with a tig. The reason I am asking is because I am currently working on a custom build and I am going to be starting the gas tank very soon and I am going to be welding it myself. I was thinking about using 16g so the welds dont burn through the metal. I thought anything less would burn through only because I have a mig and I cant turn it that low of a setting. In your pictures it looks like you used a mig on the 22g. Are those 2 different pictures of the same gas tank or did you redo it or is that what it looked like after you grinded it down? If I can use a smaller gauge sheet I would like to because to make it easyer to make different shapes. Also have you done anything else to the tank and how is it holding up. Here are a few pictures of my build, The cardboard is the template I made for the tank.
Great question!

I used a cheapo flux core welder from HF. I did small tacks all the way around and used a rinder to bring them almost level with a grinding wheel, then a flap wheel to smooth it over. When it was getting thin in spots, I tacked on the inside one the seams to solidify it all. I am going to seal around the welds on the inside with a tank sealer before I weld the bottom, then seal it all once I have the petcock and sight gauge ports installed.


Also, 16G would be a HEAVY tank. Mine is pretty heafty as it is without the bottom on it. (Though my choice of cap didn't help that :p )
 
Last edited:

Motojoe2492

Member
Aug 18, 2014
169
8
18
32
Ellsworth, ME
I suppose I will add the pictures I have been taking!

Here is a peek at the current progress with mounts. (I'm sure you can imagine how they will connect)


I thought I would try the front fender on the rear. (I have seen it done and wanted to envision it)


DAT AZZ


I have piped the top and front mount for better weight displacement.


Last edited:

cannonball2

Well-Known Member
Oct 28, 2010
3,682
224
63
Colonial Coast USA.
Just to satisfy a safety concern how about driving a second seat tube down the seat post to reinforce it. Theres going to be a pretty good loading there with the jackshaft and the engine mount I assume you are going to put there. You are going to have to put some pretty heavy clamp loads on the jackshaft mount to keep it straight

I have built two bikes using this type engine. Chain lines can be an issue, setting the primary drive chain might be a challenge with such a short(it appears) chain run. I would work that out first. The second chain shouldn't be as big a problem.
BTW be sure the valves are properly adjusted before the final install, looks impossible in the frame.
 

Motojoe2492

Member
Aug 18, 2014
169
8
18
32
Ellsworth, ME
Just to satisfy a safety concern how about driving a second seat tube down the seat post to reinforce it. Theres going to be a pretty good loading there with the jackshaft and the engine mount I assume you are going to put there. You are going to have to put some pretty heavy clamp loads on the jackshaft mount to keep it straight

I have built two bikes using this type engine. Chain lines can be an issue, setting the primary drive chain might be a challenge with such a short(it appears) chain run. I would work that out first. The second chain shouldn't be as big a problem.
BTW be sure the valves are properly adjusted before the final install, looks impossible in the frame.
Great idea! I didn't think of that for the seat tube, it's genius!

I enjoyed that build thread, it makes me wish my frame was steel haha.
I am for sure going with a belt primary. With the crappy roads around here, anywhere that I can improve the ride comfort I will take it.

I am going to have that engine as ready as I can before final install. You are right about the space issue!

Before I forget, do you have any pictures showing how you got a pulley on the primary drive shaft? I was just going to weld a blank pulley onto the front sprocket, but if you have a better way, please let me in on it ;)
 

cannonball2

Well-Known Member
Oct 28, 2010
3,682
224
63
Colonial Coast USA.
That's what I did, just welded a steel pulley that I hole sawed the center out of to the stock sprocket. The hole in the center also allows the mounting hardware for the sprocket to be accessed.