dracothered
New Member
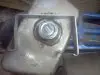
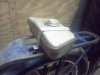
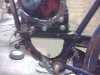
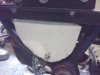
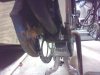
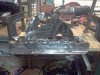
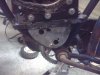
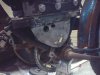
Ok, tonight when I was working on the air filter setup I sat on the bike and decided to pull on the pull start rope and noticed the engine flexed to the side some. To me this is no good because it is asking for trouble. So here is what I came up with to stiffen up the motor mount.
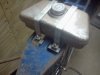
This is only a mock up of it.


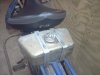
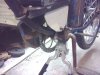
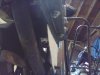
This is only a mock up of it.
")