RicksRides
Member
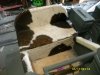
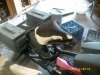
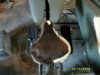
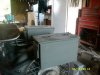
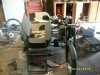
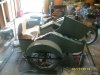
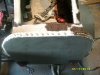
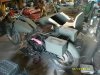
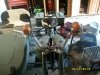
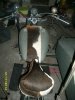
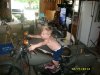
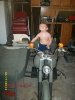
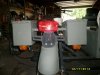
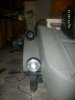
progress report, finished covering the saddle and the rest of the sidecar in hide. mounted the bars ,turn signals, levers and perches and mounted the floor boards

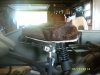
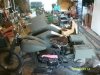
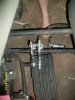
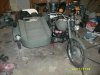
CB2, Ive got a 13t front and a 39t rear just for a starting point but there are plenty of tooth sizes available for this engine and the rear rim is off a 60s cb160. Any guesses (idea) on what i should run (its a 18 in rim w/tire 23 in) Oh and already have the parts for a build for RJ (20in. JR. BTR using 98cc 2 stroke)