Maytag Flyer

Ha! Ha! Ha! Oh! He! He! Ha! Ha! Ha! Yha! I did the same thing almost, Just didn't sell my truck and backed out of the window bid.

Hope you got a good price for the Dub, my Dad has been following it for a while and it has inspired him to spend about $20,000.oo on his 68 Conv. resto, that thing will run 80mph in 3rd and ain't even puff'n drove it from Palmdale to Tehachapi in Cali (about 47 miles)and half way in between our destination he asked if I was ever going to shift into 4th gear OH! SHT then he said it even has a 5th gear too if 100 mph isn't fast enough I told 80 mph in 3rd was fine with me.
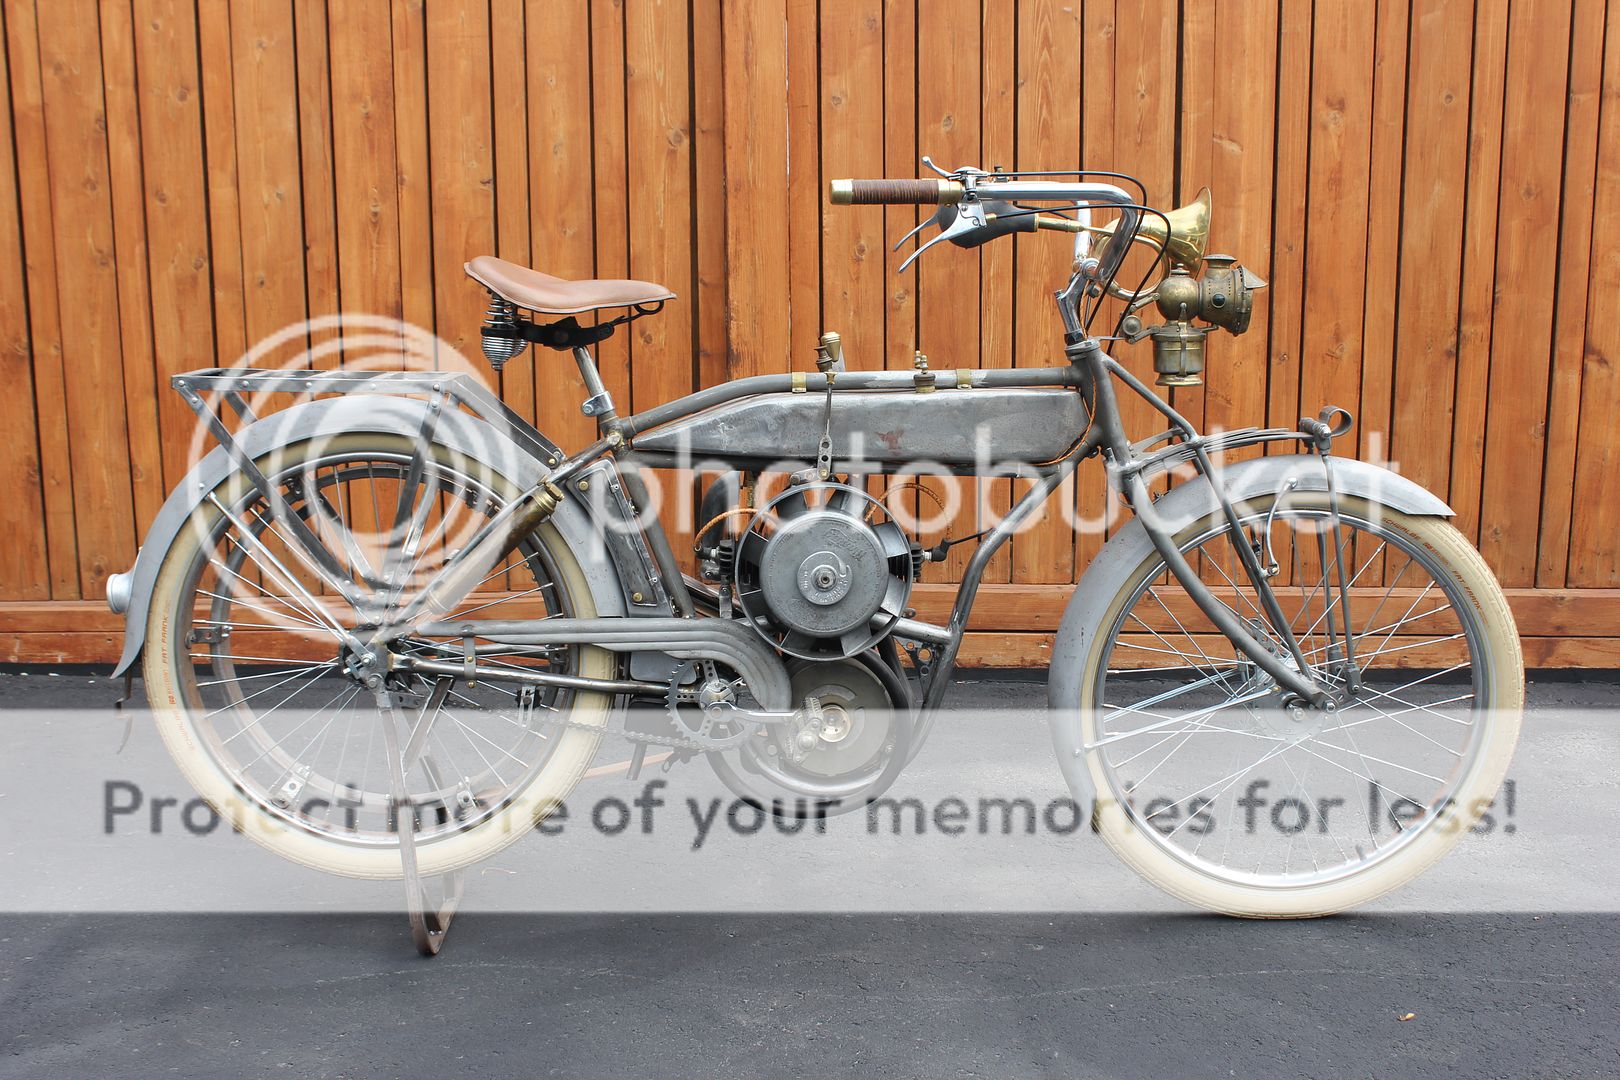
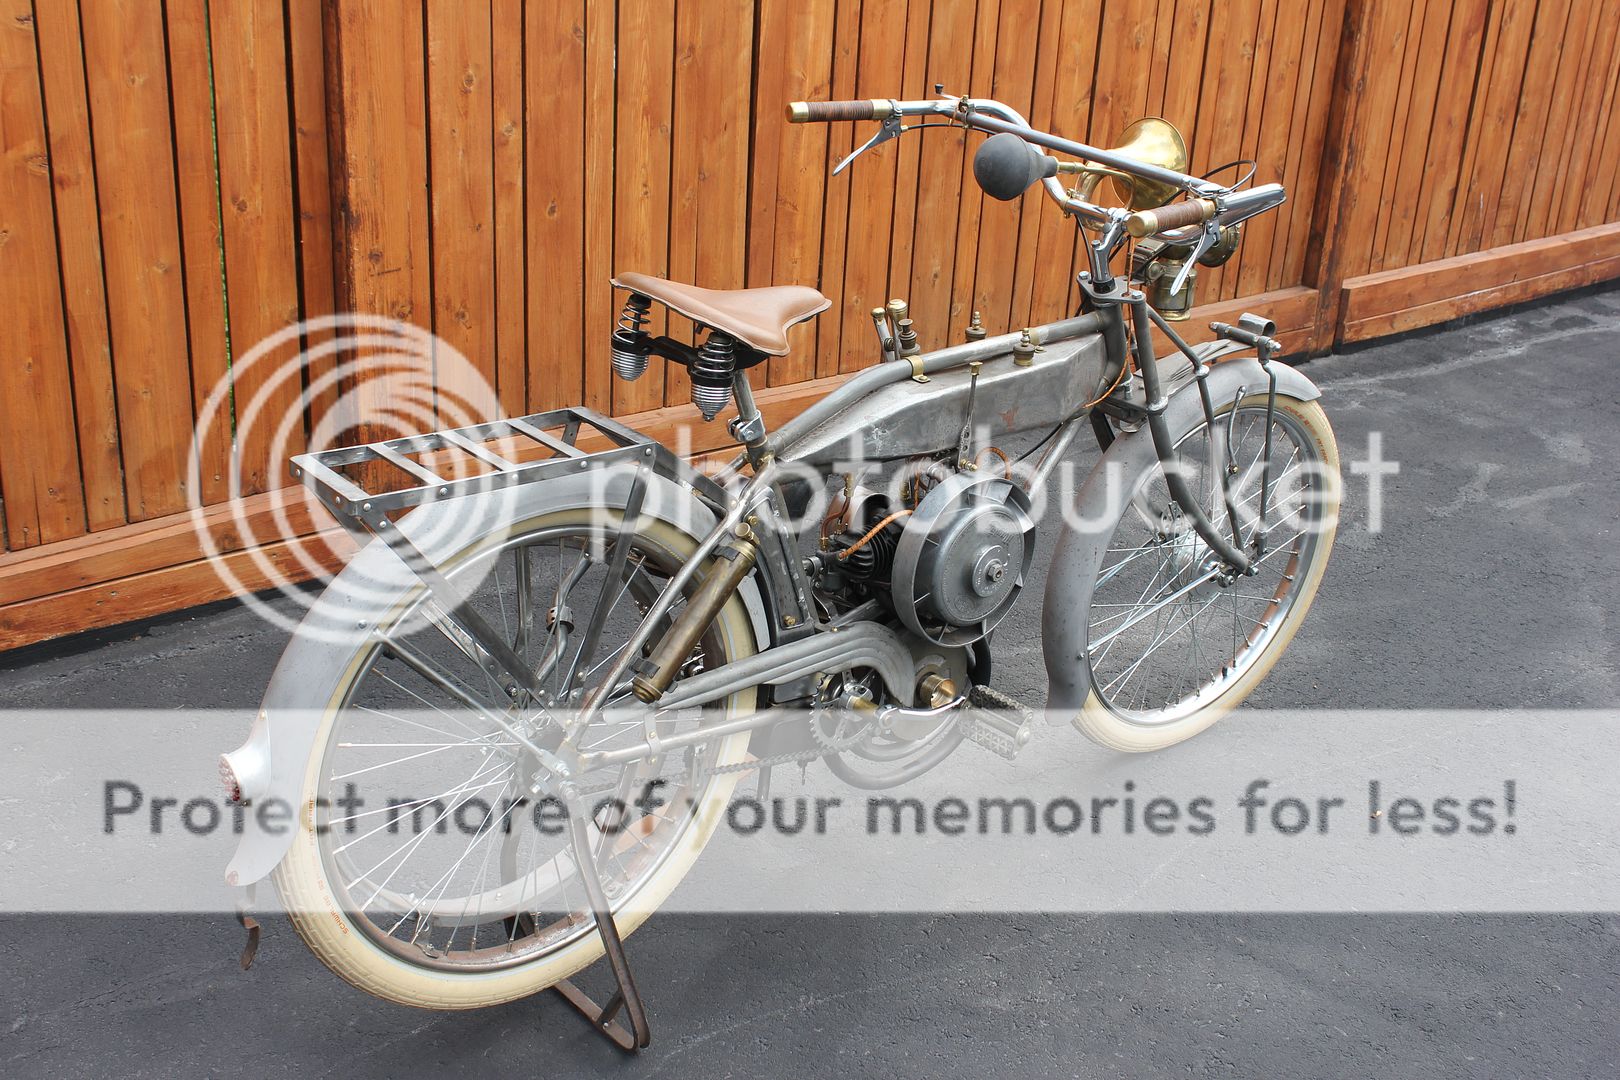
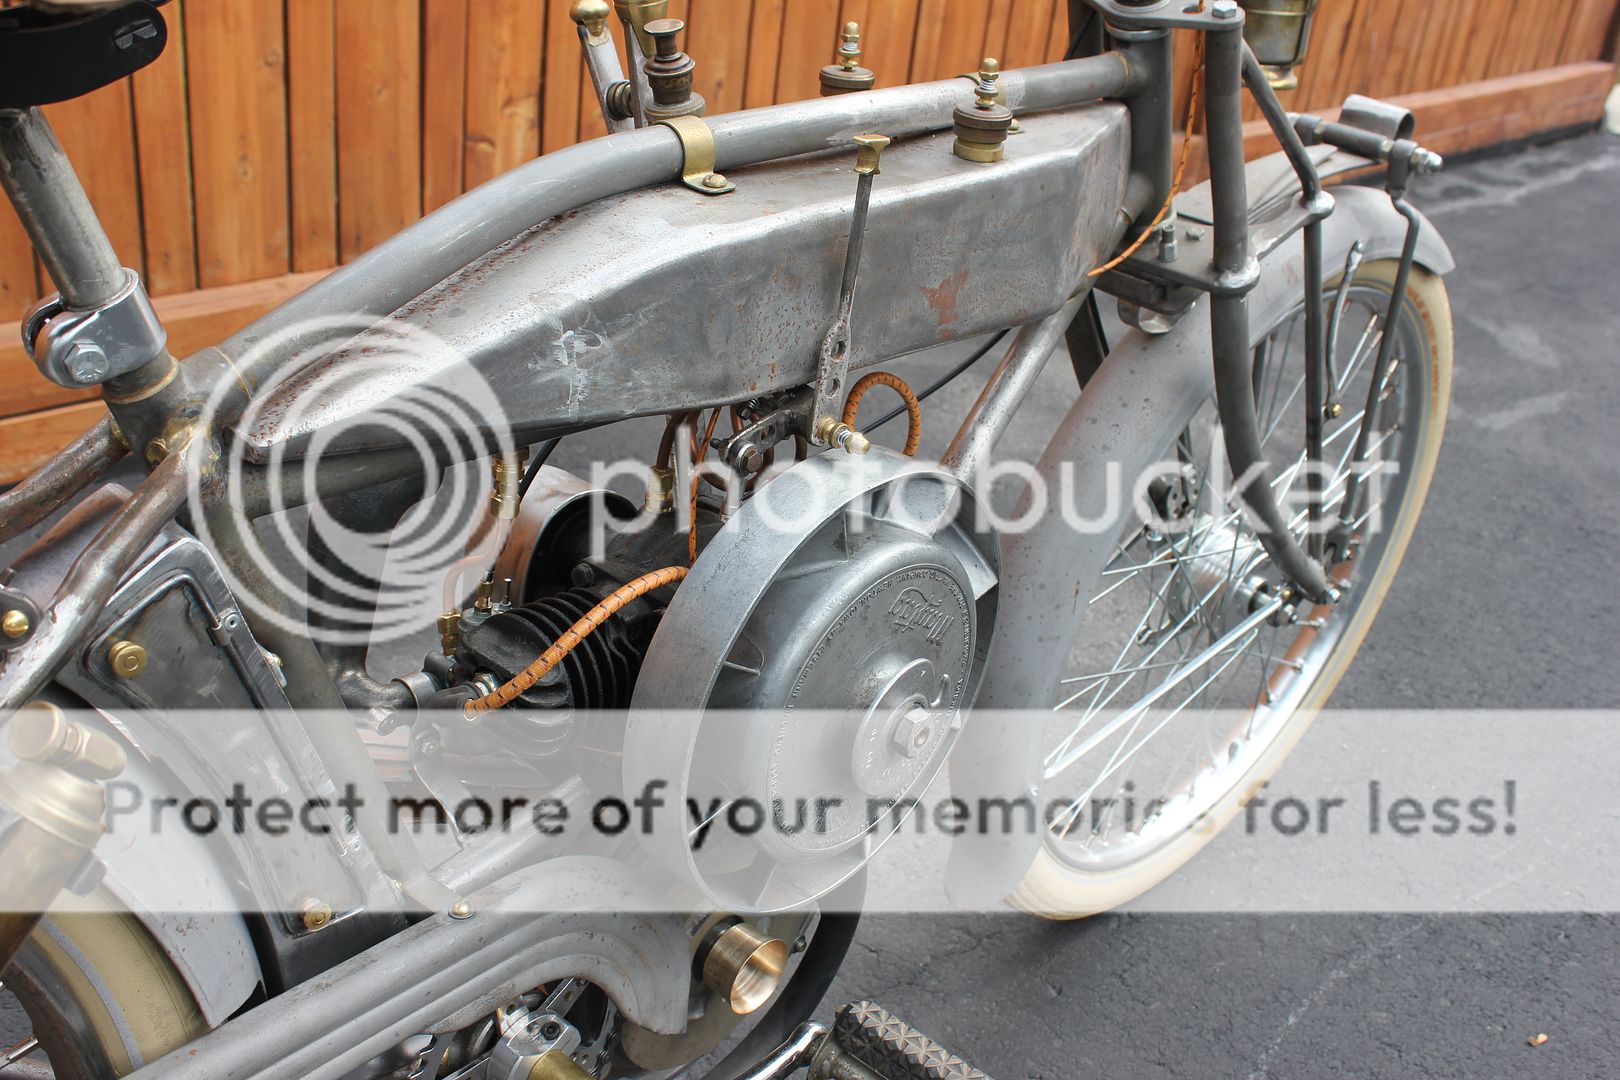
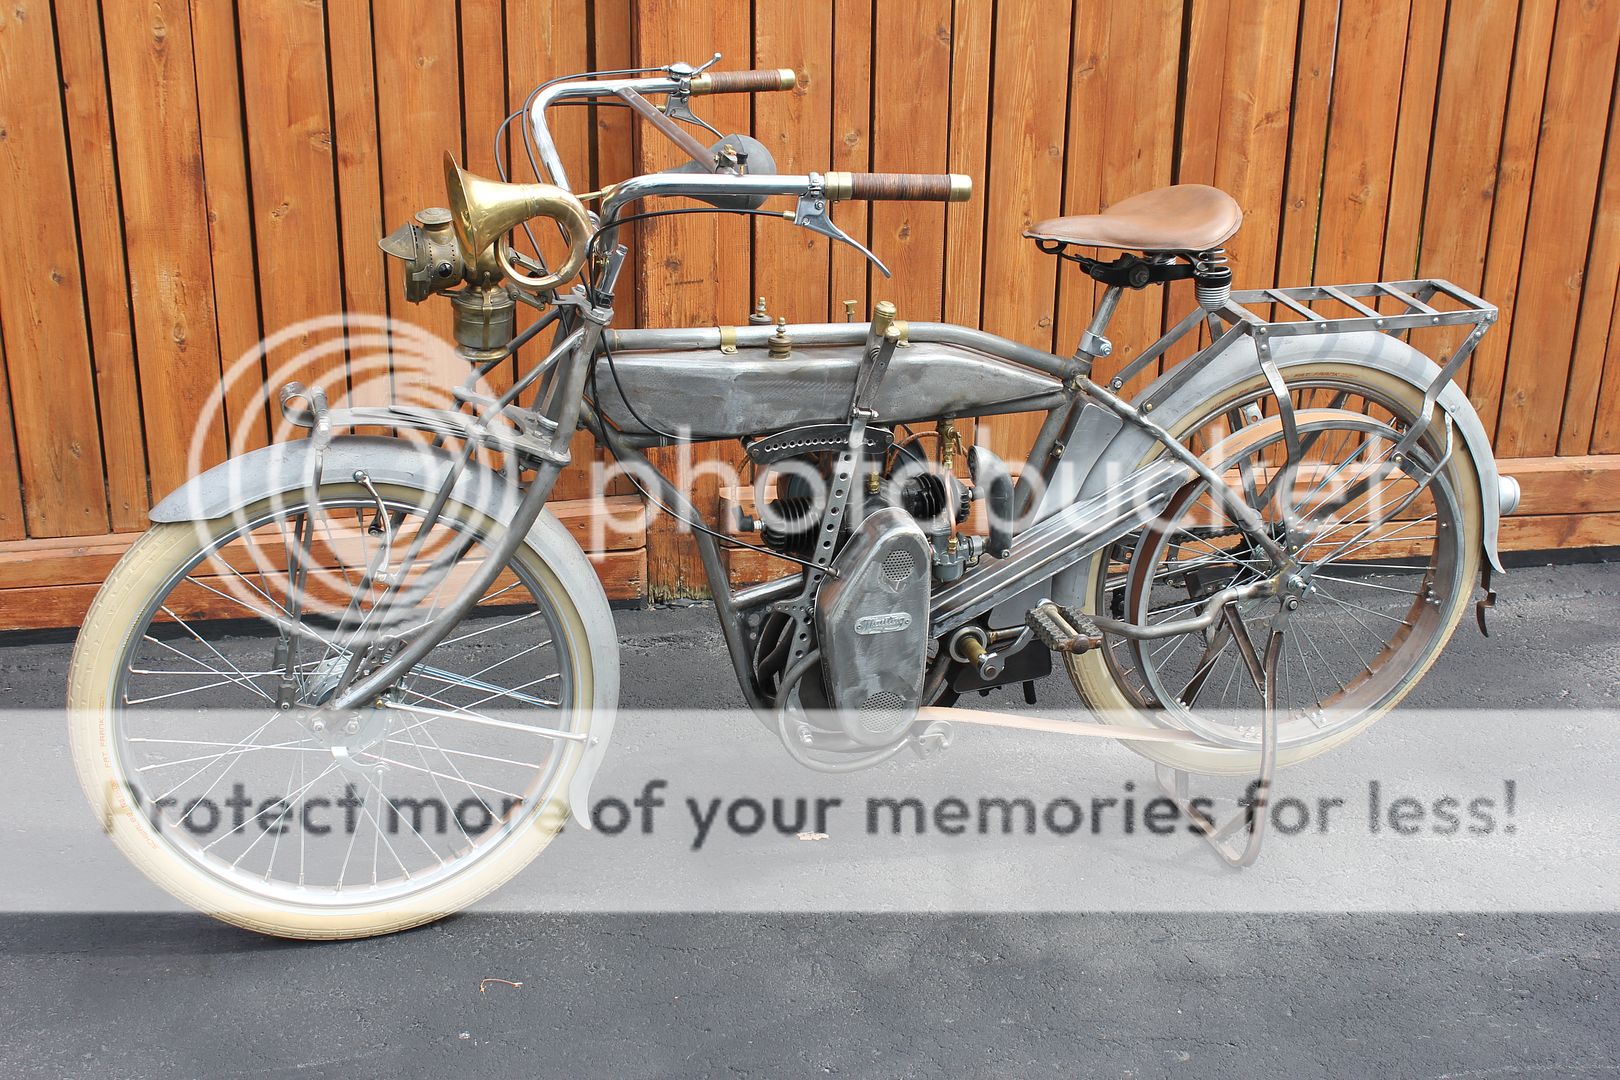
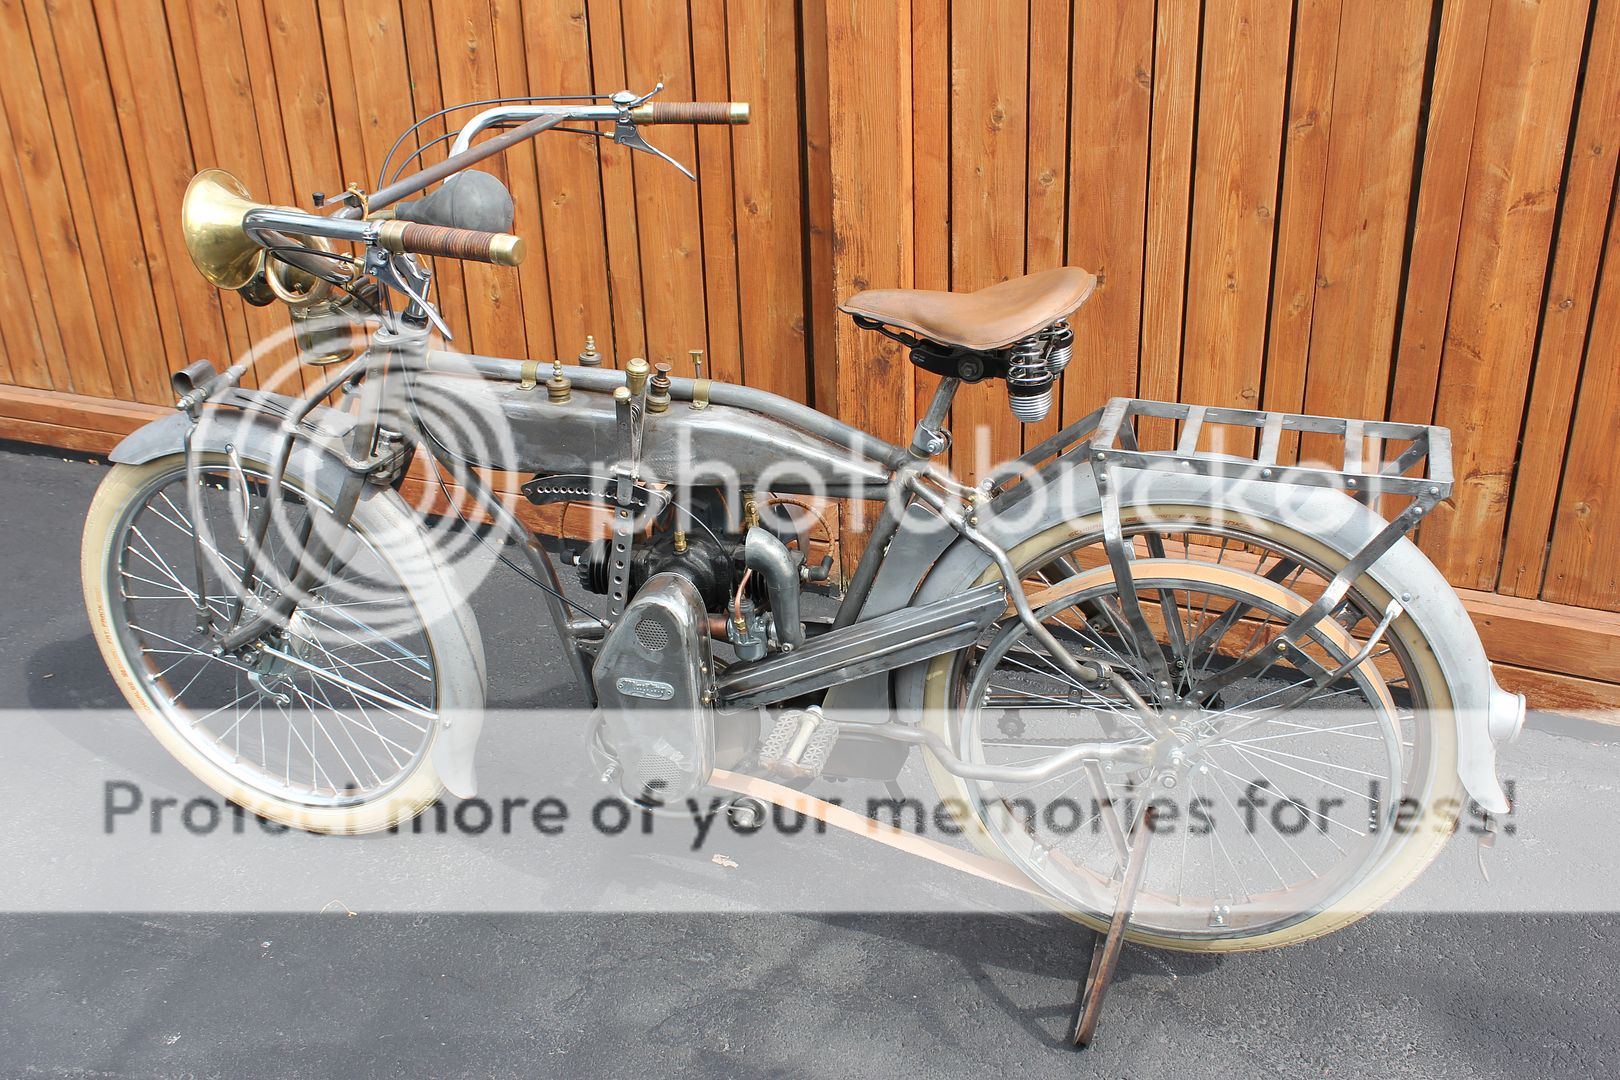
Can't wait for the bike to get done, we've been waiting this long what's a few more months, a LONG TIME! LOL!
 
Last edited:
OK. So I did a little more work on the Maytag Flyer.
The front brake backing plate normally anchors on a pin attached to the fork leg. As the suspension does its thing and allows the wheel to travel up and down in relation to the fork leg, the anchor tabs on the backing plate need to be able to slide up and down on the anchoring pin. The original tabs were a little short for the required length of travel so it was time to replace them.

Here the original tabs are still on the backing plate, with the newer longer ones on the left.
MaytagFlyer328.jpg


New tabs installed.
MaytagFlyer333.jpg


Brake and wheel reassembled. you can just see the anchoring pin and tabs in this pic.
MaytagFlyer332.jpg


till next time .weld
 
Last edited:
ya I know this project is slow at the moment....
But I am riding my big bike a bunch and my other projects are going pretty good!!
I will pick up the pace on this one a bit more in the fall.
 
And on the first day of my summer vacation..........


I fired up the Maytag engine.......


Now if I can only figure out how to shoot video with my new camera I will upload some sights and sounds
 
The carb is set just as out of the box, it came with extra jets so it can be tuned a bit.

After replacing the spiralled tank to carb copper fuel line with a straighter one the fuel did not air lock and it fired right up.

Only one more part to make and a few things to connect and tighten up and it can go for a test ride.

The audio on this clip changes depending on your player and how you view it, weird.

 
Last edited:
All this new music, you guys ought to make a recording like Fererri did many years ago at Le Manns.
Nice Job!!
 
I've been lurking here for a fair time now, on a daily basis(like 6 or 8 times a day). I plan on building one of these bad boys once I get a custom tractor build done. Just wanted to tell you how impressed I am with your machine. And also how informative it is for someone like me. Just very cool, thanks!
 
After finally getting it running the other day, the urge to finish the major construction and get it ready to ride kicked in.
The last piece to make was a belt guard. The upper part of the drive belt runs close to my leg.
MaytagFlyer334.jpg


So a piece of 20 ga. was bent
MaytagFlyer331.jpg


then it was run through a bead roller to give it some character and a heavy wire edge was welded on. Mount tabs were added in the required places.
MaytagFlyer330.jpg


Now it has a belt guard.
MaytagFlyer333-1.jpg

MaytagFlyer332-1.jpg
 
Last edited:
Is there anything you haven't thought about with this build ? Can we get a full blown L & R side shot ?
Very Nice !
 
Is there anything you haven't thought about with this build ?

I hope not.

Once it is all together I will get some pics for you. Before labour day it must be all done except paint as there is an antique steam era tractor, engine and vehicle show at the fairgrounds in my town. The fairgrounds are 1 block from my house so the Flyer must attend and visit all the old Maytag engine collectors that show their stuff at the fair.
 
Last edited:
It had to be done.

I spent the last couple of days working hard to get things together for a ride.

All the bolts tightened, hand grip set screws installed, drive system aligned and a bunch of little things.
It is now complete with the exception of taking it all apart to paint. That will be left for a while as the final plan is still to be determined, that and it looks ok naked.
MaytagFlyer336.jpg

MaytagFlyer339.jpg

MaytagFlyer340.jpg

MaytagFlyer352.jpg

MaytagFlyer351.jpg

Took it for a ride around the block. It does parade speeds and a bit, it needs to have the carb leaned a bit and the final belt tensioner needs to be adjusted tighter but thats it.
 
Last edited:
Seeing it in it's current state a nice grey would look killer with darker grey accents, polish up the brass and what ever silver metals like aluminum can polished would just POP!
The bike is Killer Cool!
 
Back
Top