turtle tedd
Member
If the first one doesnt work exactly right it is called the Prototype.

i've got about 10 pairs of cranks, Silverbear, in all sizes, down to like 3".
lemme know what size you want, pay the shipping, and they're yours...")
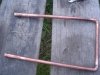
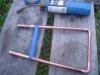
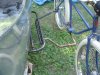
") I particularly like how yer sneakin' in as much copper as possible - but we've talked about the "poor man's gold" before lol
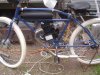
I particularly like how yer sneakin' in as much copper as possible - but we've talked about the "poor man's gold" before lolLookin' real good Silver
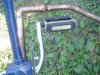
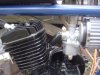
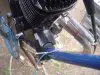
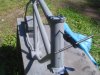
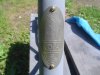
I've had one of those extended intakes (came with my CNS) and it does work well, I gave it to a buddy with the same clearance problem and it puts the carb right where ya need it - the only concern is the added leverage of such a long manifold, so ya may wish to upgrade the studs/fasteners if you've not already...