KiM
New Member
Aaaalrighty then ...I have called it quits for the day, after a long day yesterday i am beat, got heaps done none the less,
just about wrapped up the battery mounting compartment, all that's need is a lower and upper plate to which 4 threaded rods will be placed in
each corner and tightened to compress and hold the packs in place ...sorry to disappoint
frock fan bois...no duct tape on this build...again :lol:
:lol:
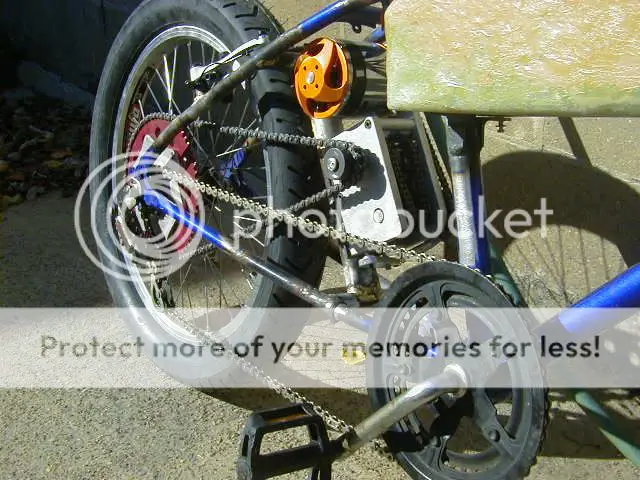
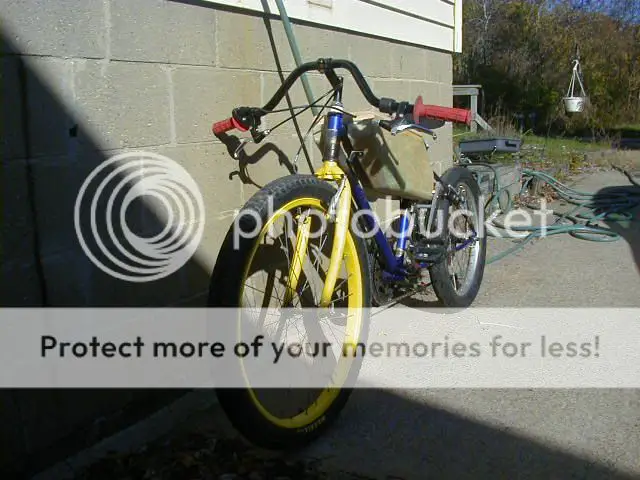
Here's a heap of pics i took today and yesterday, i think they are all pretty self explanatory, the whole lot has
to come off again, prolly several times, as such its all finger tight and no washes used, before someone
starts asking "why aren't you using washes blah blah blah..." I assemble, break down everything many times, washes
and loctite are only added on final assembly...

Yes...i have altered the mounting bracket, bought it in closer to the seat tube to gain a lil more room, i also ****ed
up the base, KNOWING the counter sinking needed to be on particular side I EVEN CHECKED it twice and STILL
got it wrong aaaaagh...so another base plate first thing in the a.m no biggy really i guess straight cuts & can use the old
base as a template..Welding of the brackets, this went well, i have added shots of the bare welding, scrapped and wire brushed then
a lil work with the die grinder to show the work involved to get the final result, you shouldn't need much attention to decent flowing weld
primer filler will cover most of these with a swipe of knife putty for any 'ruts' still visible.
Next...this morning i tackled what i didn't quite get to yesterday, the means to hold the planned 12 lipos packs, they
will run long ways from front to back as depicted in (pic 11) below they will also be 'two a breast' ie 4 on each layer
3 layers high...

Left to do on this, add another bracket to the lower seat tube, add an additional plate to hold the aluminum panel to the bottom bracket (you may see it drawn in on pic 10 if your eyez are good enough) also will round all the corners of the angle as depicted in (pic 8)
lil 'trimiing and finiahing work on the aluminium plates to even the gaps up ...Prolly a few other things i forgets now...
shall be back with another update tomorrow arvo...later lads..
KiM
just about wrapped up the battery mounting compartment, all that's need is a lower and upper plate to which 4 threaded rods will be placed in
each corner and tightened to compress and hold the packs in place ...sorry to disappoint
frock fan bois...no duct tape on this build...again
Here's a heap of pics i took today and yesterday, i think they are all pretty self explanatory, the whole lot has
to come off again, prolly several times, as such its all finger tight and no washes used, before someone
starts asking "why aren't you using washes blah blah blah..." I assemble, break down everything many times, washes
and loctite are only added on final assembly...

Yes...i have altered the mounting bracket, bought it in closer to the seat tube to gain a lil more room, i also ****ed
up the base, KNOWING the counter sinking needed to be on particular side I EVEN CHECKED it twice and STILL
got it wrong aaaaagh...so another base plate first thing in the a.m no biggy really i guess straight cuts & can use the old
base as a template..Welding of the brackets, this went well, i have added shots of the bare welding, scrapped and wire brushed then
a lil work with the die grinder to show the work involved to get the final result, you shouldn't need much attention to decent flowing weld
primer filler will cover most of these with a swipe of knife putty for any 'ruts' still visible.
Next...this morning i tackled what i didn't quite get to yesterday, the means to hold the planned 12 lipos packs, they
will run long ways from front to back as depicted in (pic 11) below they will also be 'two a breast' ie 4 on each layer
3 layers high...

Left to do on this, add another bracket to the lower seat tube, add an additional plate to hold the aluminum panel to the bottom bracket (you may see it drawn in on pic 10 if your eyez are good enough) also will round all the corners of the angle as depicted in (pic 8)
lil 'trimiing and finiahing work on the aluminium plates to even the gaps up ...Prolly a few other things i forgets now...
shall be back with another update tomorrow arvo...later lads..
KiM


