My board tracker is done!

kojak

New Member
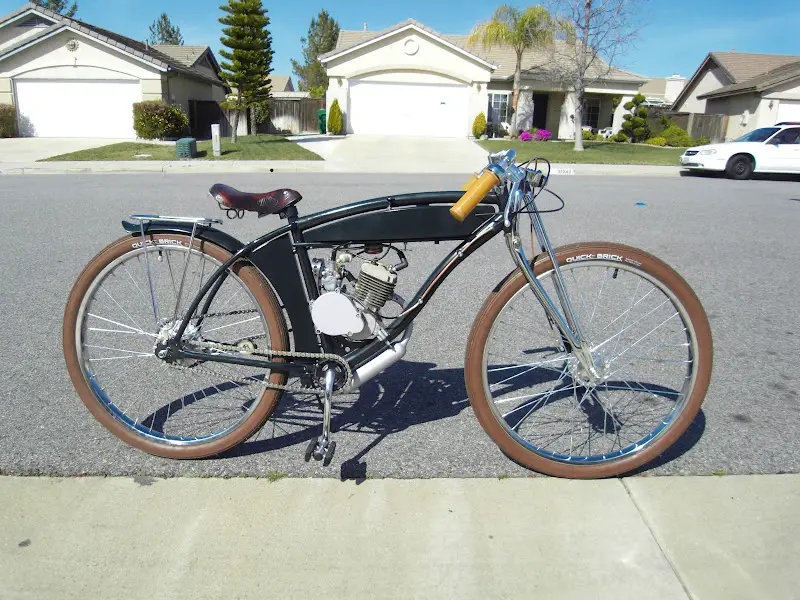
Well, almost. Built by Rat Bike and delivered in beautiful raw steel, with custom motor mounts, tank (with internal throttle and choke routing), filter cover, oil tank, and lots of little custom touches. Here it is after my first motorized commute:

IMG_20110210_100453.jpg
IMG_20110210_100444.jpg


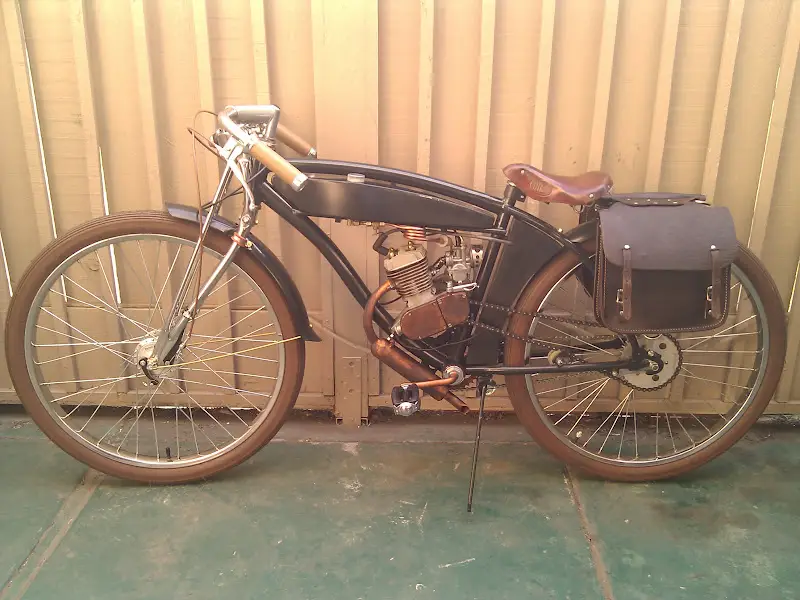
I set it up for cruising/commuting with a chopped rear fender, constructeur rack, antique Welcome seat, single bend bars, Kung Fu grips, brown Quick Bricks, a Husky front wheel with Sturmey-Archer drum brake, Dia-Compe city brake and clutch levers, and Charleston Green paint.

SDC10504.JPG
SDC10508.JPG
SDC10509.JPG


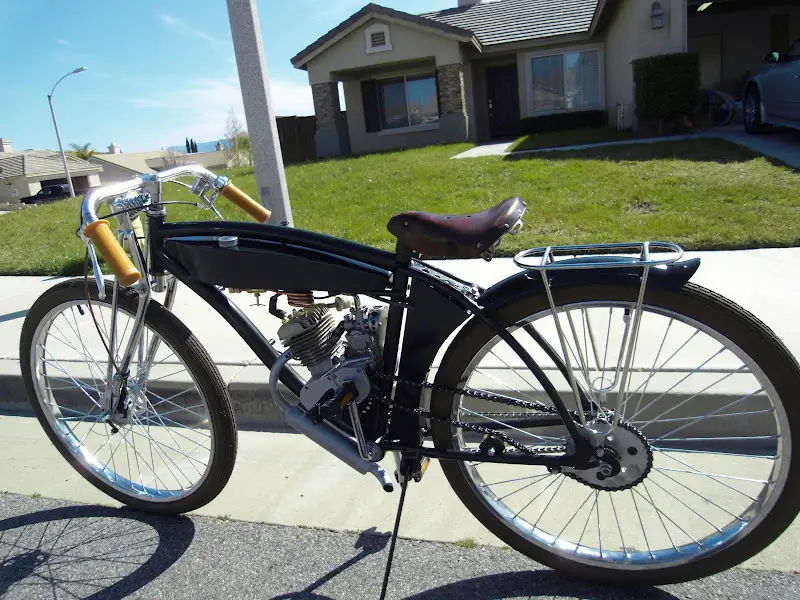
I'm working on front fender mounts, a copper headlight, and rear equine saddle bags; and I need to find a longer stem (to move the bars forward), shorter cranks, larger chainring, and some dark brown grips. Eventually I'll paint the bars green and black out the motor--might even de-chrome the whole bike someday. Open to suggestions.
 
Thanks! I can't make anything; the rack is off the shelf stainless steel from Velo Orange (same place I got the bars and levers). I was able to cut an ordinary short fender right at the bracket, and the rack acts as a rock solid fender stay. It was put together specifically to hold a set of leather throw-over saddle bags, which it will as soon as I figure out how I want to secure them.

SDC10505.JPG


Got to remove the lettering on those tires....
 
I like it. I know it's fun to commute with because I do it myself :) . I think it would be cool to put some company logo on the tank, real or fictitious, to give it a nod to the past.
 
Thanks for all the kind words, and thanks again to rat bike for building such a great machine. This weekend I finished the panniers; I'll try to get some photos of them tomorrow.

SDC10506.JPG


I really need a larger chainring so I can take off without pedaling like a maniac, and shorter cranks so my knees aren't hitting the bar ends. Would a one-piece BMX crank be a direct replacement?
 
Turned some horse bags:

IMG_20110214_172321.jpg


Into panniers:

IMG_20110308_120812.jpg
IMG_20110308_120827.jpg


All I did was cut them in half and rivet them back together, adding a carry handle and some brass clips:

IMG_20110308_120912.jpg

IMG_20110308_120917.jpg


I positioned them so the bag has to be stretched slightly before it snaps to the rack. The tension keeps the brass clips from rattling, and made fasteners at the top unnecessary.
 
Very Very!! Nice
Where and when did you get the brown Quick Bricks? I'm having a Sportsman Flyer BTR fabed up and I'am going to paint it copper,cream and black those tires would really make the bike POP!
Thats a nice bike!!
 
Thanks again! The tires were direct from Felt and the bars can be found here: VO Belleville Handlebar

I went with the cheaper "city" levers, but if you're interested in those bars you might like the guidonette style as seen on this beauty: Main Photo Gallery

The brown tires did make a massive difference once the bike was painted, as you can see here:

IMG_20110228_191956.jpg
 
That is an interesting looking bicycle chain, it looks it is made up of half links. What brand is it?
 
You have a good eye, it is a half link. My kid has one on his fixed wheel bike and it is strong. It's a not as easy to remove links as a standard chain but they sure are nice.
 
IMG_20110316_172447.jpg


I've been busy: added the extended stem, lowrider cranks, front fender, leather grips. and an antiqued copper paintjob on some of the mechanicals. Eventually all of the chrome and aluminum will have some kind of rustic finish.

IMG_20110316_172732.jpg


If you look closely you can tell that I didn't wait for the heat resistant paint to cure before running the motor, causing some bubbling on the muffler. I don't really mind it though.

IMG_20110316_172643.jpg


I also ordered the MM billet intake manifold. Will my carb sit at too much of an angle with a straight pipe? I know I'll need to adjust the floats for tilt, just not sure how exactly.
 
That antiquing looks really great, can you explain to us how you did it? I think a lot of people here are looking for just the right method to age parts :D
 
Back
Top