You are using an out of date browser. It may not display this or other websites correctly.
You should upgrade or use an alternative browser.
You should upgrade or use an alternative browser.
Cooper & Ludwig
- Thread starter Ludwig II
- Start date


Ludwig II
Well-Known Member
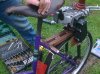
The temporary spokes were in the wheels, so tyres were applied and the bike was assembled. The mudguards fitted after a small amount of faffing about, and the exhaust (Raleigh RM4 for reference, if you want an easily available old looking European) is chosen. Doug scrounged some 90 degree bends to make up a new header pipe to clear the down tube in the future.
Attachments
Last edited:
Ludwig II
Well-Known Member
On Friday we did a little bit of fiddling about and cutting to get the exhaust pipe in place, I need to get an exhaust sealing ring or two to get the fit right.
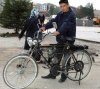
On the evening I picked up a 2.5 litre Raleigh Wisp tank, this will sit crossways behind the head tube for that Vintage look. Here is one in it's natural home.
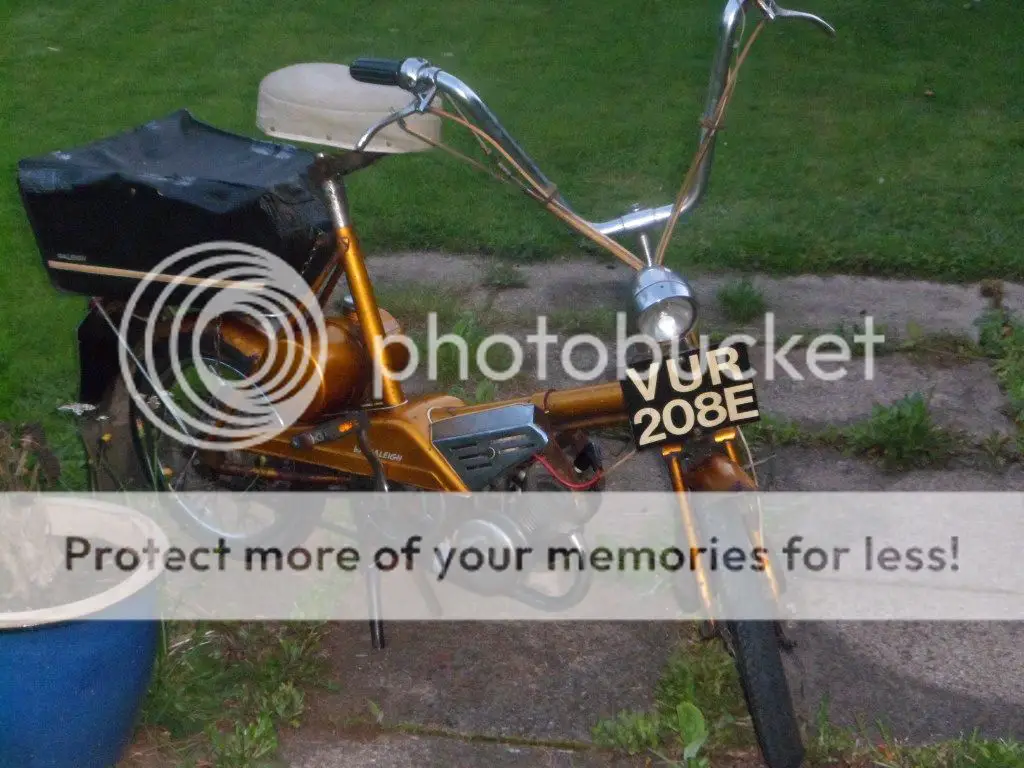
On the evening I picked up a 2.5 litre Raleigh Wisp tank, this will sit crossways behind the head tube for that Vintage look. Here is one in it's natural home.
Ludwig II
Well-Known Member
I tried taking pictures on my phone of today's results, but they aren't good enough quality to post. The exhaust is now in place, and the seating position has been established. Because of it and the size of the frame, the machine is now acquiring a more 1920s style, especially as the Wisp tank is going to sit on a carrier that Doug has lurking in store somewhere. It was a saddlebag support, but will work just as well with the tank, and look suitably period.
Ludwig II
Well-Known Member
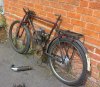
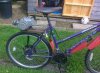
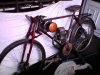
The r/h engine support is in place. It doesn't look much, but as always, we measured twice a lot and thought a lot before doing anything.
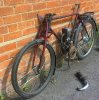
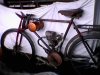
The first pic is without the new stay, the rest are detail shots of what's done so far. And a mean, moody, magnifithent beatht.
The rough mechanical edges will be cut away once we have it all fitted properly, then it will be painted and reassembled. The front mount is looking more and more temporary as well.
Attachments
moto-klasika
Member
Ludwig,
keep going - you shall have great fun riding it!
Zoran
keep going - you shall have great fun riding it!
Zoran
Ludwig II
Well-Known Member
I went over to Doug's the other day, didn't do much apart from spend some time looking at how the carb sits and cleaning it out as well. I went online looking up information about the jets, and discovered I have to hoick out the idle diffuser body and make sure two tiny, tiny holes are clear. .012" each, but if they are blocked then the engine will only run flat out.
Ludwig II
Well-Known Member
On Monday we spent half a day cutting down the Motobecane inlet manifold and making up a curved connecting tube to the carburettor. It's done, apart from a little bit of cutting and smoothing, in order to make it fit properly. The placing of the carb in it's correct place now lets us organise mounting the tank, which has a decent fall on it to the carb, and that then gives us the limits of steering movement and lock stops. It's slow progress, but steady.
Ludwig II
Well-Known Member
I spent this afternoon over at Doug's cleaning up and preparing the curved inlet we made in order for the carb to sit level. Small, fiddling stuff, but finally the right shape and fit where it goes into the carb.
Petrol tank to fit next and probably steering lock stops.
Petrol tank to fit next and probably steering lock stops.
Ludwig II
Well-Known Member
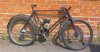
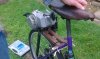
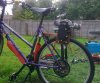
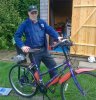
I did a little bit today, and we put the sprockets in place to set the chain runs up and found the clamps for the tank. It is remarkable how it looks like something once some few parts are added.
The phone camera doesn't show the rangy proportions of the frame, it's looking further and further back in time as we add more to it.
The phone camera doesn't show the rangy proportions of the frame, it's looking further and further back in time as we add more to it.
Attachments
Last edited:
cannonball2
Well-Known Member
Nice! Am I seeing a belt primary? Good man!
cannonball2
Well-Known Member
OK thought that was a pulley at the pedals.