
You are using an out of date browser. It may not display this or other websites correctly.
You should upgrade or use an alternative browser.
You should upgrade or use an alternative browser.
Bill's 2000 Whizzer upgrade and restyling project
- Thread starter msrfan
- Start date
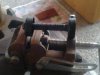
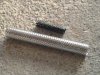
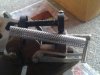
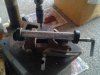
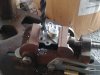
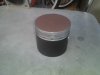
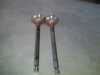
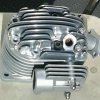
I had some time to rework Bills muffler, the wc-1s muffler is very restrictive. The perforated pipe is only about 5/8" round, needs to be at least 1".
Ill use parts from Bills old muffler ends and add the new 1" perforated pipe to make a hi flow muffler. More to come.
Ray
Ill use parts from Bills old muffler ends and add the new 1" perforated pipe to make a hi flow muffler. More to come.
Ray
Attachments
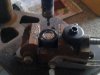
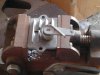
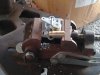
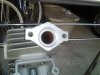
Time to rework the compression release cover plate for the new crankcase breather tube.
Ray
Ray
Attachments

silverbear
The Boy Who Never Grew Up
I had some time to rework Bills muffler, the wc-1s muffler is very restrictive. The perforated pipe is only about 5/8" round, needs to be at least 1".
Ill use parts from Bills old muffler ends and add the new 1" perforated pipe to make a hi flow muffler. More to come.
Ray
That should help it breathe better!
SB
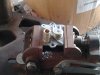
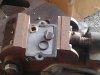
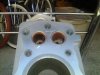
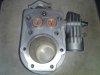
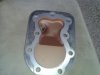
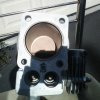
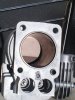
I got the parts back from the heat coating shop. Cylinder,head,valves, and piston.
The piston has 2 types of coating, (thermal barrier) this helps to manage the excess heat.
And a (dry film lubricant) on the piston skirt, helps in reducing friction.
Valves got tops and bottoms done with thermal barrier. So did the cylinder intake and exhaust ports.
The combustion chamber is also done with thermal barrier, helps to manage excess heat.
Ray
Attachments
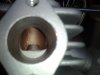
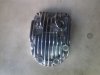
A little more info about the heat coating, while the thermal barrier coating helps with the temps the motor will experience improved combustion and performance as a result of heat being reflected back into the fuel charge.
Ray
Ray
Attachments

Parts left today Ray! I'll call you later
Ok buddy, I gave Dale all of Bills motor stuff back taday
 , I'm ready.
Ray
Bill stopped by today after Donut Derelicts and brought a seat and pedals he got at the LB Cycle Swap Sunday. The pedals are new but the seat needs some work. He also dropped off the tires, tubes and liners he got from Team Bike.
We're upgrading the stock front drum brake with a larger moped unit. Had to open up the forks to accommodate the larger 11mm axle and took a couple of thousandths out of the speedo drive. Bill's going to weld a nub onto the lower left fork leg to retain the brake plate.


Here's a view of what's inside the forks. A spring, slider bushing, spacer, seal, snap ring, dust seal and fork tube.
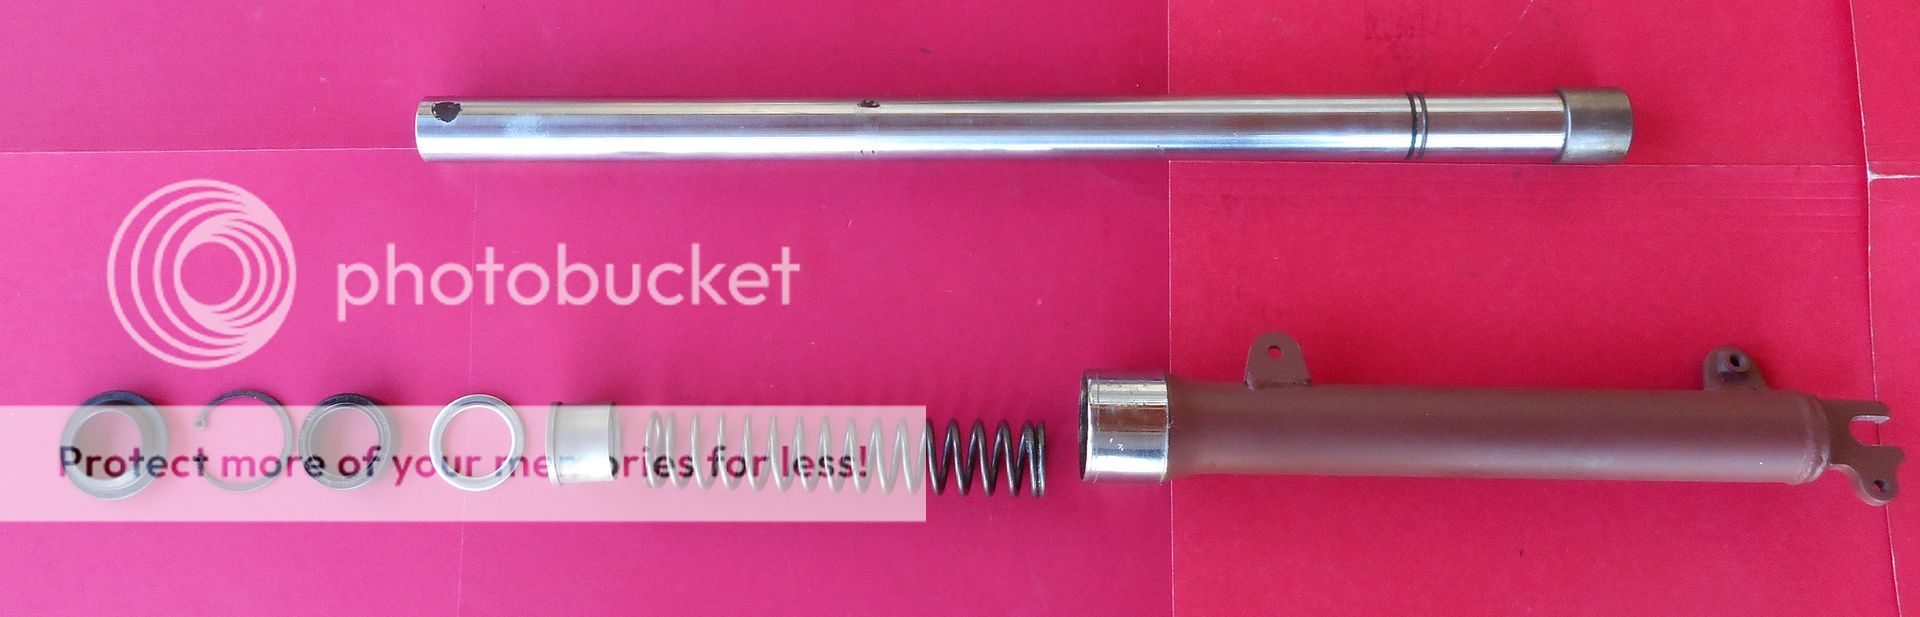
And this is the new slider bushing Dan made to replace the shorter one. It will drop the front end 1 inch. We were going to just make a 1 inch spacer to add, but there are some oil holes under it and we didn't want the bushing to starve for lube.

Bill also took the fenders and tank home to strip for painting.
Well, it's all in the details that make your bike stand out from others. I secured the speedo drive to the new moped hub by removing the long bent over tabs with a couple of 6-32 screws tapped directly into the hub.
I also reshaped the squared off openings in the rear fender for the belt into a more refined and pleasing contour.


Bill stripped the paint from the fenders and tank. Almost ready to re-paint. I have heavy spokes on order and will get the wheels painted and laced shortly. Working on the seat mount next and have a couple of ideas to try.