First update in two years
Hello,
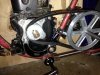
Sorry I did not get to doing any more updates.. I got the bike running somewhat with a Tecumseh H35 carburetor and the original muffler, then got busy with my other hobby- alcohol. It became a problem and so I quit.
I have so much time and money now!
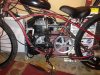
Well, I didn't run the bike for a while, and there was this nasty stuff all over it. So I decided to do the restoration/fixing I should have originally done when I got the used motor.
Started by taking apart the carburetor. Soaked it in vinegar, cleaned out everything, put it back together. Now I know how it works.. fully.
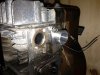
Decided to take apart the motor. I just found out today that it was manufactured 3/1998. Not bad!! Upon taking apart the motor I found there was this black carbon gunk everywhere. On the valves, piston, compression chamber, around the valve springs, ports, etc. I decided to clean it.
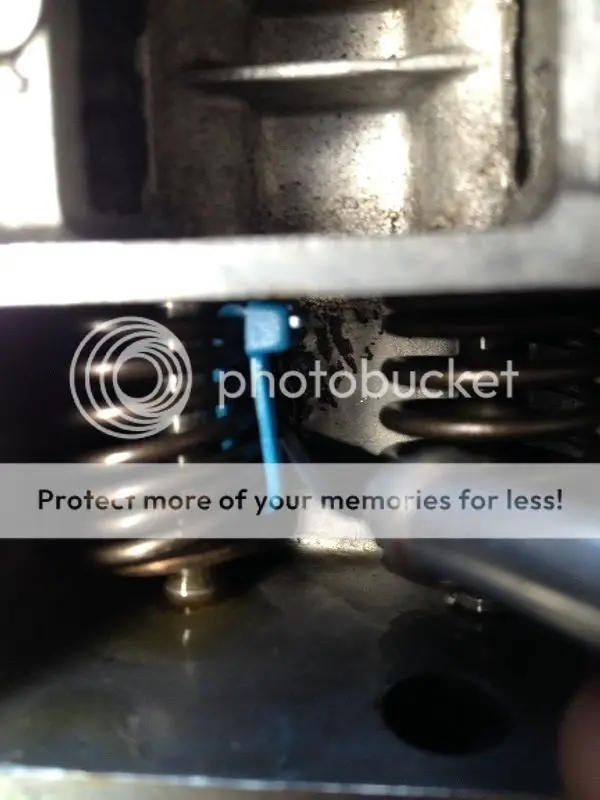
Upon removal of the valve cover.. I saw the springs.. and wondered how to remove them. I've read threads on rebuilding the briggs 5hp and was terrified of dealing with the valves without the mystical "valve spring compressor". Needless to say, I went ahead and took em out anyway, figuring I'd find a way to get em back in there, somehow.
I soaked everything in vinegar. Cleaned it off, then soaked everything in vinegar again. That black carbon was still there in some places, but the valves were clean.
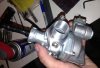
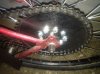
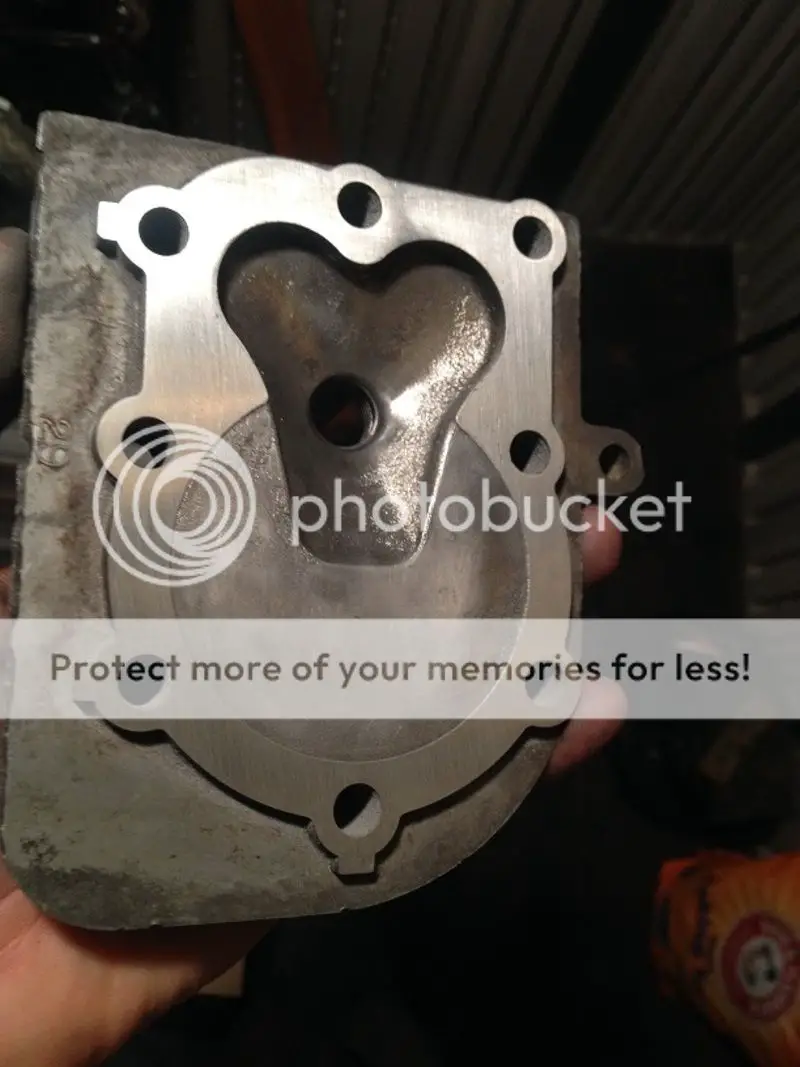
Decided to port and polish the engine while I had it open. Ground down some of the rough casting in the exhaust port, ground down the eyebrows about .035" or so, smoothed it all out and cleaned the carbon off the ports with a wire dremel attachment (run off my corded drill of course, I'm a cheap bastard with only one rotary tool).
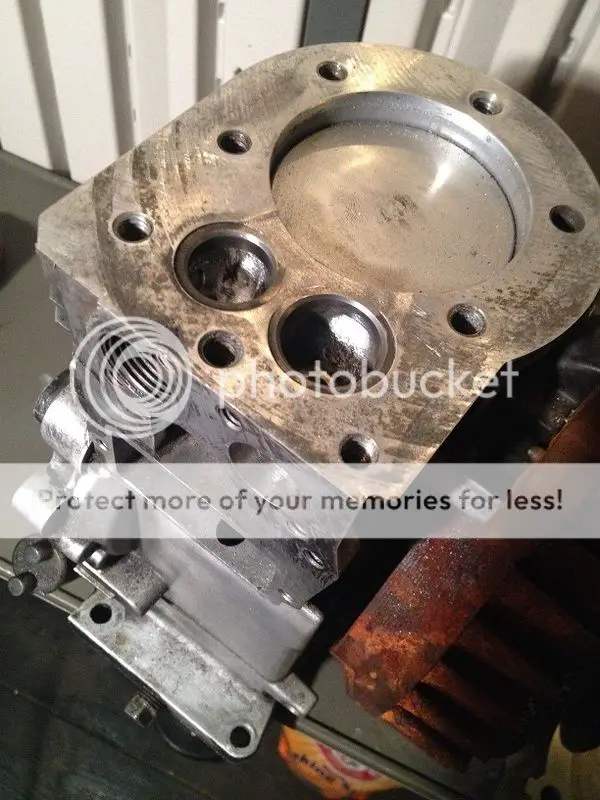
I cleaned the carbon off the head by using the same wire dremel bit. That thing is lovely!! cleaned it up real quick, what all the vinegar missed (most of it).
Sanded down the head around .015" to raise and make up for lost compression from removing eyebrow material and all that carbon. I duct-taped a piece of 120grit to an extra flooring tile- I checked the flatness with the side of a caliper before doing so. Pretty flat. Finished the sanding with 320grit.
Cleaned everything, and started to put it back together. Ah, time to compress the springs! This step was so easy.. I'm embarrassed at how terrified I was before.
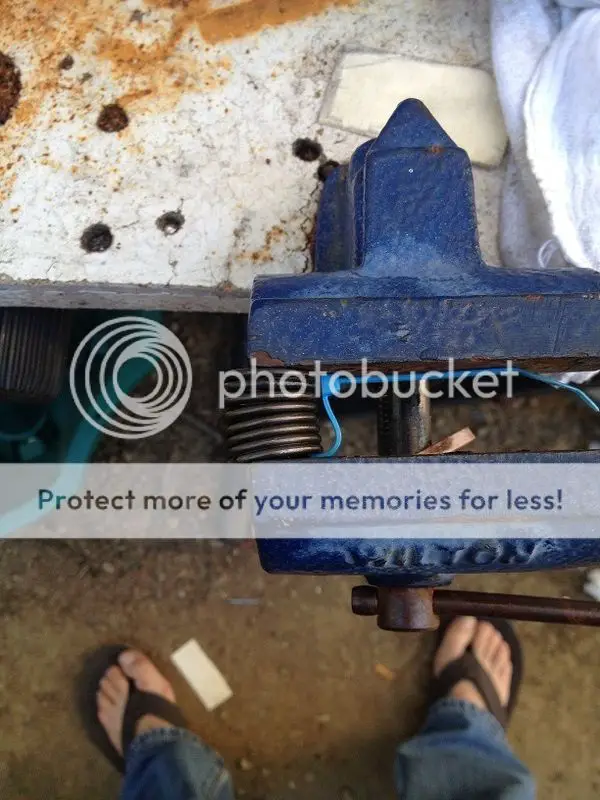
I found a very easy way to do this. First, compress the spring on the edge of a small vice. Zip tie that side, then turn it around and zip tie the other side. Voila! compressed valve spring for pennies..
Then, use needle-nose pliers to insert the keeper and secure it. Make sure it's in the correct spot, then get in there with an Xacto knife and cut 'em, and pull em out with the pliers. Intimidating job DONE EASILY!! Heck, taking the damn springs OUT was the hard part.. took me like 15 minutes. So if you can take them out... you can DEFINITELY put them back in.
Damn 5-pic limit...

")


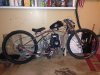
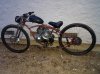
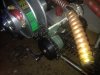
 where the left pillow block bearing attaches to the plate. And my air filter fell off somewhere. I'm gonna go for a walk, see if I can find it.