
knightscape
Member
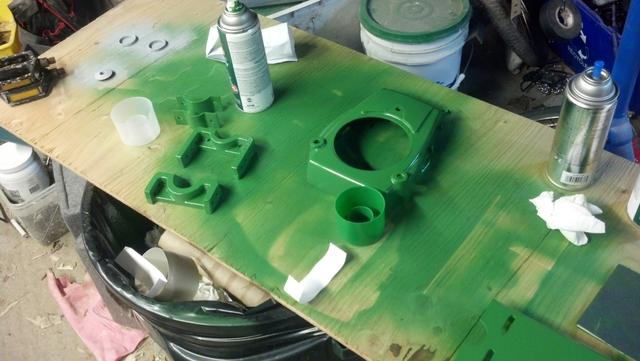
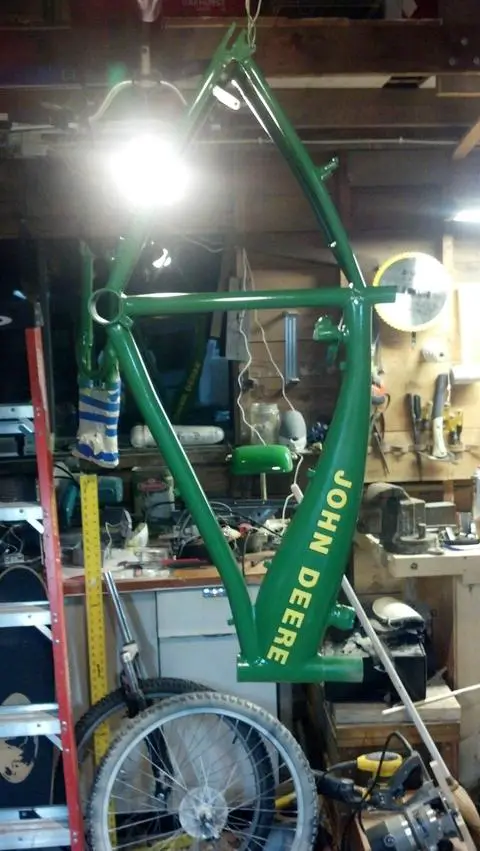
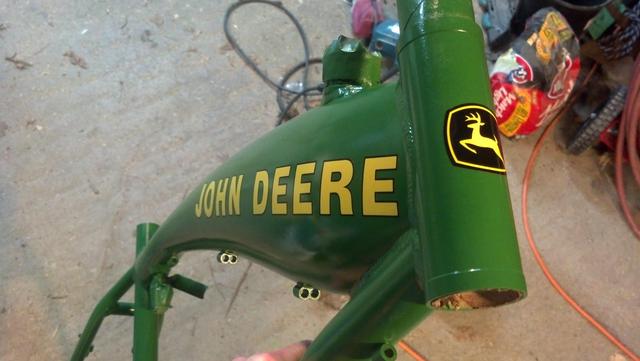
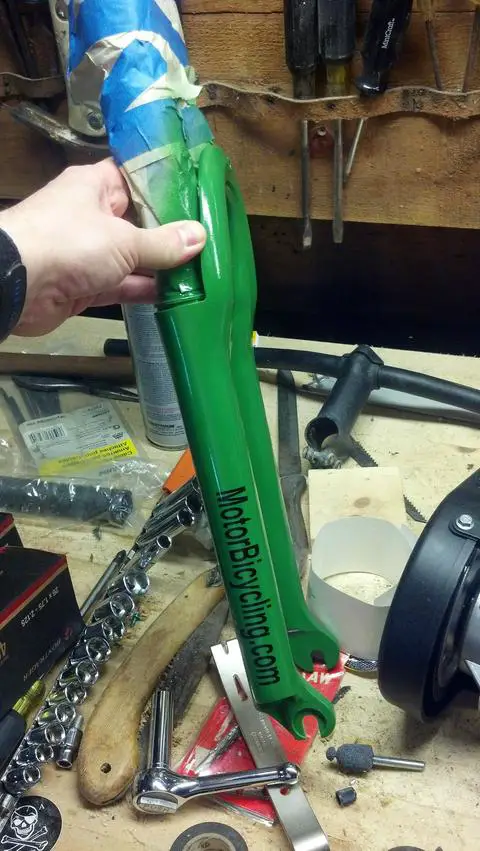
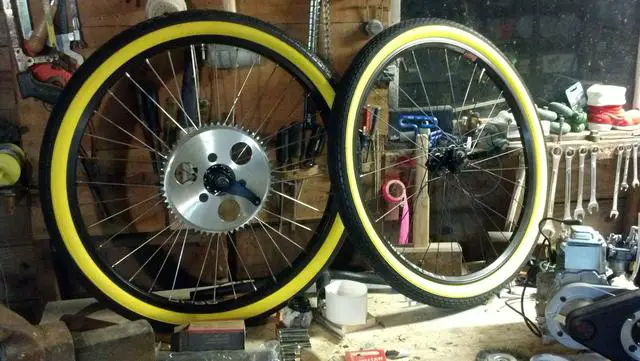
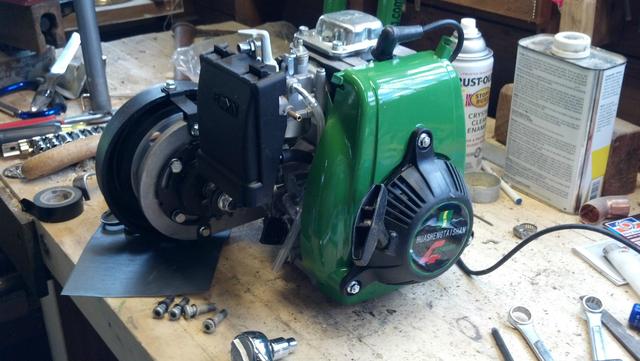
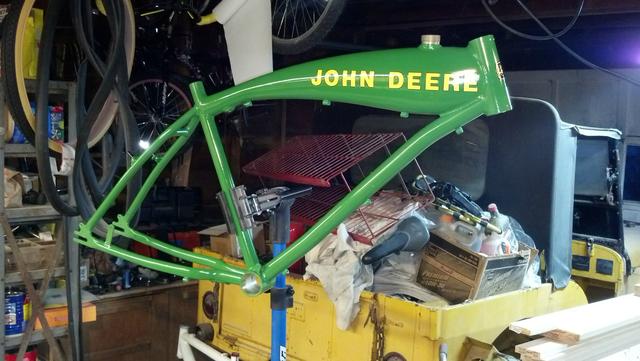
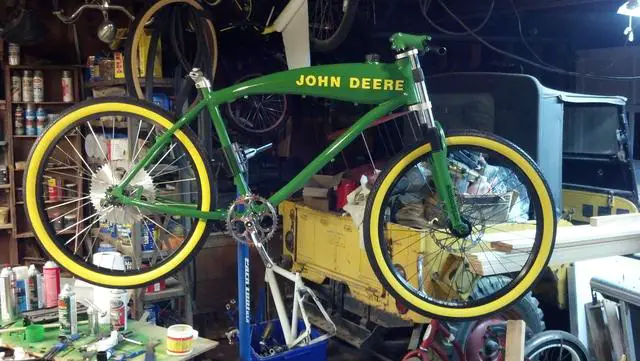
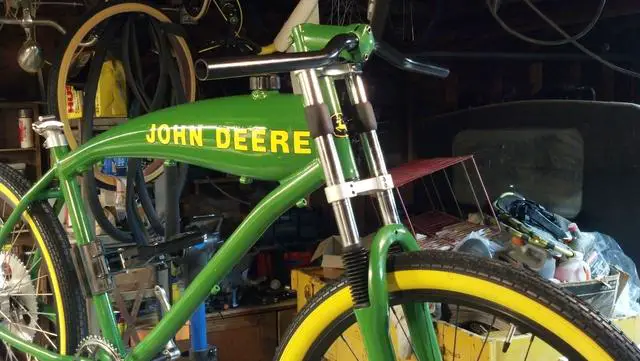
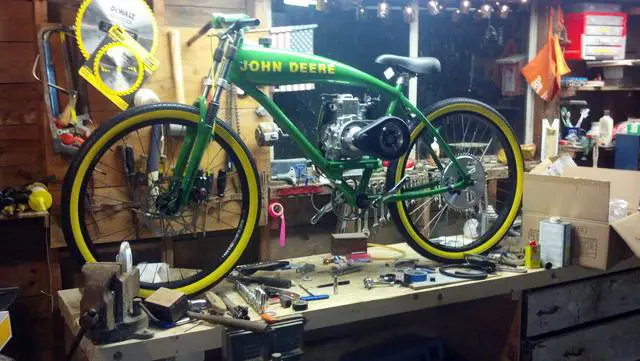
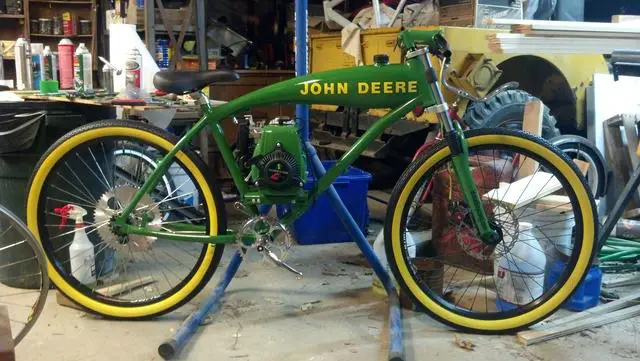
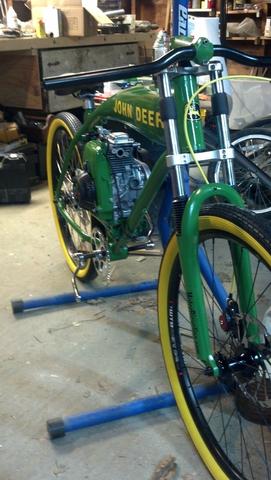
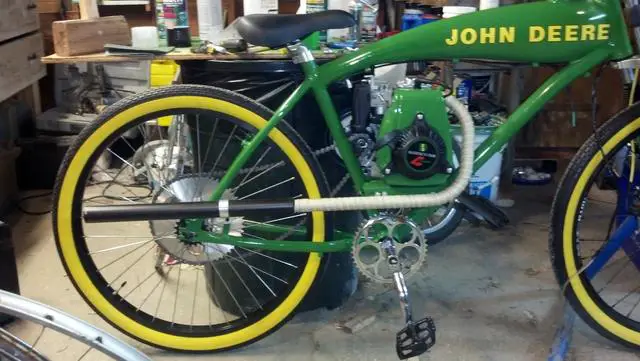
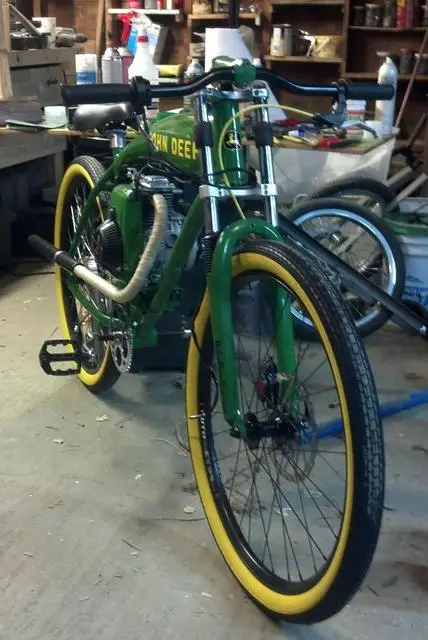
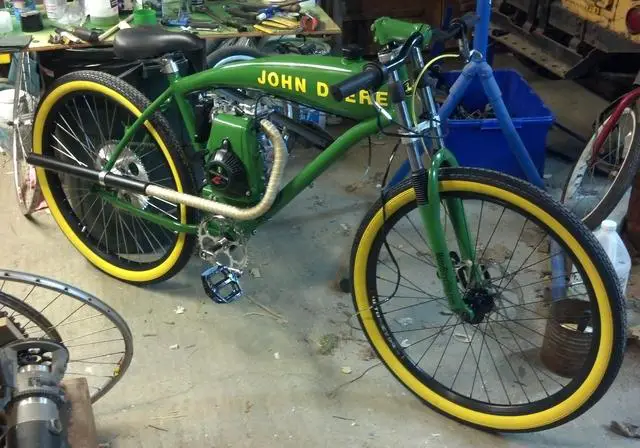
Now that I've got my paint pretty much done, I've got enough to kick off my build thread. I've always had a soft spot for John Deere bikes. My sister still has her John Deere bike from '73, I've got a '71 that I picked up a few years ago, and a fake painted road bike build done up in modern JD colors. Probably a side effect of growing up on and around farms. I thought a motorized version would be only natural and the GT2A frames have so much more surface for all that green. Building for reliability and fun here with a 4 stroke HuaSheng, hoping to actually use this as a fair weather commuter. Some of the parts that will be used:
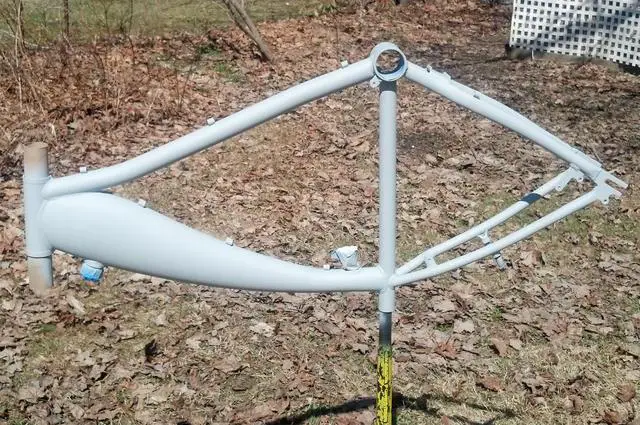
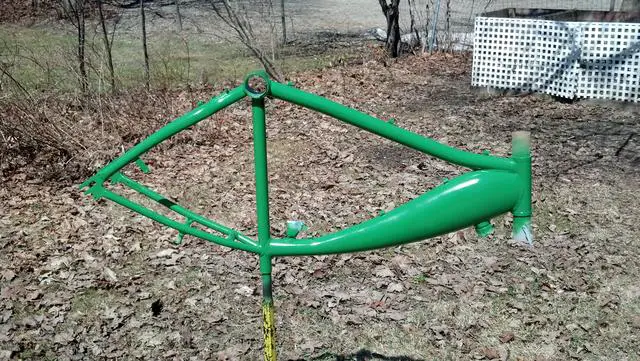
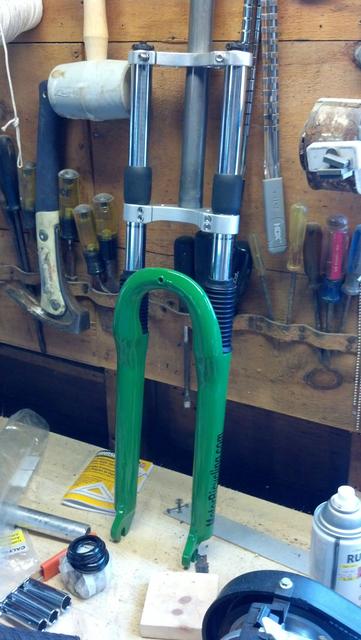
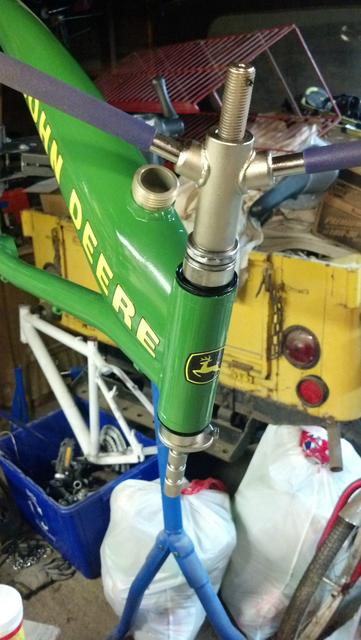
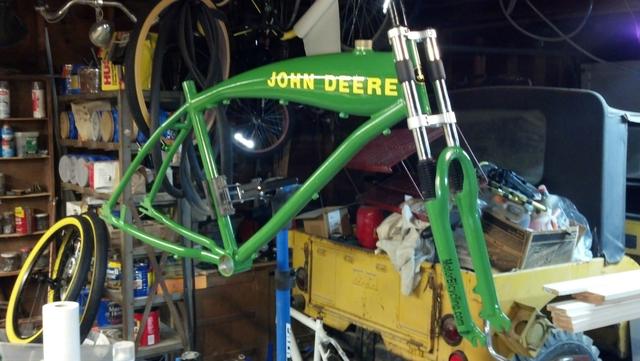
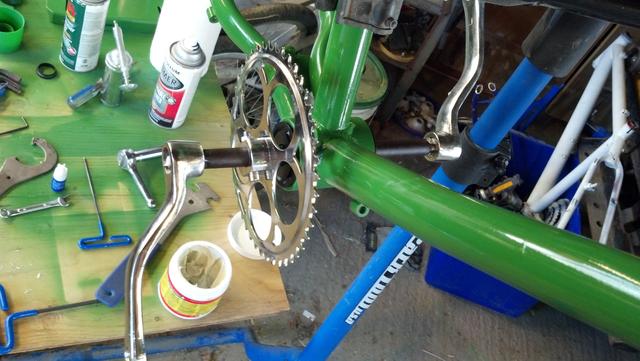
Some pics to get started:
More to come...
- GT2A-S frame
- RST Dual Crown suspension fork
- HuaSheng 142F with taper shaft and 80t pulley
- Phantom Bikes long exhaust w/ wrapped header
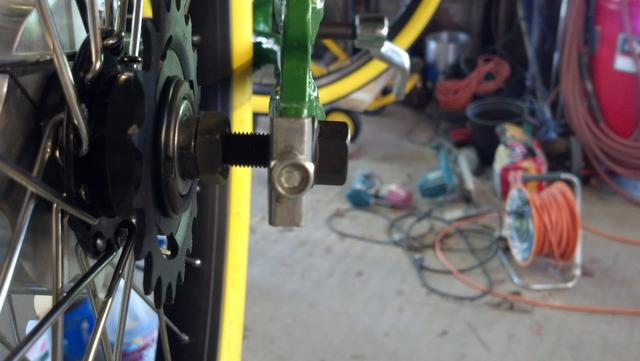
- Wide doublewall rim rear wheel, 12g spokes, KT HiStop coaster hub
- Sportsman Flyer Sprocket adaptor w/56t sprocket
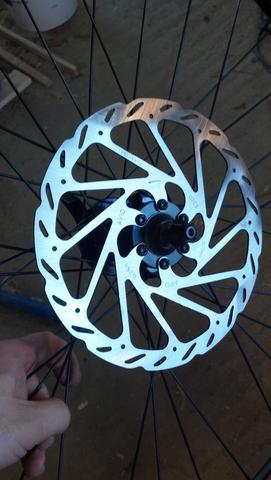
- Front Disc Brake MTB wheel, 14g spokes, Avid BB7 brakes w/203mm rotor
Some pics to get started:
More to come...
Last edited:
")