sportscarpat
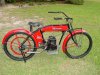
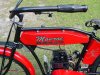
Bonneville Bomber the Salt Flat record breaker
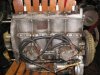
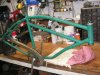
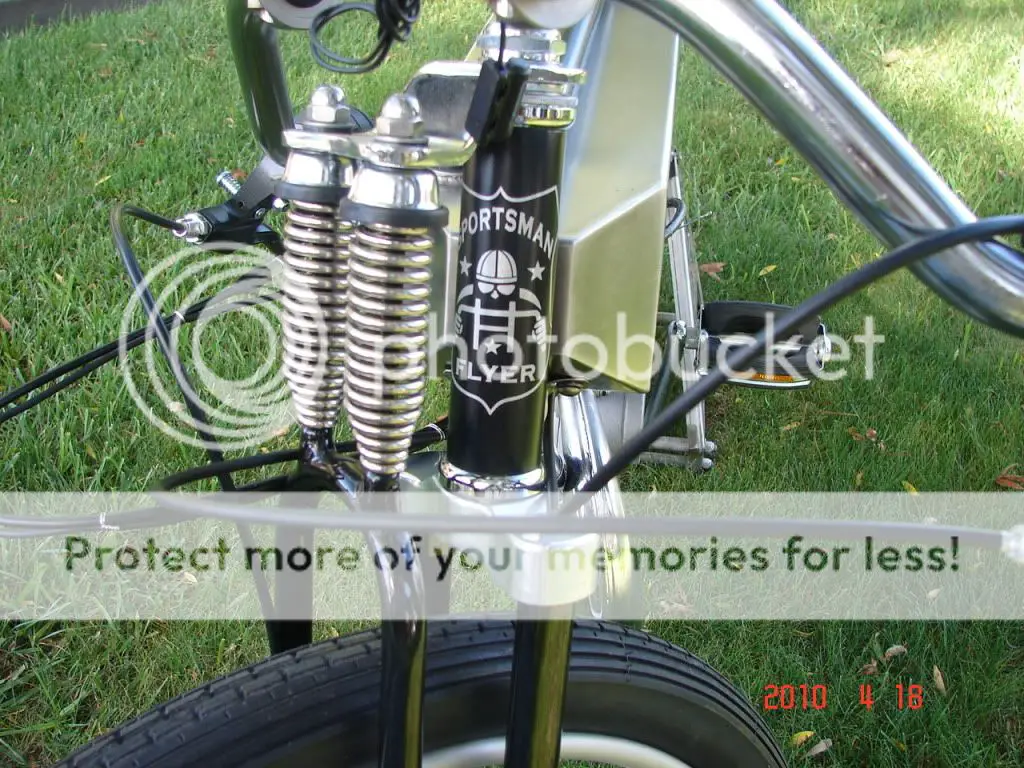
Is it alright to bump my own thread? I have been so busy I still don't have this thing running. Still working out the final details and also came up with some graphics with help from Journeyman. The guy is an artist! I will post the details later, but for now here are a couple fresh pictures. 72tx340, your "Flyer" frame package is boxed up and ready to ship. Whitey and Mike, your next. Look closely at that stainless work. No bondo on that sheet metal! Naked gas tanks, try that at home. If you look closely you can also see the Typhoon intake manifold (who makes those, anyway?) and stainless full port exhaust flange.


Last edited:
")