Norman
LORD VADER Moderator
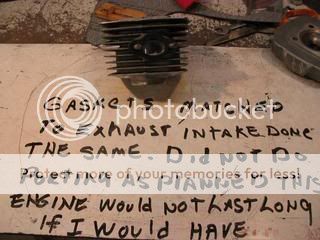
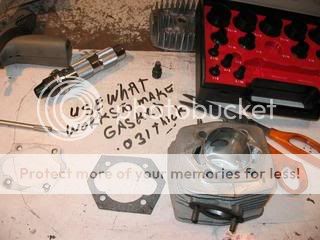
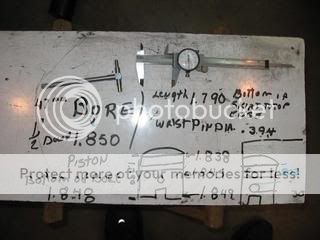
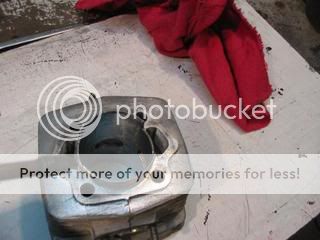
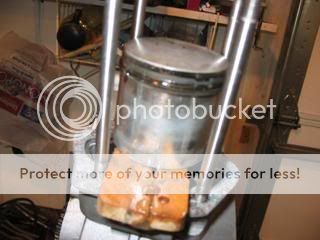
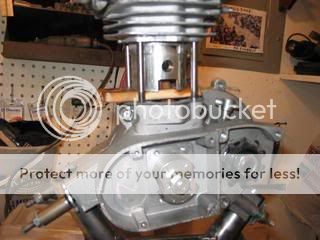
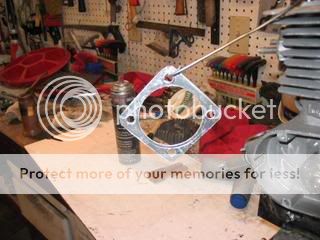
Guys I've been working all day today first on building a bicycle engine stand and taking pictures of this then I took the bicycle engine off the bike and tore it down taking pictures and doing some mild performance things that any of you can do I was going to get wild with it but after taking it apart and seeing its a bushed rod on both ends I pussed out as this bicycle engine wouldn't last 5 minutes doing what I had in mind to do. Anyway I'll maybe start tonight on the posts but I'm still puting the engine back in the bike and almost done So when I do start the pictures could you wait until I'm done before you make any comments on this post or if you can't wait and want to ask something pm me instead ok? I'll start as soon as I get the bike going. There's I think over 30 pictures so it will take a while.
Norman
Norman
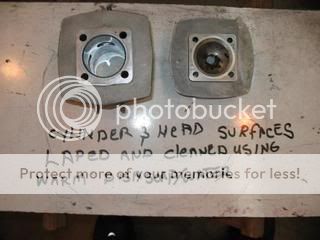
")