cobrafreak
New Member
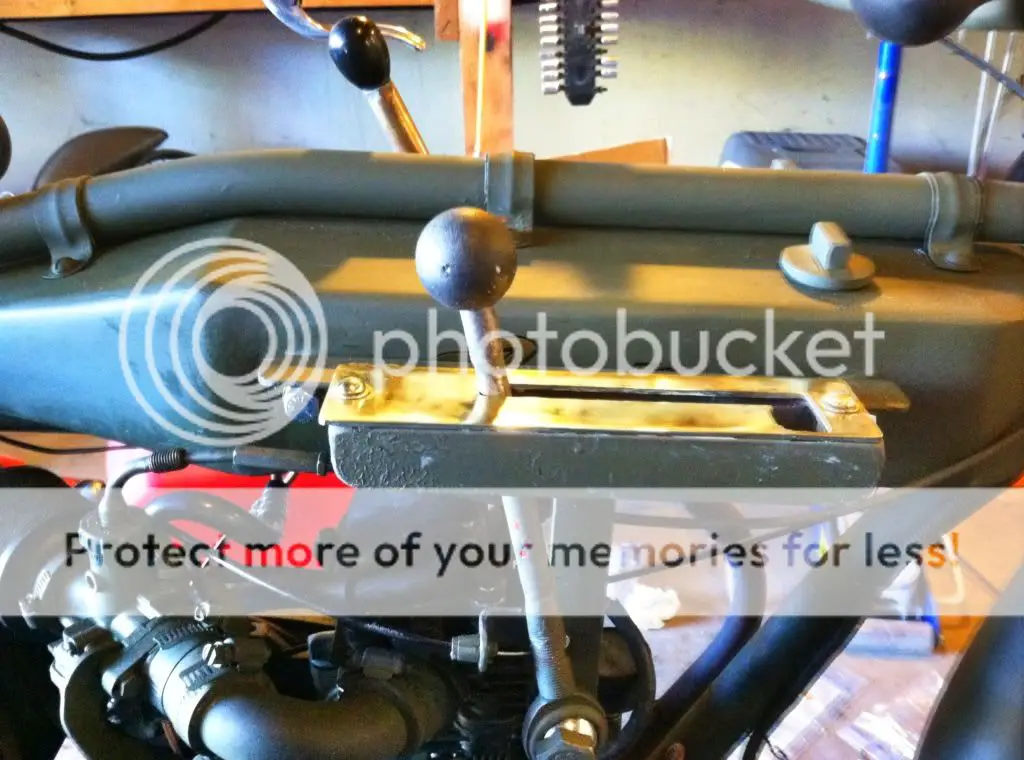
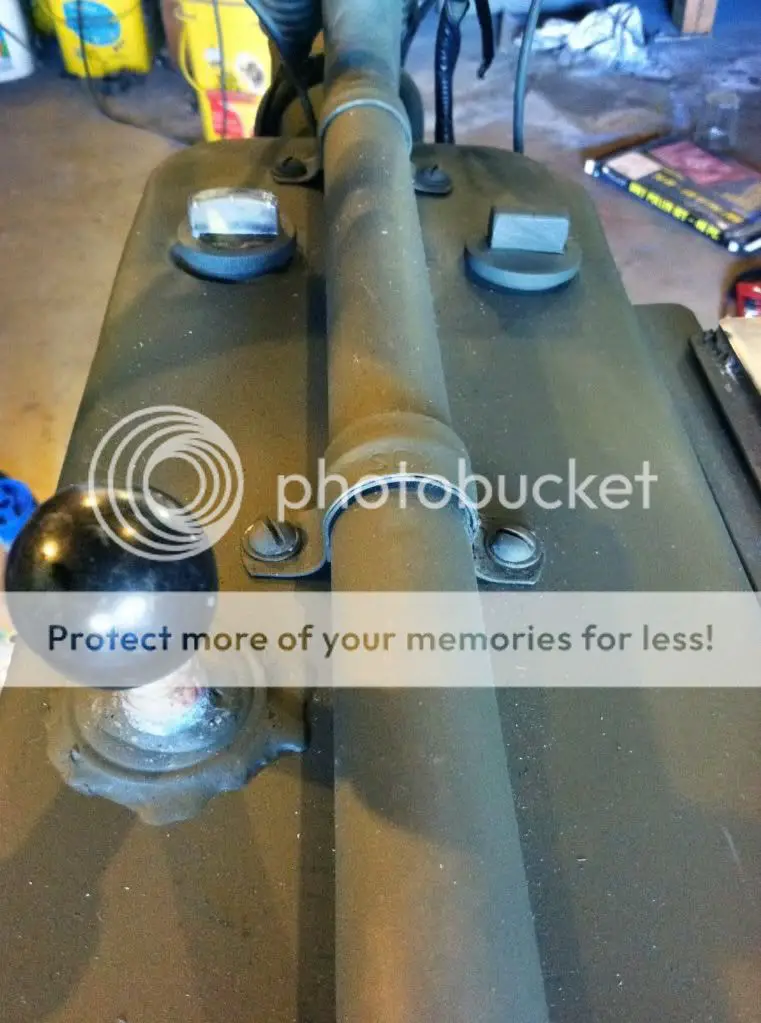
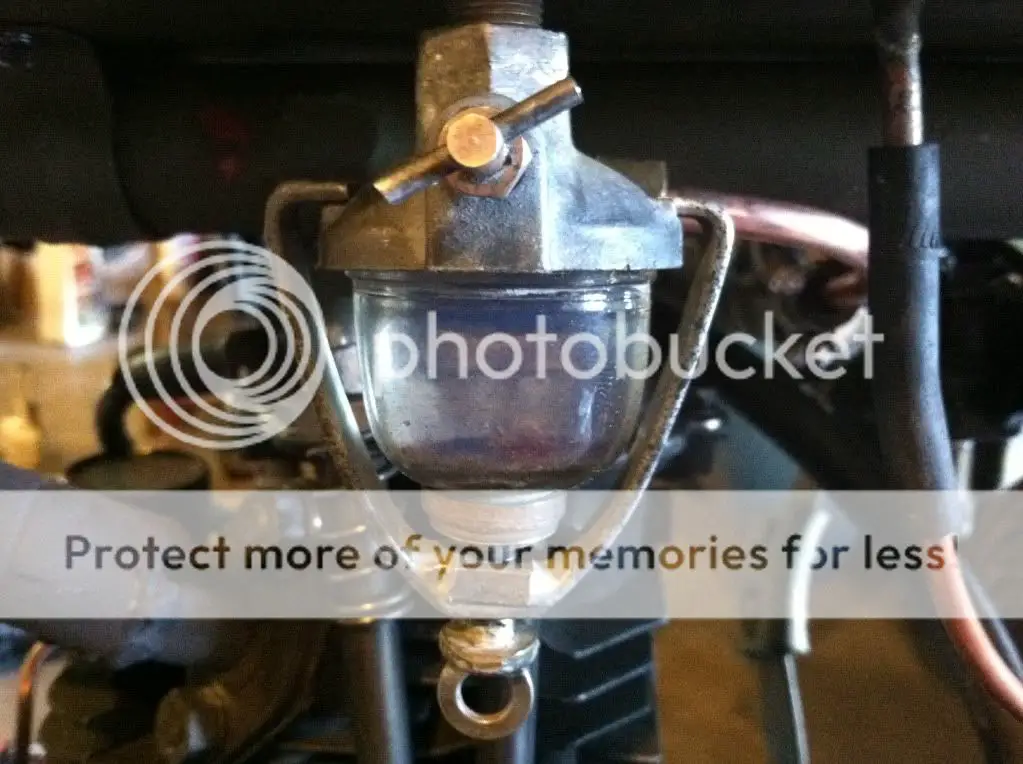
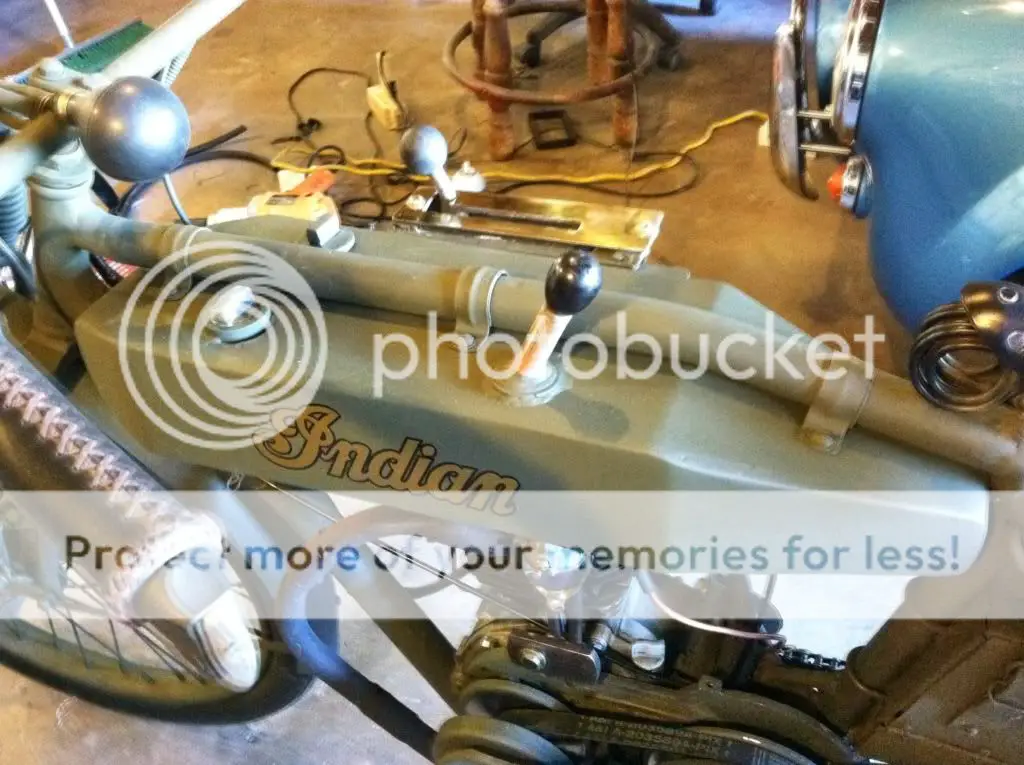
What you are looking at is the culmination of almost 40 hours of labor. It all started when my old fuel tank began to seep fuel out. After a single year the epoxy resin inside decayed and broke off, rattling around, clogging lines. It wasn't pretty. I learned from aircraft forums that the moment you use an epoxy resin liner to a fuel tank you have destroyed the chances of ever fixing the tank by conventional means again. Basically a good metal guy can fix anything. My problems were threefold. 1, I'm not a good metal guy (just OK). 2, My equipment isn't the greatest. 3, I have the wrong type of equipment. I have an ARC stick welder and a flux wire feed. Great for fixing things and fabricating frames, but totally wrong for fabricating tanks. The welds these machines create are too porous. No matter how good my welds are, they are still porous. So I meet Feelyx on the forum who happens to live just 3 miles away from me. He is a fabricating expert. He said that I need to silver solder the tank rather than weld or braze. He explained silver solder is not porous, is easy to fix if you need to such as crash damage, is very very strong, and requires minimal equipment. Silver Solder can withstand 70,000 PSI of force, just under what welded metal is. Plenty strong for our purpose. Silver solder is considered "high temperature solder", but is much cooler than brazing which requires a gas/oxygen torch to get hot and can distort sheet metal. So I started out with 18 gauge galvanized sheet metal. Feelyx (Tim) taught me how to properly silver solder using just a propane torch. You need a hardware store propane torch, hydrochloric acid (muratic swimming pool acid), silver solder, wire brushes, and cans of brake or carburetor cleaner. You dilute the acid 8:1 with tap water. Diluted at this ratio works great for metal work and doesn't harm your hands if you get it on you. You roughen up the metal with the wire brush, clean the metal with brake cleaner to get the oils out, acid splash the area, heat area with torch, and apply the silver solder till it flows properly. Hand tools that make sheet metal work easier are a 30" sheet metal brake, left, right, and straight cut snips, sheet metal hammer and pliers, and an air flanger for seams. Harbor Freight tools has everything you need for a reasonable amount of money. Very time consuming, but this tank will last forever and has no need for any epoxy resin sealant. OK, a little about the tank itself. Notice the shift lever? Yes, it's off my first China Girl build. It has no purpose other than looking period, but it's spring loaded and you can go through the motions as you ride to give a vintage effect. Mounted on top is a Faux manuel oil pump lever. It's just silver soldered on top. It too is spring loaded and it can be operated to give effect. The fuel filler cap on the right is a huge 1 1/4" nut that is machined down to match the fuel gauge indicator on the left. Yes a real working fuel gauge. It is mechanical and works with a float arm. You can see the bright yellow indicator showing full tank. The gas cap is not vented. I run a copper line from the back bottom to the inside top to internally vent the tank like modern tanks are. I have a vintage glass and brass sediment fuel filter/petcock. Looks period and functions great.


Last edited:


