You are using an out of date browser. It may not display this or other websites correctly.
You should upgrade or use an alternative browser.
You should upgrade or use an alternative browser.
Ryo's Cafe/Cruiser/hot/ratrod bike thing.
- Thread starter Ryoskate
- Start date
Ryoskate
New Member
I'm liking the build but I'm a little concerned about your engine. A bent crank and connecting rod? Not good. Good luck.
Keep us informed.
Tom
I'm reluctant on using this crank but honestly... I doubt its any better from factory.
I'm going to borrow my buddy's dial indicator to true the crank.
Don't know what to do with the rod yet. It looks bent but that might just be the casting. I don't have a press or a jig so I can't really take apart the crank.
Ryoskate
New Member
Also, a video update on the gas tank and the saddle.
I'm terrible at talking so forgive me if I said a few terminology wrong.
https://www.youtube.com/watch?v=o5_O6VSdl3E&feature=youtu.be
I'm terrible at talking so forgive me if I said a few terminology wrong.
https://www.youtube.com/watch?v=o5_O6VSdl3E&feature=youtu.be
allen standley
Well-Known Member
Way Cool! Keep up the good work!
Ryoskate
New Member
Borrowed my buddy's dial indicator today. I hammered the crank with my eyeball and a regular caliper the day before and surprisingly, I got it down to .008~.010 in max run-out all through out.
Honestly... With the quality of these motors... I think I can live with that. Would have loved to get it closer to .005~.001 though...
As for the rod, I really can't check straightness with it on the crank... But the play in the wrist pin tells me that it'll probably be allright.
Honestly... With the quality of these motors... I think I can live with that. Would have loved to get it closer to .005~.001 though...
As for the rod, I really can't check straightness with it on the crank... But the play in the wrist pin tells me that it'll probably be allright.
Last edited:
Ryoskate
New Member
Bought a dial indicator and finally got the d*** crank down to .005 run out at most and .002 at smallest.
A LOT of parts came in over the week. Honestly with the amount of things left to do, I doubt I can put all of em this week-end.
One of which is a puch head...I bought it without much thought since it was pretty clean and had a decomp valve, but I made a mistake... It's a low quench, un-modified puch head. I failed to realise that when you guys say "puch head" it means the machined high compression ones sold on Treatland.
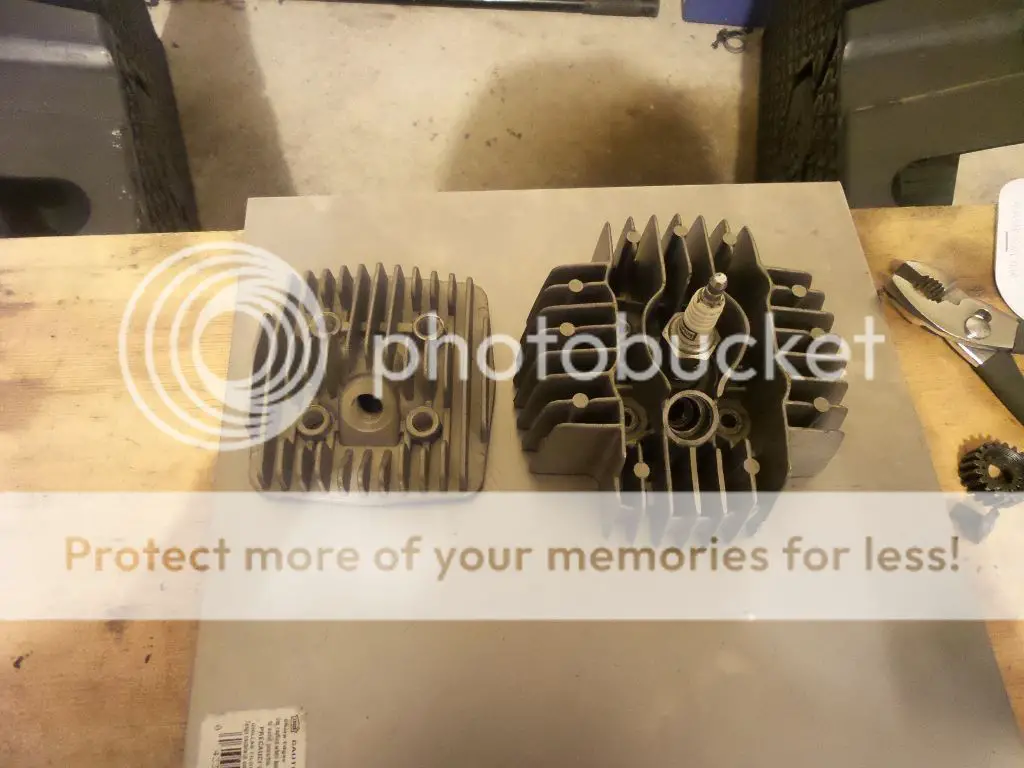
It must have been for a 55cc too... The chamber dia is way too small.
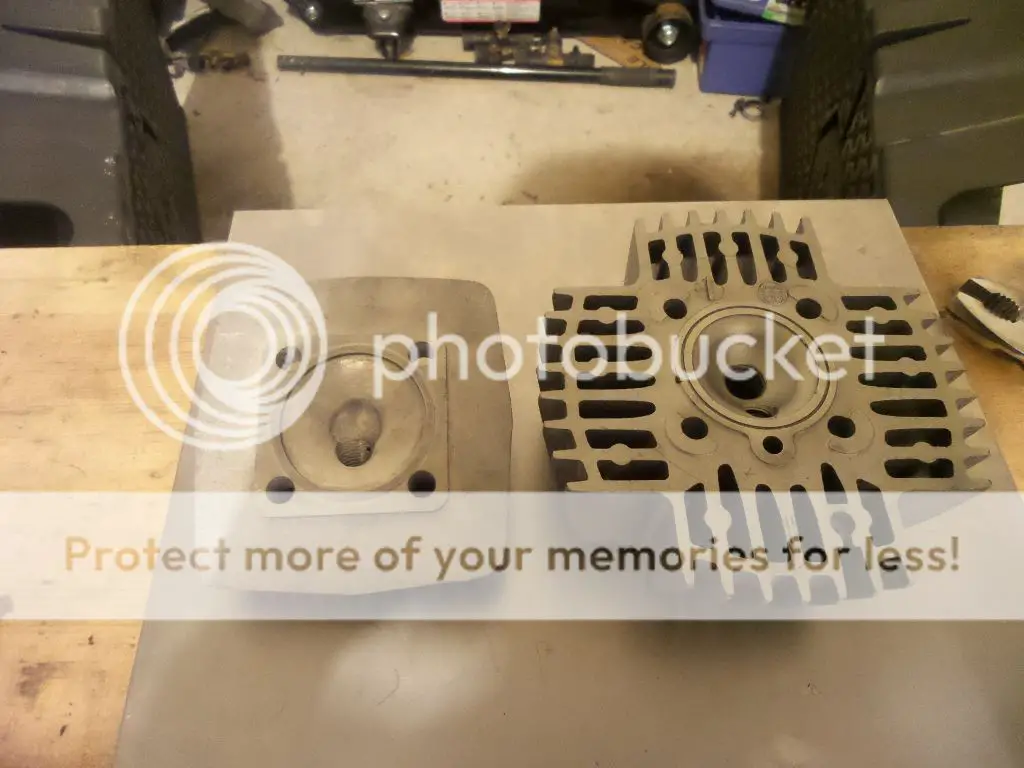
Argh..... Well, I measured the chamber cc and came out with approx 6cc give or take on the Puch and 8~9cc on the stock slant head. So it is, quote - unquote smaller chamber = higher compression. But, Quench is almost always more important, especially in determining the detonation.
But the thing is, the stock slant head isn't any better. It has too much space between the piston and the head, making the quench chamber practically useless... I clay-tested the Puch head and it clears the piston with 1 gasket... I think I'll just slap the puch head and see how it goes.
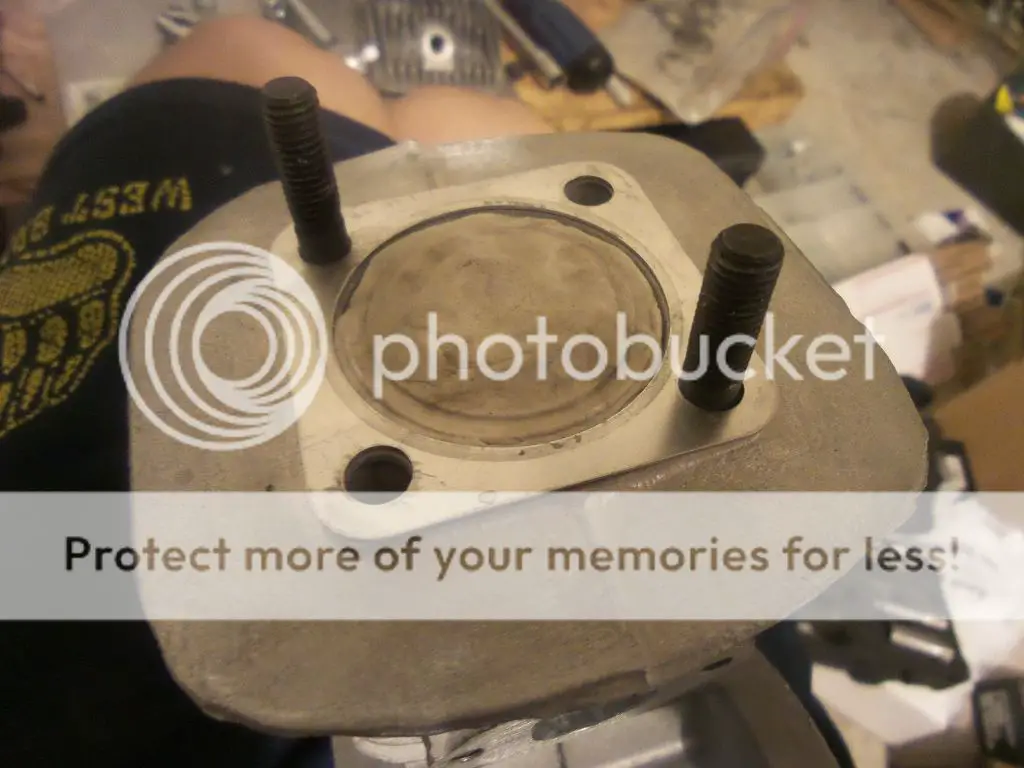
About .004~5 clearance from piston to head at the closest point.
A LOT of parts came in over the week. Honestly with the amount of things left to do, I doubt I can put all of em this week-end.
One of which is a puch head...I bought it without much thought since it was pretty clean and had a decomp valve, but I made a mistake... It's a low quench, un-modified puch head. I failed to realise that when you guys say "puch head" it means the machined high compression ones sold on Treatland.

It must have been for a 55cc too... The chamber dia is way too small.

Argh..... Well, I measured the chamber cc and came out with approx 6cc give or take on the Puch and 8~9cc on the stock slant head. So it is, quote - unquote smaller chamber = higher compression. But, Quench is almost always more important, especially in determining the detonation.
But the thing is, the stock slant head isn't any better. It has too much space between the piston and the head, making the quench chamber practically useless... I clay-tested the Puch head and it clears the piston with 1 gasket... I think I'll just slap the puch head and see how it goes.

About .004~5 clearance from piston to head at the closest point.
Ryoskate
New Member
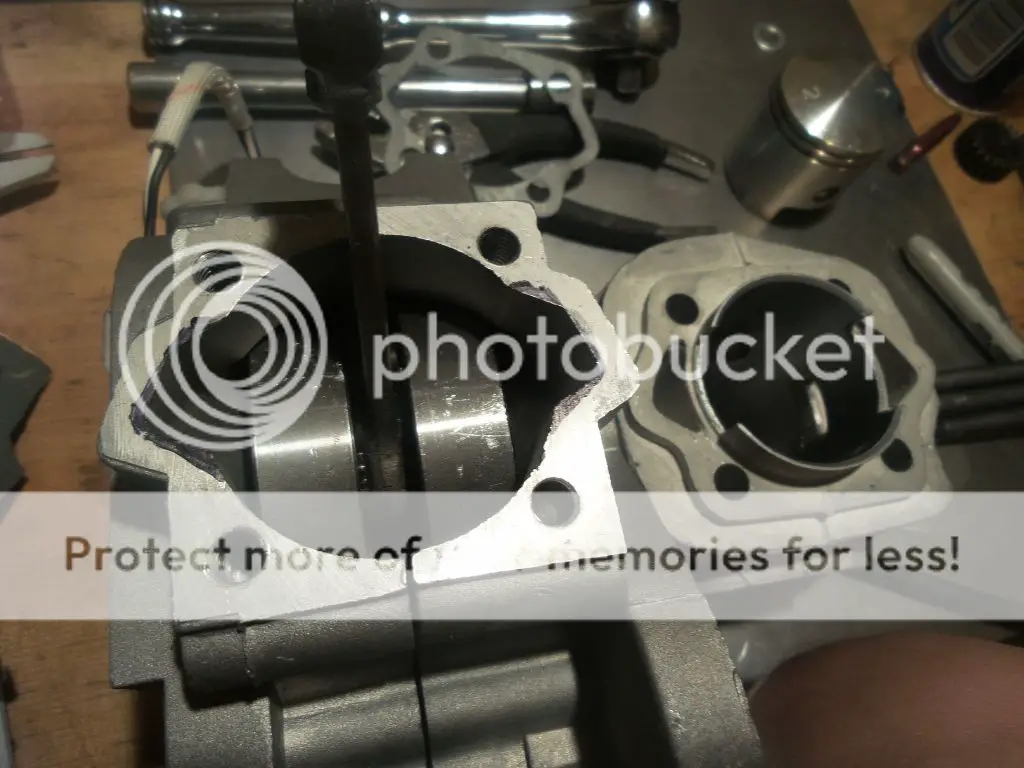
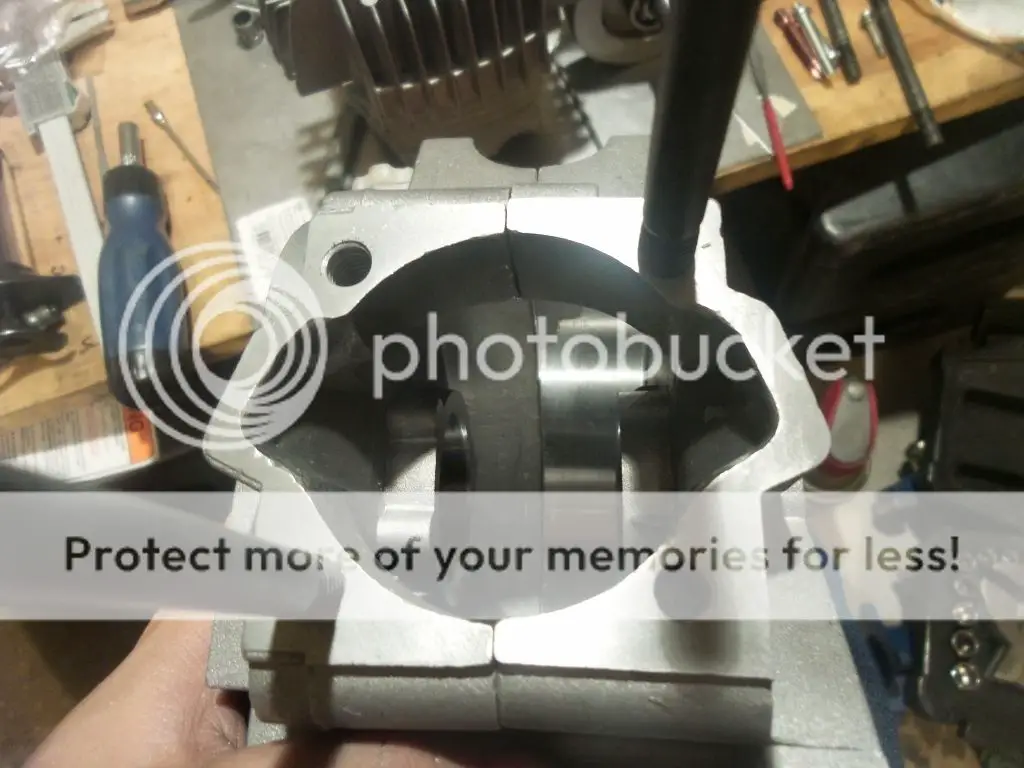
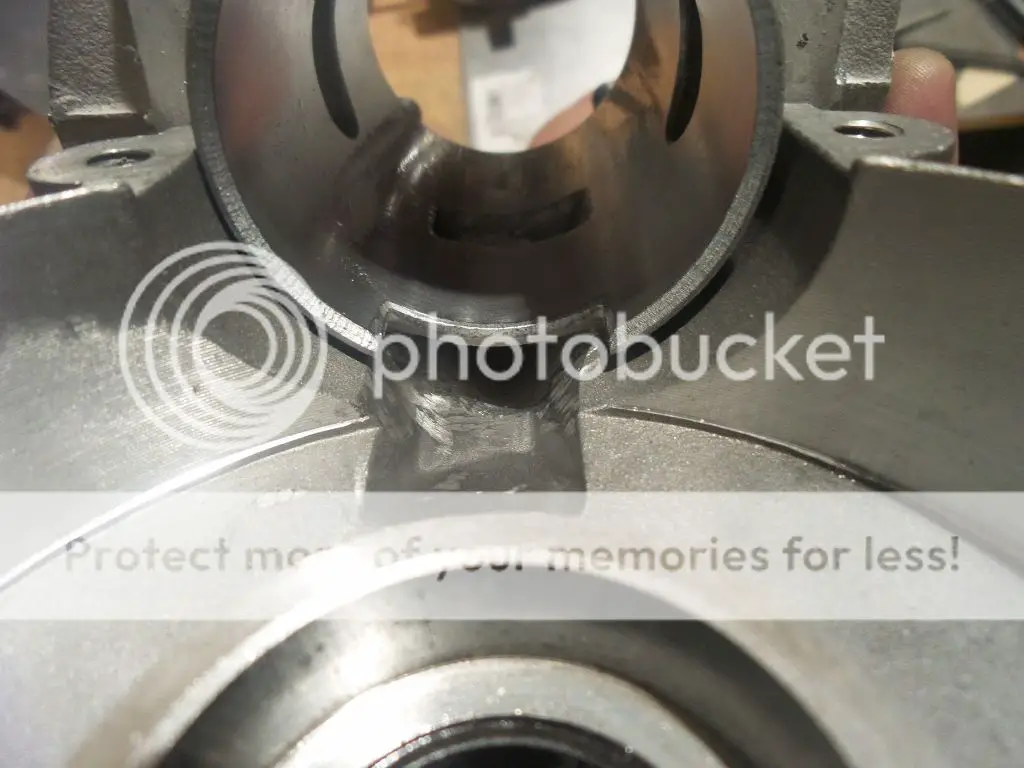
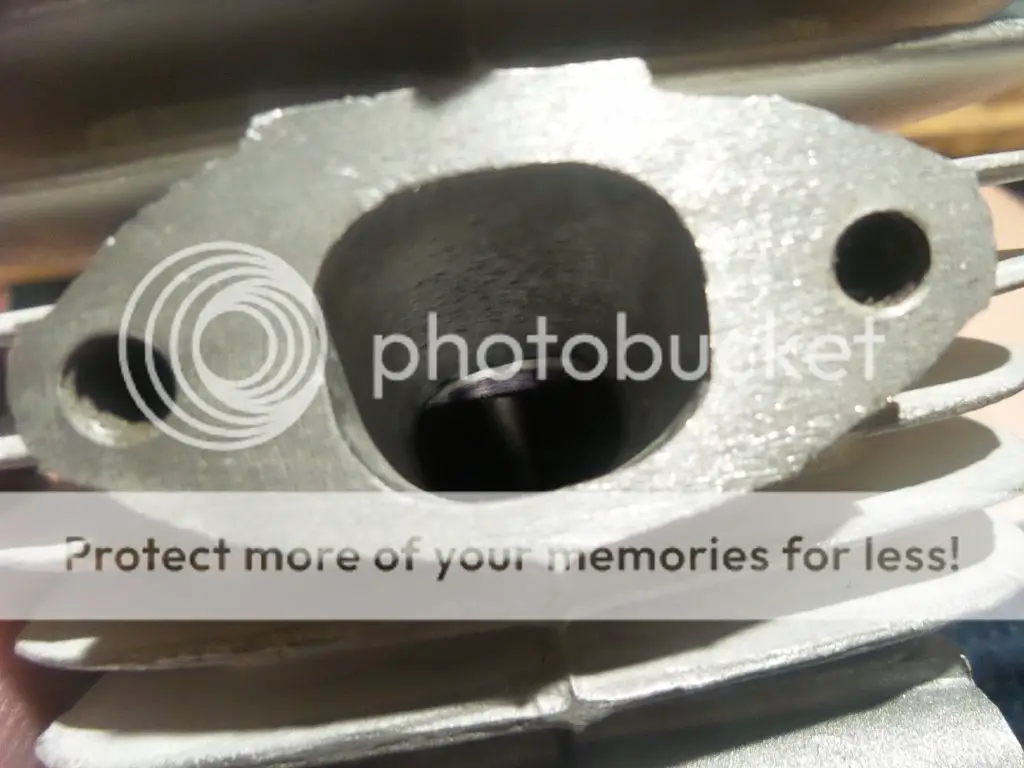
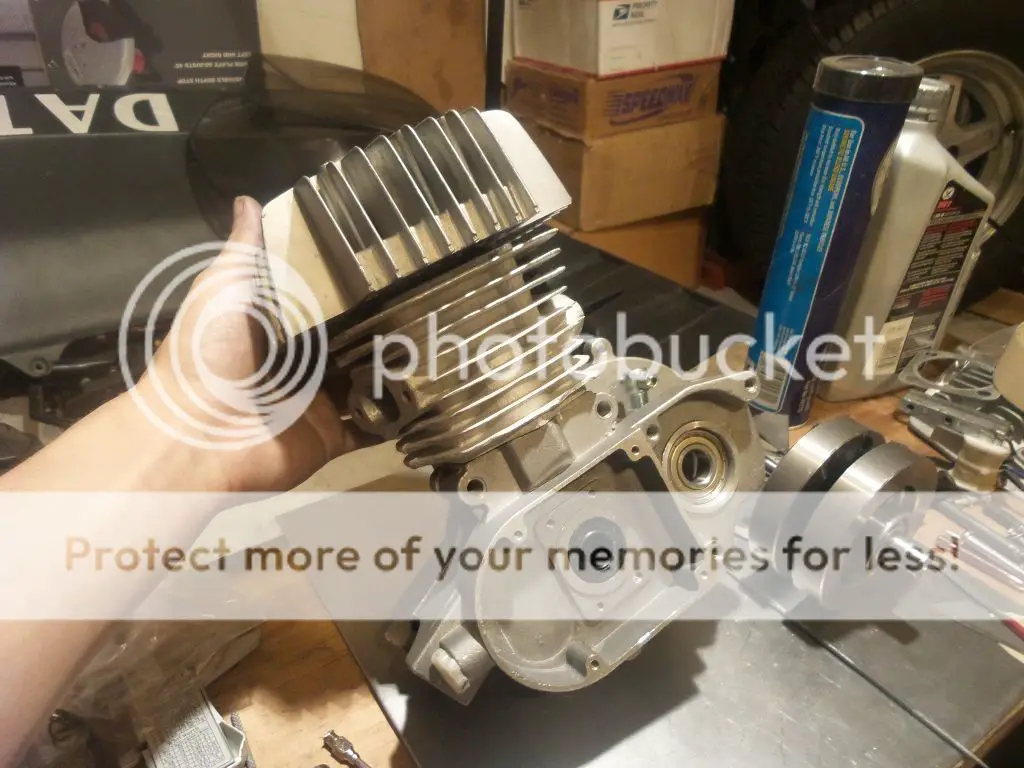
Also worked on the intake / exhaust timing / piston. Nothing extreme... Just a small change in timing and airflow.
I forgot to take the after pictures... I'll take em tommorow.
Before:

I still can't get over how good the Puch heads looks on these little turds.
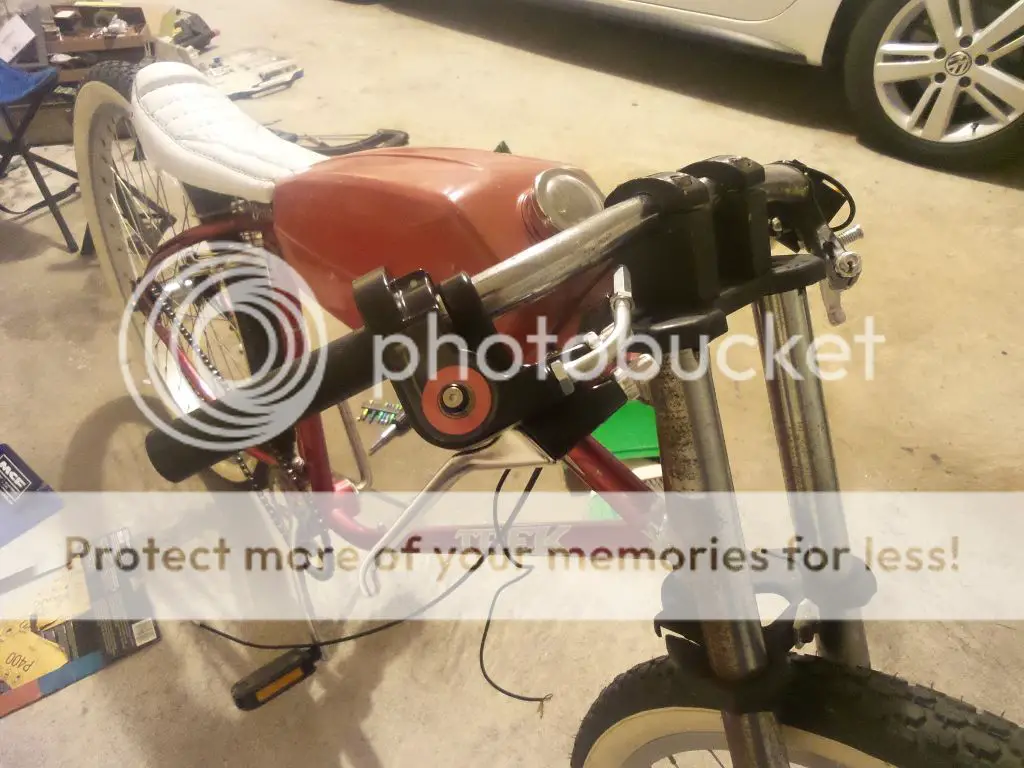
Started work on Handlebar area.
I forgot to take the after pictures... I'll take em tommorow.
Before:


I still can't get over how good the Puch heads looks on these little turds.

Started work on Handlebar area.

Ryoskate
New Member
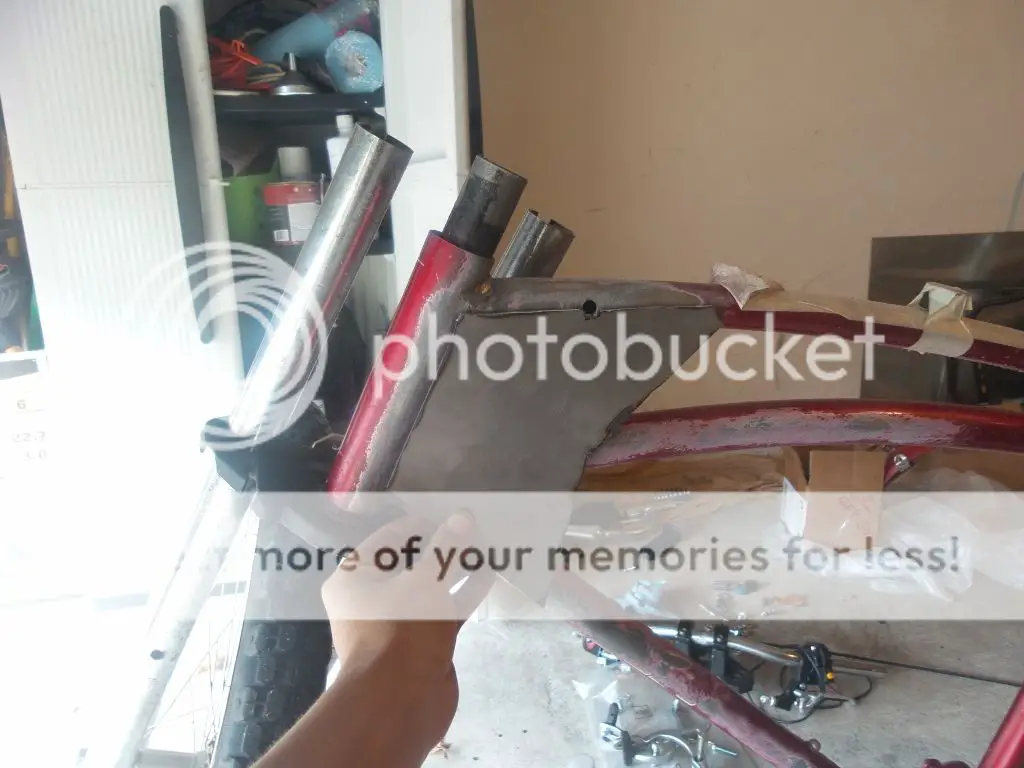
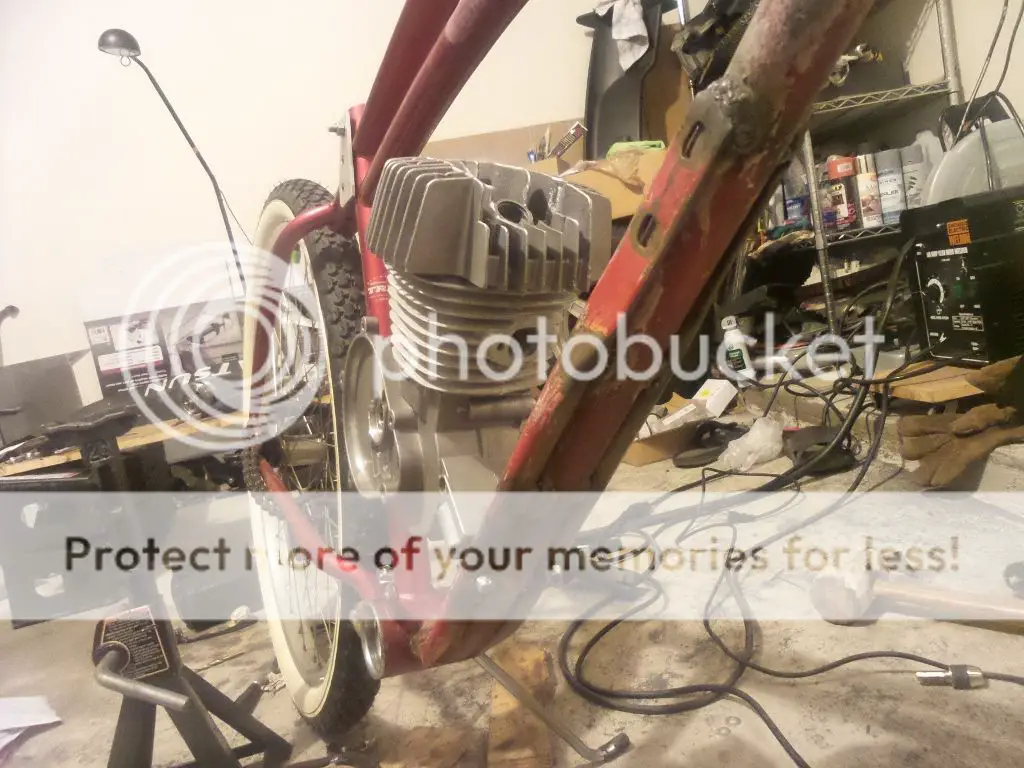
I also came up with this idea of welding 2 tubes onto the frame to make a solid mount.
I originally wanted to cut the frame and Y-off it into 2 but the tubing wall was too thin - and I also didn't want to risk putting anymore heat-stress on the frame.
I'll get a better picture once I paint it tommorow or so.
Almost there!
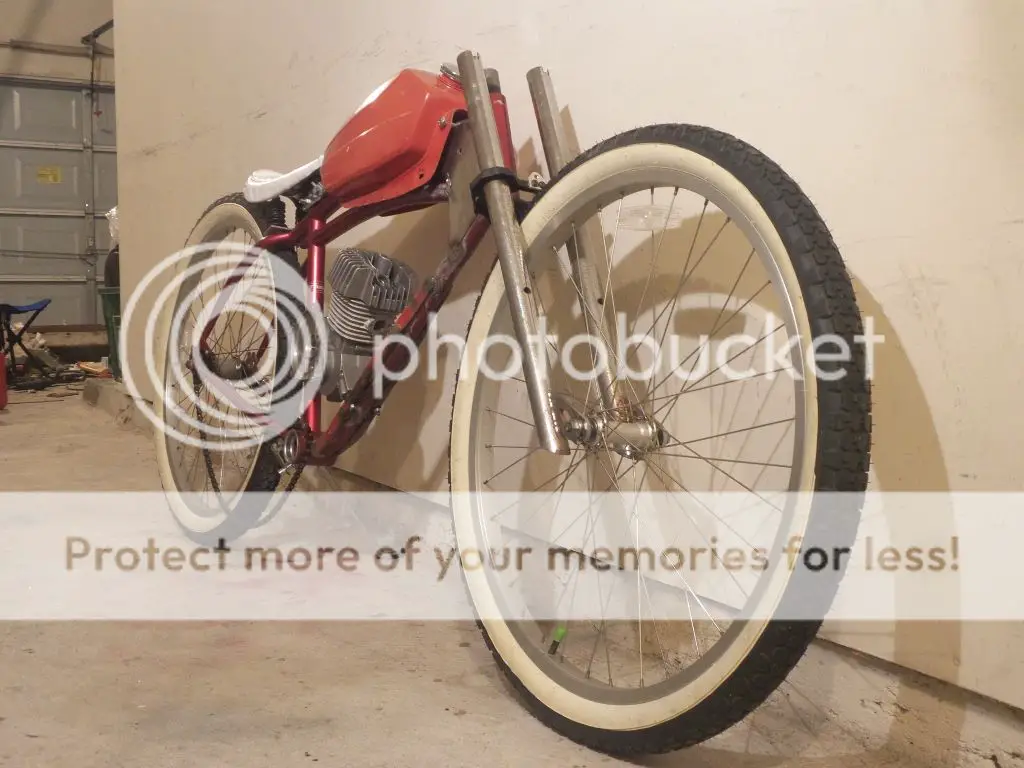
Things left to do:
wiring / cable
repack the rear hub bearing
install CNC hub mount sprocket
install short crank (pedal)
make an air filter
think about replacing the chain or not
assemble the motor
finishing touches on the welds and paint
possibly electrical stuff (rectifiers, regulators, driving lights, etc.)
I originally wanted to cut the frame and Y-off it into 2 but the tubing wall was too thin - and I also didn't want to risk putting anymore heat-stress on the frame.
I'll get a better picture once I paint it tommorow or so.

Almost there!

Things left to do:
wiring / cable
repack the rear hub bearing
install CNC hub mount sprocket
install short crank (pedal)
make an air filter
think about replacing the chain or not
assemble the motor
finishing touches on the welds and paint
possibly electrical stuff (rectifiers, regulators, driving lights, etc.)
Ryoskate
New Member
Started painting the frame... I'm not putting as much detail and effort into the paint since It's rattle can. I should have done a little more prep work... but it's aight.
You can see the mounting points better. I'll let you guys know if this works since some seems to be having trouble with mounts breaking on the grubees.
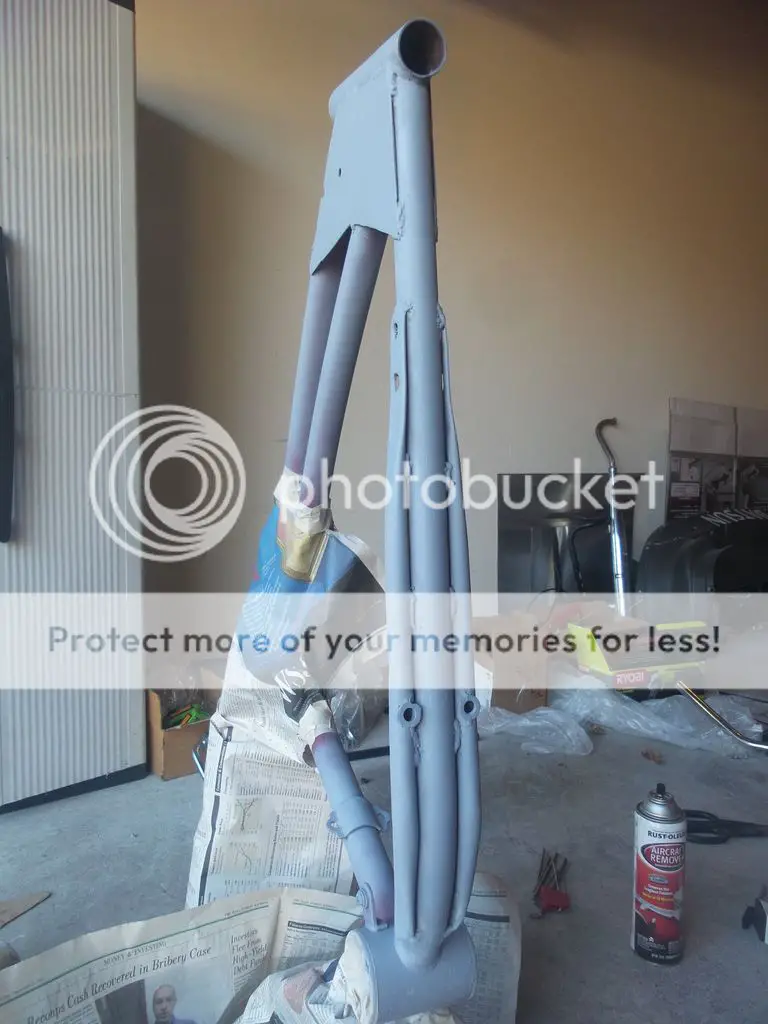
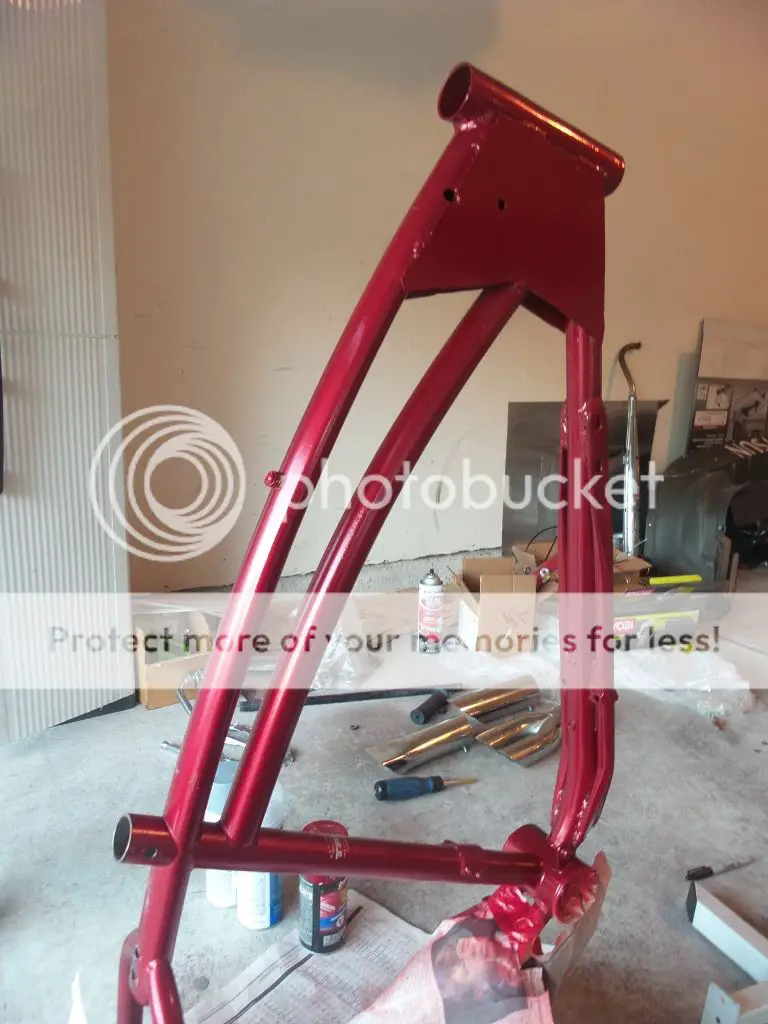
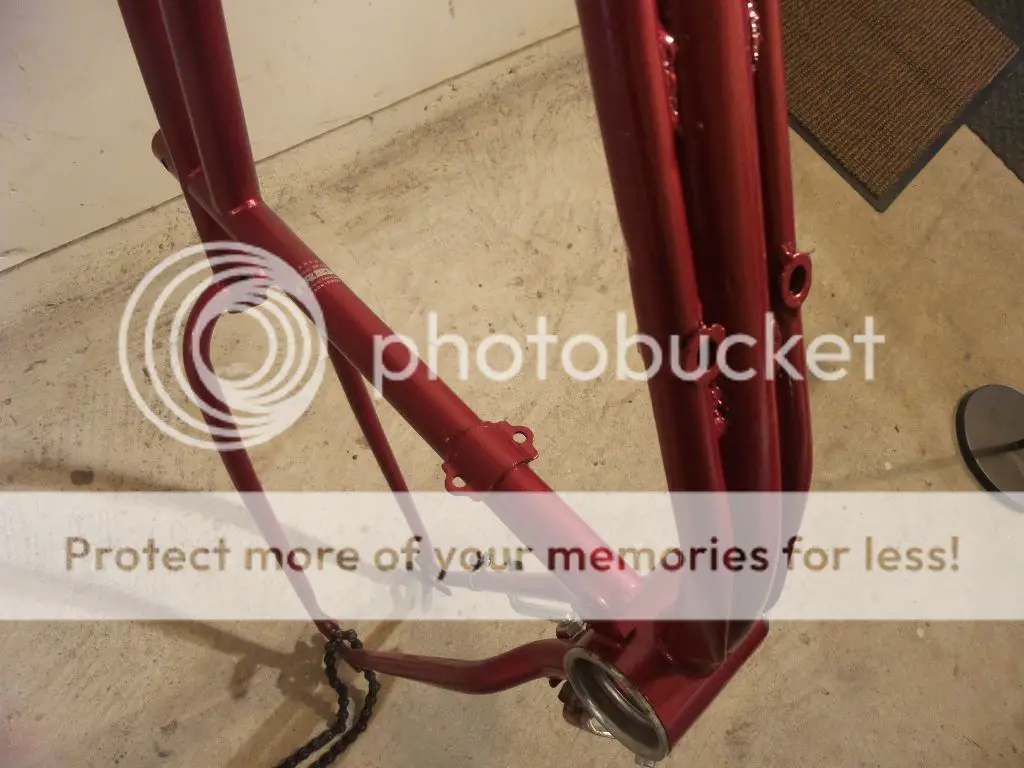
You can see the mounting points better. I'll let you guys know if this works since some seems to be having trouble with mounts breaking on the grubees.


Last edited:
Ryoskate
New Member
I like the mounts nice and solid. And the guests should make a nice strong frame.............Curt
Thanks, I may add some gussets in the rear quarter of the bike... Don't know yet. I still need to fabricate a tensioner and I'll finally be finished with grinding and welding!
Ryoskate
New Member
beautiful build! man, i wish i had access to a welder.
It's a 100 something bucks Harbor Freight welder man lol. Not optimal for welding thin wall tubing like these but it welds... Not sure how strong... Only one way to find out!
MEASURE TWICE
Well-Known Member
Just came across this thread..... real nice... the seat custom your doing way cool!
I added gusset from three of the horizontal tubes just infront of my engine mount to spread out the stresses. You did similar, but I did not have it up by the head tube.
One other area I did was add extra metal under the engine mount to the frame. This way I have not two point to hold the engine platform, but four evening out the stress there also.
That two stroke engine should have good power, you would say!
MT
http://motorbicycling.com/showthread.php?t=54926 Trail Riding


