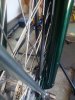
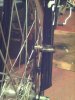
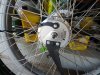
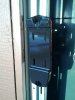
I also had to shim my front sproket due to the; fatter than Albert tires. Lastly I have an issue with the torque arm from the S.A. front brake. I think I have a solution but would like to here opinions from you guys on what I should do. I DONT want to bend the arm! Im planing on a shim of some sort and VERY Ugly and out of place hose clamps. ( Sad ) Functional but not pretty; or in step with the rest of the bike. Coments and suggestions encouaged! Pictures to come include a recovered ( in antique brown leather) re built Troxel big spring seat and batery bags which I should have on Monday. EDIT: Just for claraty; the clamp for the torque arm supplied by SA was about half the size needed for these fatty cruiser forks...

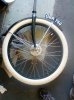
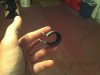
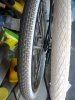
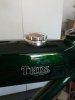
 Honestly: These Electra Diamonds may be too big. I have had to use extra spacers on the scheive ( or however you spell it ) to just mabey clear the side wall. Im not convinced it will. I'll know at test fitting time. I not at all sure the extra spacers and mabey more are advisable. But Im not giving up the Diamonds without a fight. I REALLY like em! And; they have nice oversized downhill tubes in em ans well as oversized tire liners. Im hopeing the Sturmey Archer 90mm will engage with the hand controls I've purchased.
")


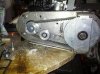

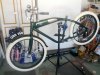
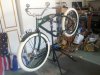
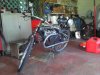
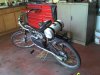
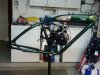
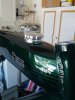
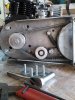
 Heres a few pics: I test mounted the motor and knew I was going to have issues right off the bat. The motor mount is a beautifull billitt aluminum piece from Phantom Bikes, but its not made to work with 26x2.35" tires. The whole assembly had to be moved to the left. SOOOO Off to the machine shop to have it milled. Im not sure I had enough material removed; only 1/8 onch prob should have gone 3/16, but Im hopeing... I also have done a test fit of the wheel tire combo seen here: