Juicer 36 redux; 2nd gen stretch cruiser

Custom cruiser bars on the cheap!

231518_original.jpg


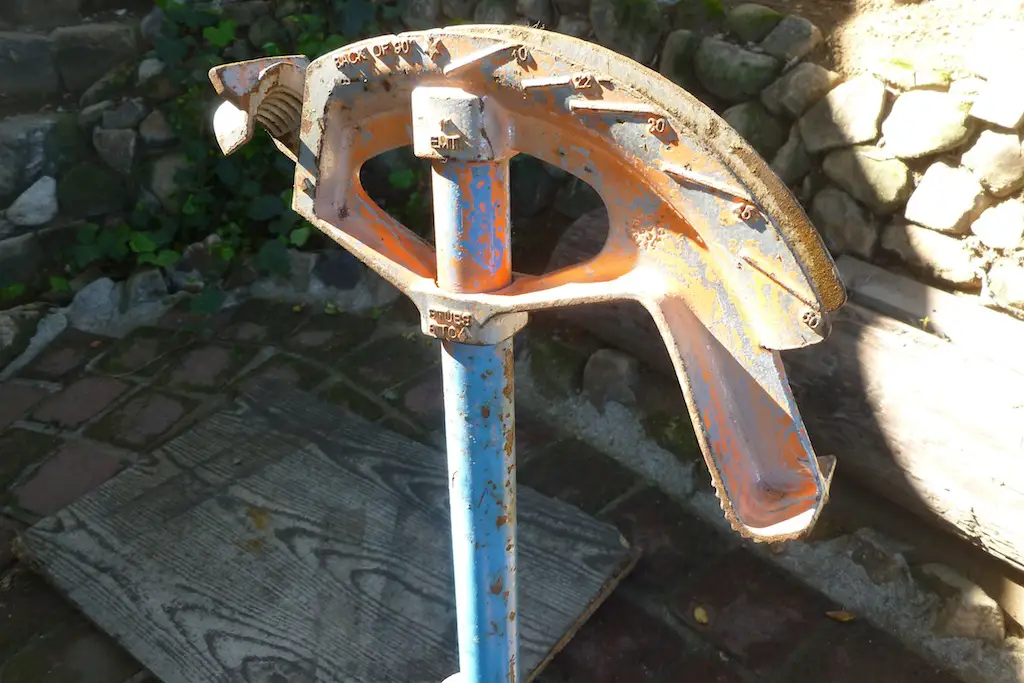
I've always wanted to make my own bars, but didn't have a pipe-bender. I still don't, but I did pick up this nifty conduit bender offa a retired electrician for just a few bucks.

231767_original.jpg


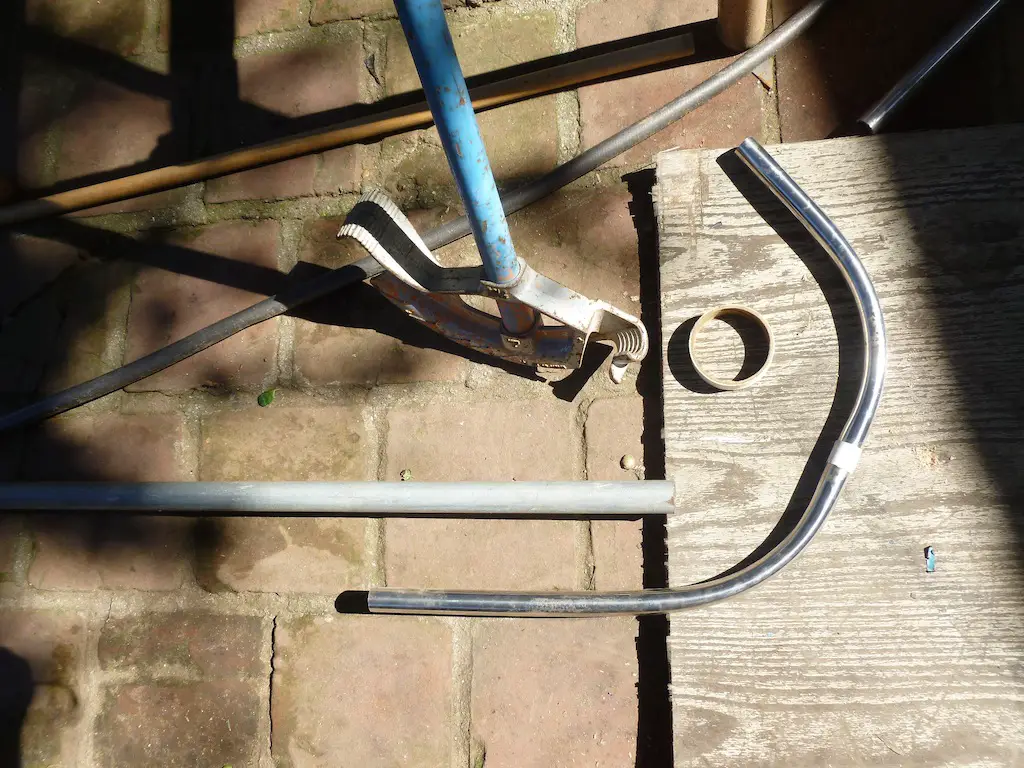
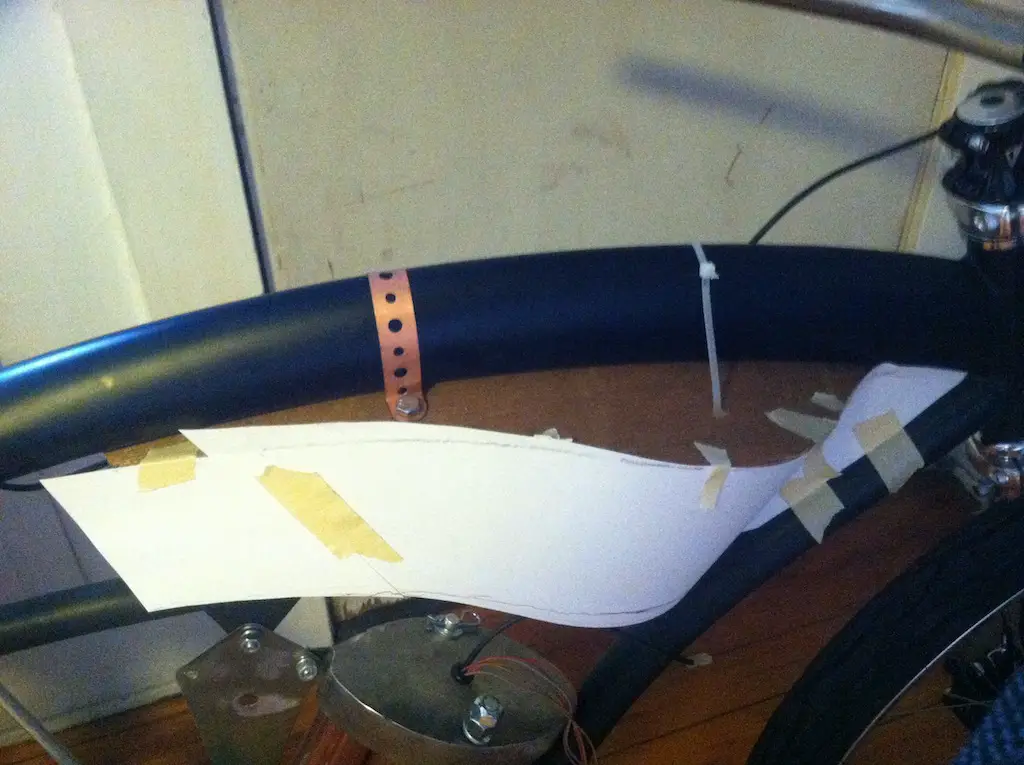
You can't bend too tight a curve, but it's fine for swoopy cruiser-bars. Actually these 30 degree bends on 1" stainless did dimple the pipe a tiny bit (shhh!). It's murder on the back too. You have to tuck the end of your piece in a longer pipe to get the leverage, put your foot on the rest, and then hang on the handle like an orangutan. These bends are all on the same plane, but I want the option to have a rise or drop without turning the bars upside-down. To accomplish this, I will employ the old-timey method using three-segments of pipe. The straight segments are attached to the main bar with two shaft-collars welded together.

231121_original.jpg


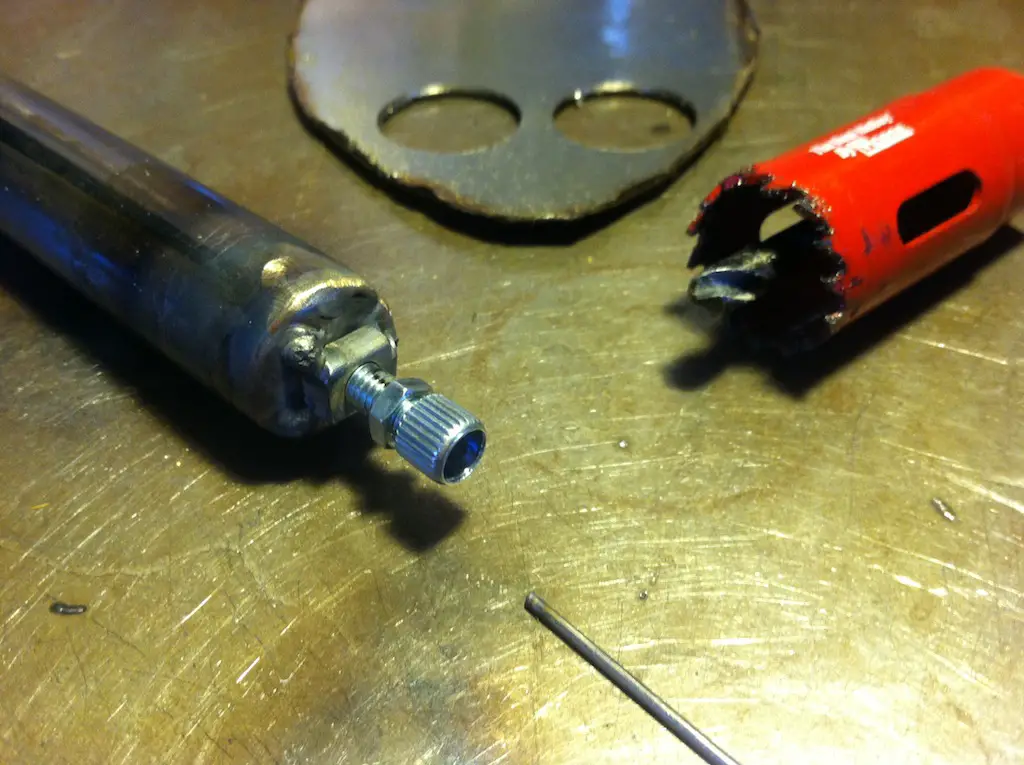
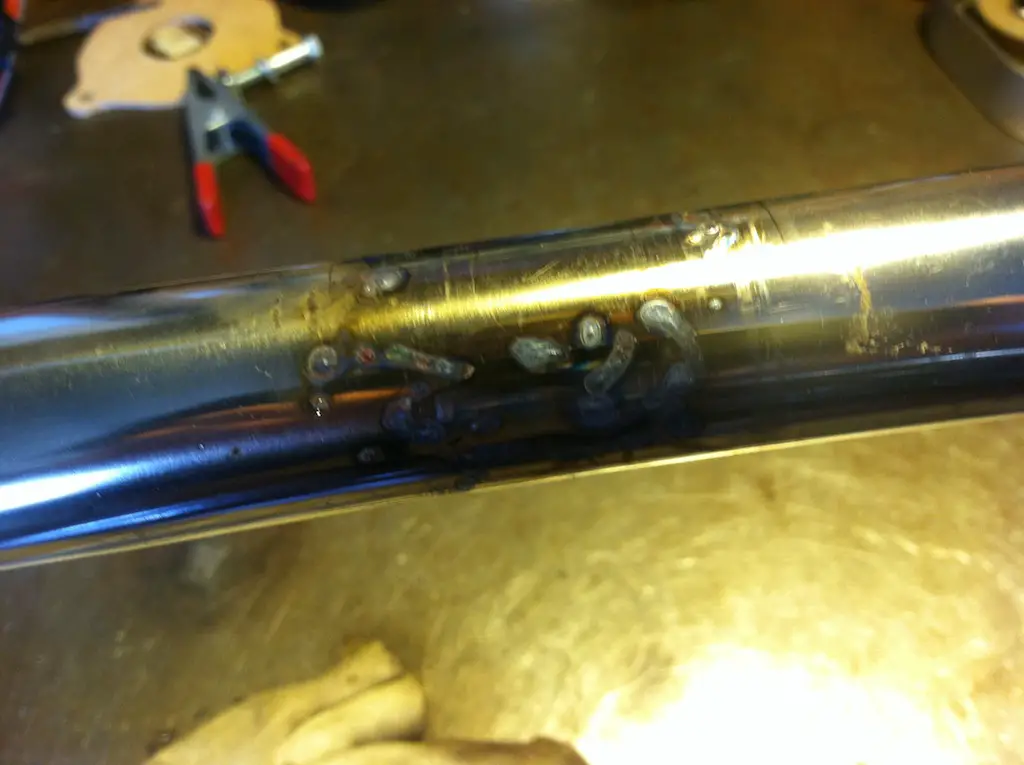
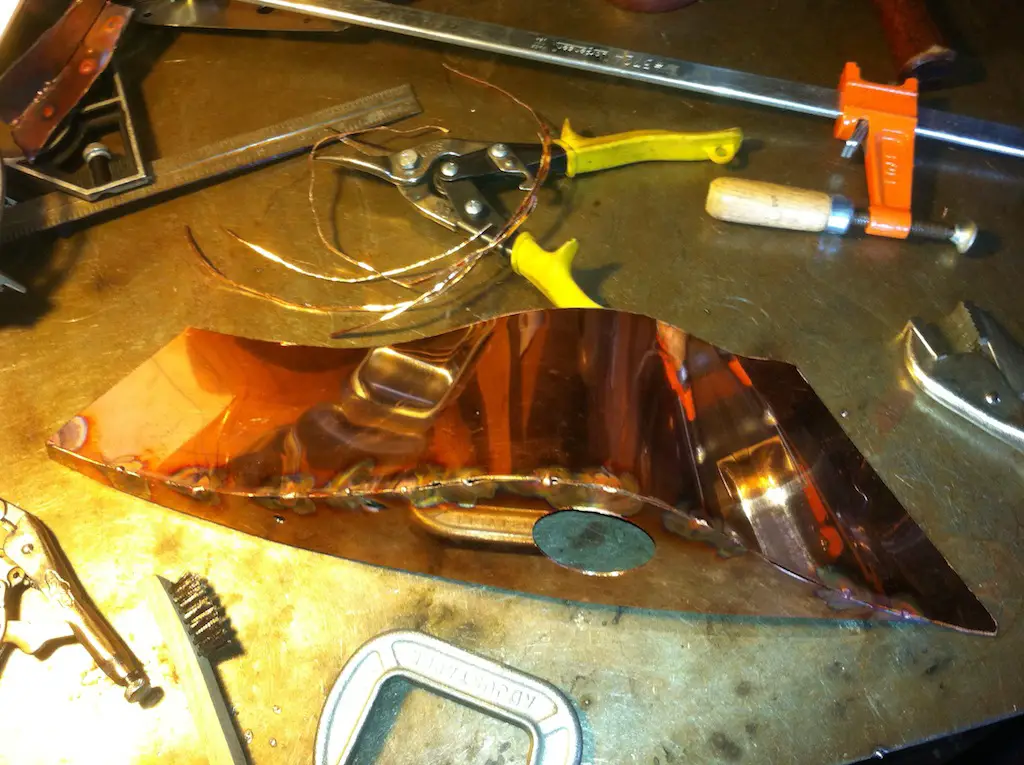
I wanna use a bar-end lever, so I am closing one end of a straight segment and adding an adjuster-barrel. A better way to do this would be to find a tap that matches the barrel threads and tap a thicker cap/plug, but I just can't be bothered to hunt for it right now.

231226_original.jpg


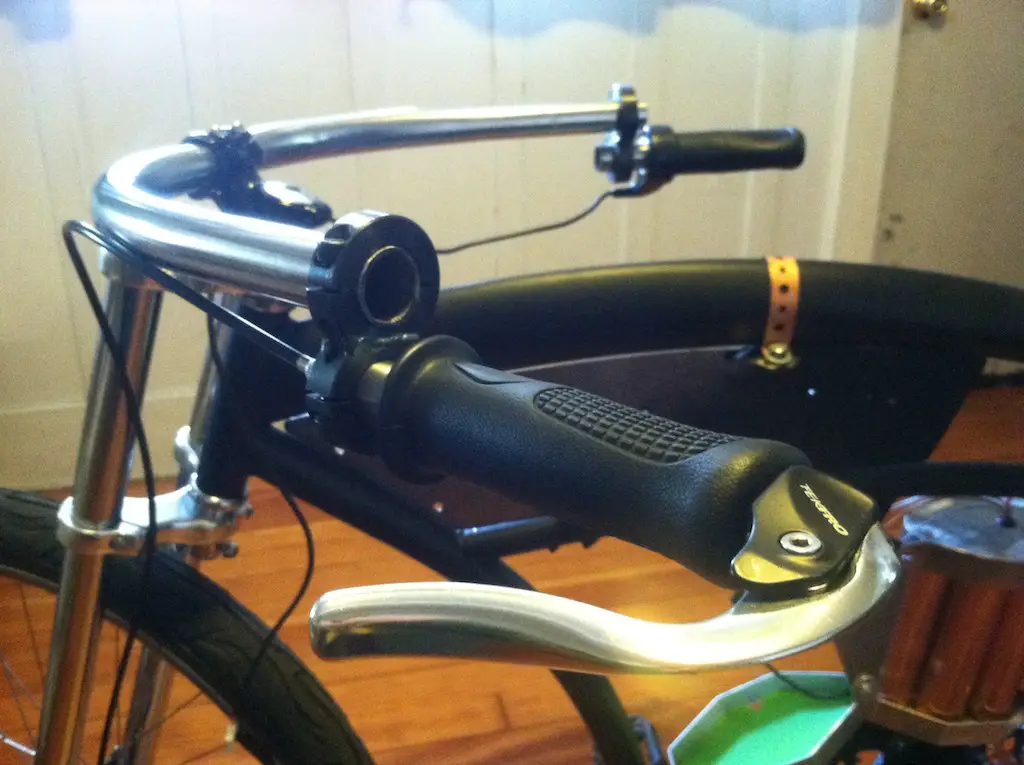
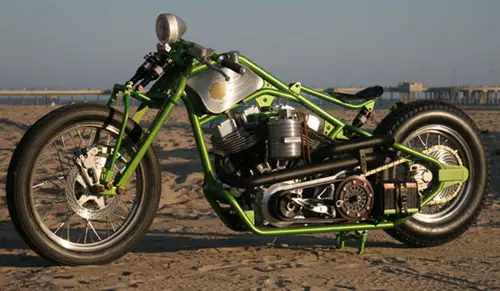
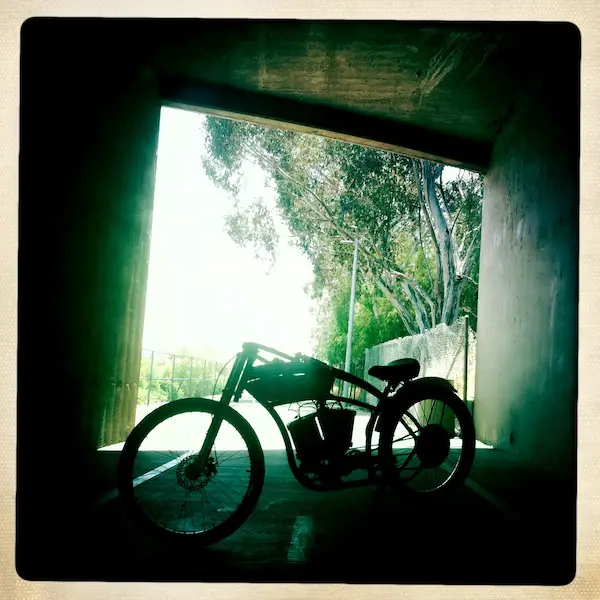
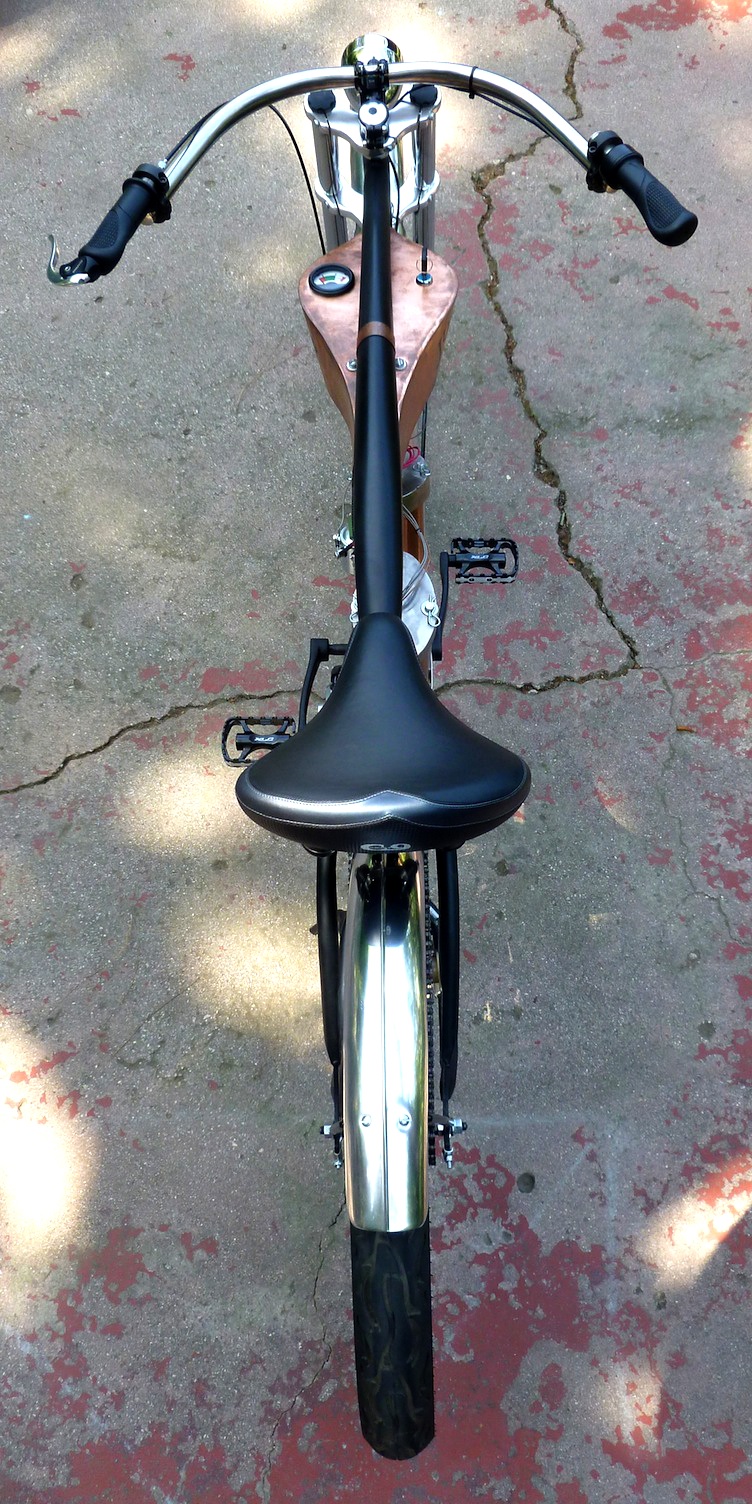
Mmm. Not bad. The wide-bars fit the bike, and the antiquey details of the drop-brackets and bar-end levers reference my favorite era. If you have a normal-size frame and a few more bucks, I'd consider investing in some Sportsman Flyer bars which are darned handsome and certainly have a better finish.
 
I don't remember where I found this photo-it was years ago, but I never forgot how cool this tank looked, tapered vertically into the frame front and back. For this build I'm a do sommut like dat.

231986_original.jpg


Making ebikes is 90% bracket-making. The flashiest bracket of all is the tank. A tiny tear-drop tank is none to practical on a big-engined gas hog, but will work fine for this build because it's just holding a small circuit-board, a gauge, a plug, a breaker, and a keyswitch.

232258_original.jpg


Fabricating this "tank" will be a little tricky given that the sides and the top will both have curves to them. The way I mock it up is by doing the top in plywood first so I can use that curve to help determine the side curves. This 1/8" ply has three layers, the grain of the middle layer rotated 90 degrees. To get the wood to bend more easily, I cut shallow grooves perpendicular to the grain of the bottom layer with a table-saw...

232673_original.jpg


...then I use a hand-held jigsaw to cut out the shape of the top. Here it is mounted in the frame using a section of plumber's hanging strap (Don't be too surprised if I never replace that particular bracket).

232745_original.jpg


The thickness and relative rigidity of the plywood makes it easier to lay paper over the edge and get a rubbing of where to cut.
 
Stainless tubing is none too grippy in the neck clamp. To give a bit of texture for the splines to grab on to, I waved the TIG arc across the middle of the bars which etched some raised lines into the surface. Now the bars don't slip in the neck.

233498_original.jpg


This is a pretty good chain-tensioner, and it's cheep, but it's damn ugly. Still, I'd rather do the finish-work myself on an inexpensive piece than pay somebody else out the nose to do it.

233419_original.jpg
233946_original.jpg


Aaah, that's much nicer.

233191_original.jpg


Say, did you know you can TIG weld copper? Yep, but it's hard to find copper rod. I asked the guy at Airgas if I should use some peeled household electrical wire, but he suggested that I cut strips from the material I'm welding to make sure the metal content was the same. I took his advice, and it's working out great.
 
looking good. i do agree with you though. the motorized electric bicycle is to beautiful and a piece of art to not have a nice chain tensioner. maybe even a cover over it or something like that would work
 
Here is the tank, all three pieces bolted together. Because copper is soft, I had to use heavier gauge material, so the whole thing is heavier than it could be.

234632_original.jpg


The 750W controller turned out to be a bust. In fact it may have been responsible for frying one of my BMS boards. I really only bought that cheap controller because I am a sucker for cooling fins. Anyway, after weeks of delays getting a new BMS board and a new controller, I am back in business.

234766_original.jpg


The good news it that this Kelly "mini controller" is programmable, has a 1000W peak current, and is the efficiency model. The bad news is, by my reckoning, it is not presentable, so I am jamming it into the tank with the rest of the electronics.

234410_original.jpg


This controller was not much more dough than the cheapie one, but it demands much more wiring and a contactor, which is the only electronic bit that is not in the tank. Ah, all together now. Let me just step back and take a look at the finished bike.

Oh Lord. It's...it's too beautiful...
 
yes it is a beautiful motorized electric bicycle. i am amazed every time i see it. cannot wait to see pictures of the complete bicycle painted and ready to ride. nice job Flügelwagen!
 
...finally getting back to this thread now after solving the last few issues, and updating the other board.

My first long test-ride around the hills near Juicer HQ proved that this bike is a better hill-climber than the original. I only had to assist by pedaling on a few of the steeper hills, or when starting on a hill at a dead stop. Because the transmission is so smooth, I wasn't sure it was upshifting properly, but was able to hear the "clunk" when spinning the back wheel in the air with the landing gear down. Speaking of noises, apart from some chain noise, this bike is nearly silent. The terrible hwwaAAANng sound the original Juicer's controller made is now absent. Without the "Loud Watts" saving your life, I'm going to have to wire up the horn for this city-street mochine.

236381_original.jpg


The sitting position is VERY comfortable. Your legs are not folded into your body, you can sit up straight, your feet are forward as if you were in a chair. The bars, when adjusted straight out, fall right into your hand, and the way the tank is shaped, there is so much room for your knees that I can finally boast having a Juicer that is comfortable to pedal!

237003_original.jpg


After a few lengthy test rides now with the trusty CatEye speedometer we now have some data to report. The range has more than doubled since Juicer I, to over 22 miles without pedaling. This is owing largely to the higher gear-ratio and the larger 15 amp hour batteries.

235643_600.jpg


Geared the way it is, and without limiting the current at the controller, this bike has a top speed of 31mph on flat ground without pedaling. That means I only overshot my goal by one MPH. Without a programmable controller, to get back within the letter of CA law, I'd have to gear it down a bit more, or put on a smaller wheel. But with this controller all I have to do is plug it into my old PC and move a slider.

236719_original.jpg
 
Back
Top