Mr.B.
Well-Known Member
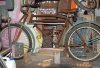
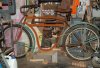
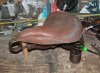
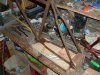
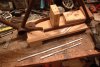
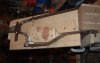
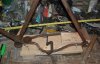
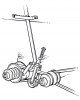
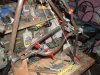
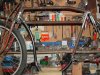
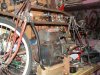
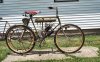
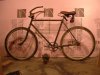
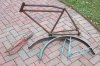
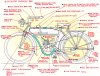
I started working on my Excalibur retro 1909 Motorcycle almost 4 years ago.
I marvel at some of you that build great things in just a few weeks-
But that’s not me! Ha!
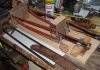
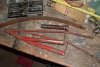
During the time I worked on mine I had taken lots of photos and keep a regular E-mail correspondence with my friend “Bicycle Bill” so I was fortunate to have a thorough record of my build progress.
I now just finished creating a detailed retroactive blog base on those messages...
http://excalibur09.tumblr.com/page/11
Recent video- http://alturl.com/9xptf
The following posts are copied from several but not all of the blog entries, so they may seem a little out of context at times...
-Kirk
I marvel at some of you that build great things in just a few weeks-
But that’s not me! Ha!
During the time I worked on mine I had taken lots of photos and keep a regular E-mail correspondence with my friend “Bicycle Bill” so I was fortunate to have a thorough record of my build progress.
I now just finished creating a detailed retroactive blog base on those messages...
http://excalibur09.tumblr.com/page/11
Recent video- http://alturl.com/9xptf
The following posts are copied from several but not all of the blog entries, so they may seem a little out of context at times...
-Kirk
Last edited:


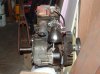
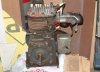
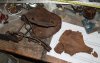
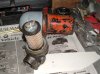
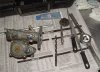
") Wisconsin engine. It turned out to be a guy I used to work with and got along with quite well.
Wisconsin engine. It turned out to be a guy I used to work with and got along with quite well.