Nehmo I've just gone through both your threads and the advice given is solid so I'll address your stated original problem with the build. Bike threw chain, with included kit tensioner installed. It's a common problem for new comers to motorized bicycling, heck it's common wherever chain & sprocket technology is used, but on a kit bike setup 99% of the problem is due to improper setup/installation of the supplied kit parts. Unless you are really wanting the very real benefits of "shifting" which not only is expensive but also involves "correct" installation and setup, then the (almost) zero cost benefit of setting up the supplied kit parts correctly is the answer to your original problem.
A straight "chain line" from engine output sprocket to rear axle sprocket is essential and this is achieved during setup by making certain the engine is secured straight in the frame as well as properly secured to the frame. That done the sprocket is attached to the rear wheel. I haven't used a kit rag joint setup since I discovered the sprocket hub adaptors maybe 6 years ago, but using what you have will also work with narrow tires/wheels. I like to mount the sprocket with teeth as far away from the spokes as possible, to help the chain clear the rear tire.
Once both the rag joint/wheel & motor to frame are properly installed I loosely mount the rear wheel & center it. Then fit both pedal chain & drive chain for length. I usually don't get in a hurry to break the chains to length, but use a zip tie to hold them in place on the sprockets, while I check out the chain lines, just eyeball at this point for straight & by putting pressure on each chain with the hand to act as a tensioner check the chain to tie clearance as well. Chain rub on either side will eat a sidewall in no time.
The chain should be checked at the motor sprocket for correct seating, the rollers feeding smoothly and rollers completely settled down in the sprocket. If this is not the case the sprocket needs to be removed and both sides lightly thinned on both sides until the chain seats properly. I use an 80 grit flapper disc in an angle grinder for the thinning operation. Don't alter the height of the tips of the sprocket just the inside and outside of the sprocket and no lower than where the chain touches the sprocket. Very little material need be removed maybe 1/64" or so total. Chain will now run smooth as glass.
Chain length now needs to be addressed, both chains 'cause if they are flapping around they gonna rub And come off as well. 1/2" to 3/4" total deflection at mid chain is what I shoot for on both chains, this is where a quality tensioner comes in handy. I like the spring loaded tensioner that mount's on the motor cases best, as they absorb any minor inconsistency in the sprocket mounting concentric's. They can't get into the spokes either, like the kit units are prone to do when poorly fitted or maintained & that is a big safety concern.
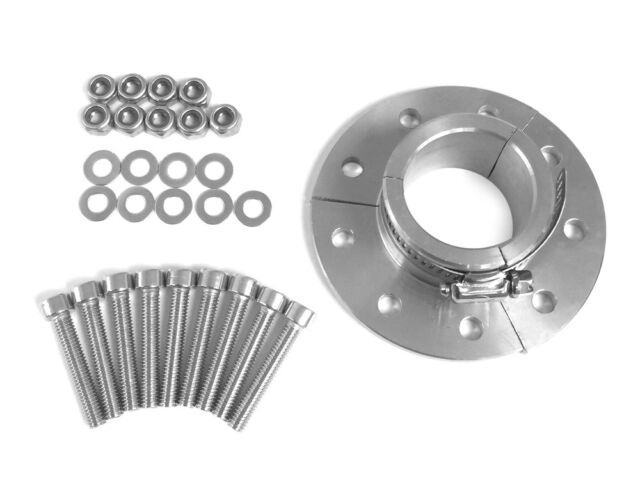
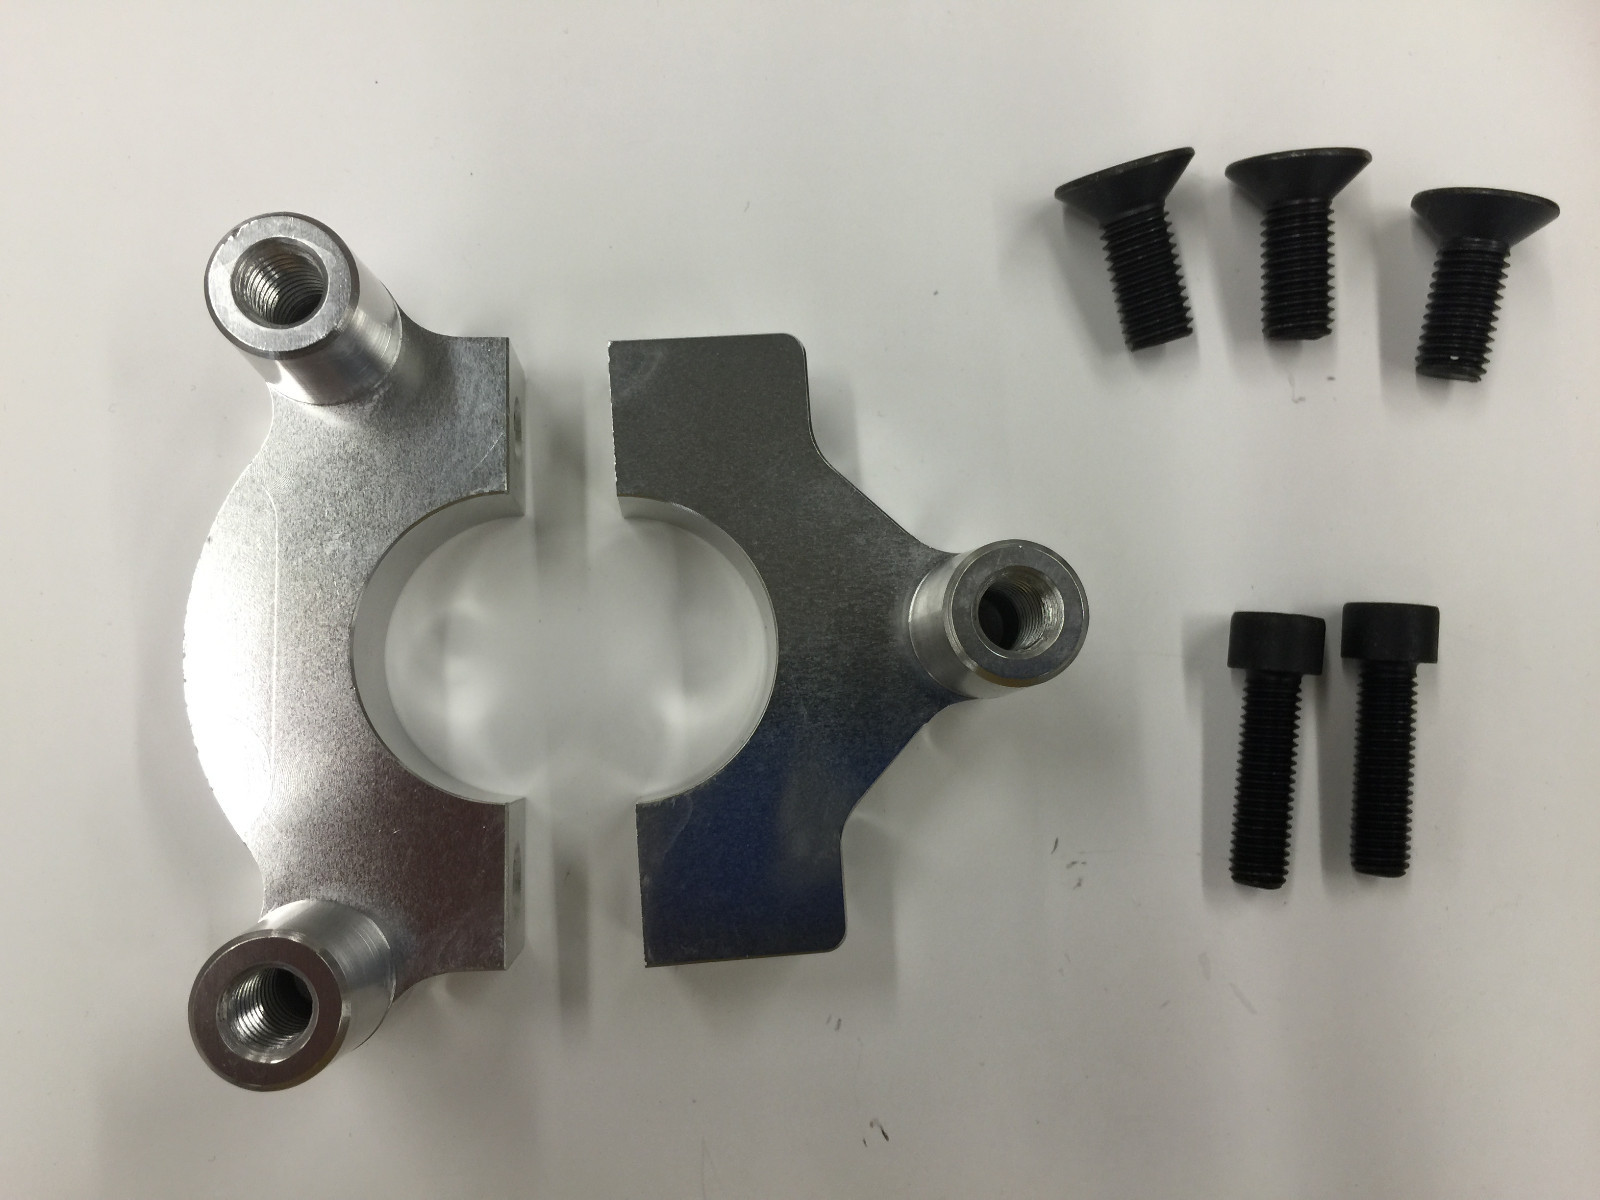
I like the side to side adjustment of the 3 hole sprocket to hub adapter, it's a quality design that's so simple to install. Concentric and adjustable horizontally to help setup a straight chain line and or fit larger tire and wheels with chain clearance. If you run a coaster brake setup with the 3 hole sprocket make sure the sprocket has a very large center hole to clear the required modified brake arm lever as well. Well worth the money.
Of course all the above just brings us back to good installation and fitting the rear wheel with proper spacing has to be mentioned, having some axle spacers on hand is a part of this centering, truing & securing the wheel, while keeping chain lines straight and clearing both tires and chain stays and retaining proper chain tension on on both peal and motor drive sides.
You may be. well aware of all this information, Nemoh, but others may benefit from my poor (yet lengthy) explanations.
We can run but not hide from good installation practice. It's foundational. Best of luck. Rick C.