Velodrome
Well-Known Member
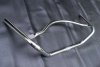
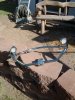
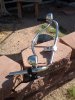
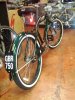
To diferentiate myself from the other Felt Twin 4 stroke build going on ummm; This ones in Phoenix... I have had a burning desire to build a Felt aluminum frame bike since discovering my first clue RE motorized bicycles specifically; Phantom bikes 1903 builds. Well: I was all set to do a 1903 and went to looking for one. None to be had in Phoenix at the time. BUT! Tempe Bikes had a very nice Twin on the floor, I kept going back to look at it and fell in lust. Here she is before the slow transformation began.
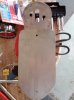

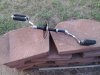

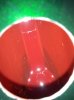
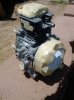
") ) and shot it with some gloss black rustolium after blasting it with brake cleaner. Now its a BLACKHEART!!! Came out perfect! I did the same with the sproket on the Scotsman build and its held up well
) and shot it with some gloss black rustolium after blasting it with brake cleaner. Now its a BLACKHEART!!! Came out perfect! I did the same with the sproket on the Scotsman build and its held up well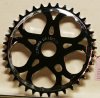
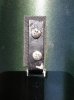

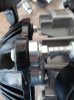
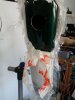
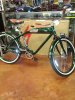
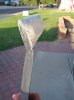
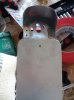
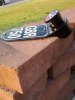
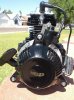
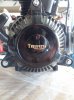
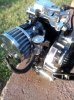
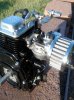
 Well: Actually, I was excited to get it. So much so I neglected to take any pics before I stripped it down. Went out and bought bout 5 cans of brake cleaner and gave it the hose job. Masked off what I wanted to keep silver and the rest got hit with 2 coats of engine enamel. In keeping with the Triumph theme I found a Triumph top tank badge on ebay and got it. After paint ( hit the plastic cover with gloss black paint for plastic) I drilled 3 small holes and mixed up some JB Kwick weld and epoxied it in place. The holes were for the JB to form a little "button" on the other side of the plastic for a stronger bond. Hope it lasts!
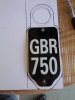
")
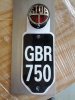
")