bare bones
New Member
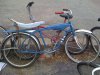
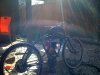
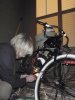
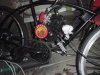
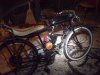
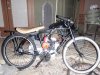
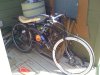
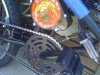
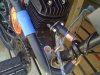
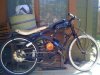
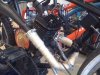
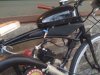
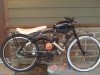
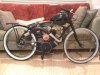
I got my bike stolen two Saturdays ago. This is the second MB I have had stolen this year! Anyway, I have all my parts in for my new build and I now have the bike too. Here is what I am starting out with. The bike has 24 in wheels. I bought new high quality double walled sealed bearing wheels w/ a free wheel. I am also painting the bike flat black. I am going for the traditional hot rod look. This bike already sits really close to the ground. It is from the early 60's. I can't wait till I'm done ") I want to chop the seat and have it sit as low as possible. More pictures on the way!
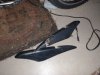
I want to chop the seat and have it sit as low as possible. More pictures on the way!
I want to chop the seat and have it sit as low as possible. More pictures on the way!