Menu
Forums
New posts
Search forums
What's new
New posts
New media
New media comments
New profile posts
Latest activity
Media
New media
New comments
Search media
Members
Current visitors
New profile posts
Search profile posts
Media
Log in
Register
Search
Search titles only
By:
Search titles only
By:
New media
New comments
Search media
Menu
Media added by evil510
JavaScript is disabled. For a better experience, please enable JavaScript in your browser before proceeding.
Navigation
Navigation
Example Category
137
Browse albums
Most media items
81
allen standley
46
John Newkirk
36
Mark Murphy
36
Tyler6357
W
29
Weedge1212
Media statistics
Categories
1
Albums
1,888
Uploaded media
9,677
Embedded media
17
Comments
1,007
Disk usage
1.5 GB
Prev
1
2
3
Next
First
Prev
2 of 3
Go to page
Go
Next
Last
Filters
Show only:
Loading…
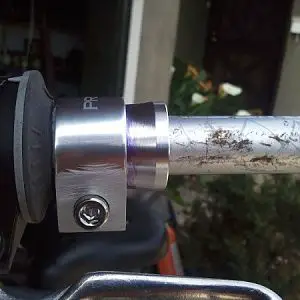
Here is the first stage of the shift paddle. I cut a section from the original sleeve. Both together equal the width of the original sleeve. That hard
evil510
Oct 21, 2012
0
0
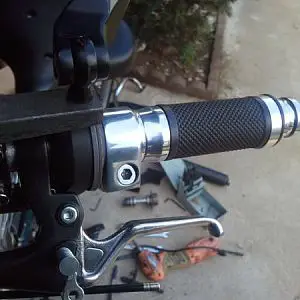
Bolt head height shortened, countersunk as much as possible. Edge of paddle shaped more to a point. The transition between the paddle and the sleeve m
evil510
Oct 21, 2012
0
0
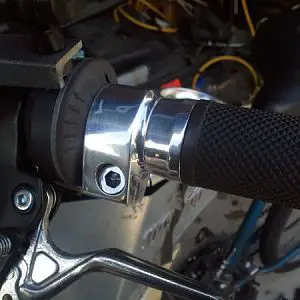
All done. The difference is night and day with the addition of the paddle.....
evil510
Oct 21, 2012
0
0
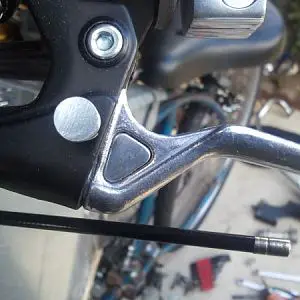
Just a little bonus pic. My clutch lever had a triangular hole in it that bugged me as well, especially since it didn't match the brake handle. I plug
evil510
Oct 21, 2012
0
0
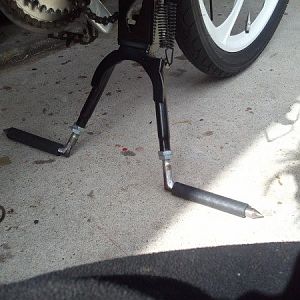
Aluminum legs removed. New steel legs cut, welded and test fitted.....
evil510
Oct 21, 2012
0
0
Of course I had to make a big evil spike to match the rest of the bike.....
evil510
Oct 21, 2012
0
0
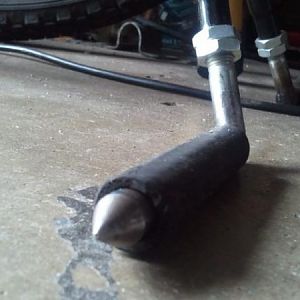
Double jam nuts installed as well as rubber feet. Ends sharpened into spikes.....
evil510
Oct 21, 2012
0
0
All done.....
evil510
Oct 21, 2012
0
0
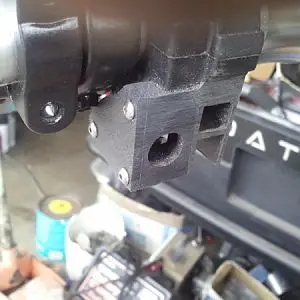
Fabrication stage. Original china girl control box gutted out and prepped. I used black ABS plastic to make the additional section, then bonded it to
evil510
Oct 21, 2012
0
0
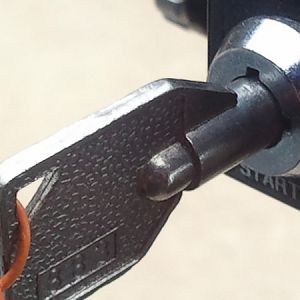
Barrel key switch controls power to starter relay.....
evil510
Oct 21, 2012
0
0
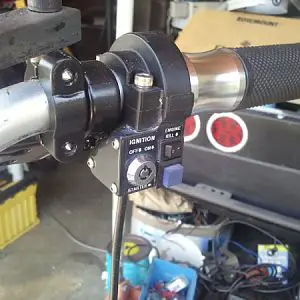
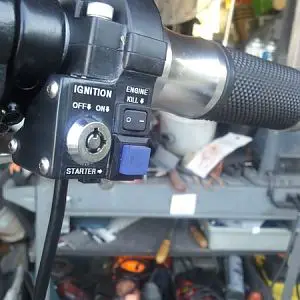
All done. New extension box polished to match and blend in with original control box. Labels made for gnition switch, starter button and engine kill s
evil510
Oct 21, 2012
1
1
a close up view.....
evil510
Oct 21, 2012
0
0
Test fitting stage - grooves cut
evil510
Oct 21, 2012
0
0
Closer view of cut grooves before I shaped the spike.....;
evil510
Oct 21, 2012
0
0
Spike done. Next step is to tap holes for set screws and polish....
evil510
Oct 21, 2012
0
0
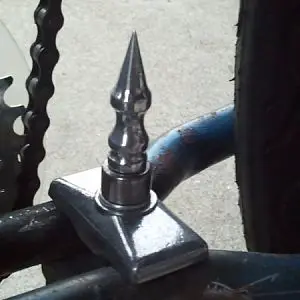
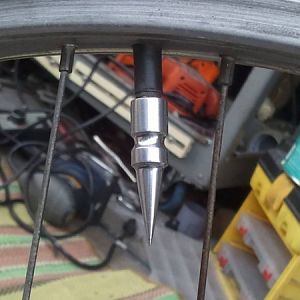
Polished and installed. Nice and sharp.....
evil510
Oct 21, 2012
0
0
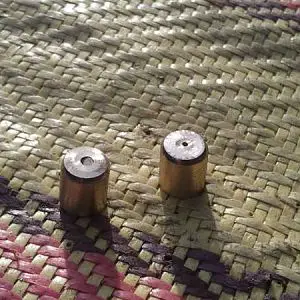
Brass inserts turned down to install into new caps.....
evil510
Oct 21, 2012
0
0
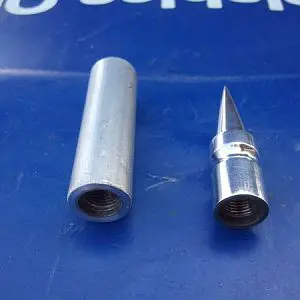
Before and after. On the left is the aluminum blank. On the right is a completed spike.....
evil510
Oct 21, 2012
0
0
Underside view, threaded inserts installed......
evil510
Oct 21, 2012
0
0
Completed and installed.....
evil510
Oct 21, 2012
0
0
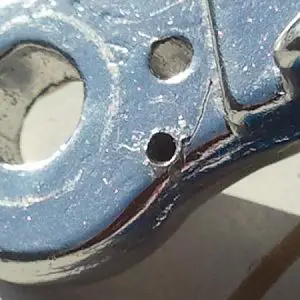
new hole increases spring pressure.....
evil510
Oct 8, 2012
0
0
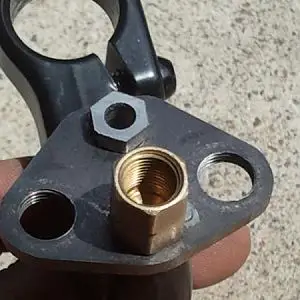
base plate cut, shaped, tapped and test fitted.....
evil510
Oct 8, 2012
0
0
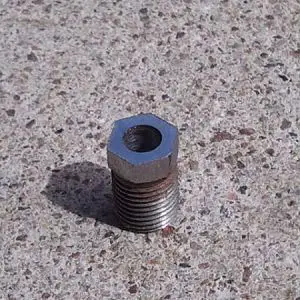
drilled out bolt for brake switch - top view.....
evil510
Oct 8, 2012
0
0
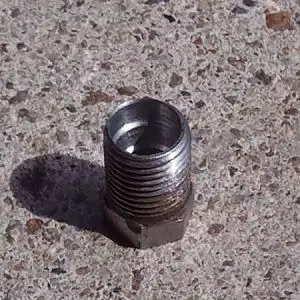
drilled out bolt for brake switch - bottom view.....
evil510
Oct 8, 2012
0
0
Prev
1
2
3
Next
First
Prev
2 of 3
Go to page
Go
Next
Last
Top
Bottom