LincolnMercury
New Member
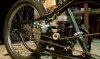
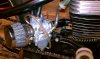
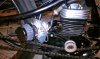
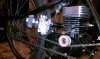
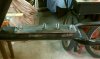
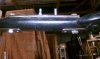
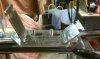
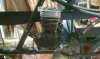
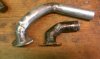
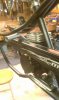
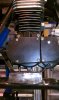
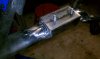
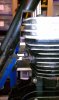
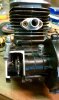
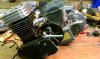
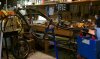
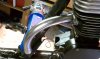
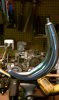
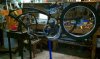
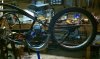
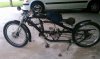
Did some work over the holidays. Welded a rear mount and engine carrier. Mocked up the mount and carrier using a slant head engine. The billet head did not clear the seat post. Notched the seatpost instead of making new mounts. The welds are not pretty; but they are solid and strong.


")