


!! RIGHT !! I'm back! Not discussed yet is the fact that after the powdercoat went on I later discovered that the tank epoxy liner had failed in a rather spectacular fashion. All curled up inside. This has not happened before with other tanks I had powdercoated AFTER lining with Caswells "Dragons Blood" I do remember when I was putting the liner in that it didnt look quite right. Quite a bit more brown than red. That was half portions that had been opened several years ago. My theory is it oxydized and aged and thats why it didnt take. It did leave me with a H3LL of a problem. How to get the epoxy out and leave none behind to clog filters and jets? How to do this AND leave the powdercoat intact? I thought about it for a long time and came to the conclusion I would just have to try and reconcile myself to having the powdercoat redone when ( not if ) I fail. Summer is nearing its end here in the Valley of the Sun ( stroke ) but still over 100 each day. Still, I wanted to be ready for the fall building time SO I bought a large box fan to blow AC from the house into the garage to make it usable for most of the day. My back up plan for catostrophic failure and chemical contamination of garage was to suffer the heat and get as much of the chemical out of the garage so I could secure the thing. 2 heavy duty tarps with floor dry in between and 2 roaster pans with floor dry standing by to hold the chemicals if I had a major leak or if I had to dump it and escape. I have good masks for powder and dust but not for corosive vapors, so I would have to be quick if things went sideways. The magic goo to make this happen is mostly Methylene Chloride. Very nasty Its the major component of
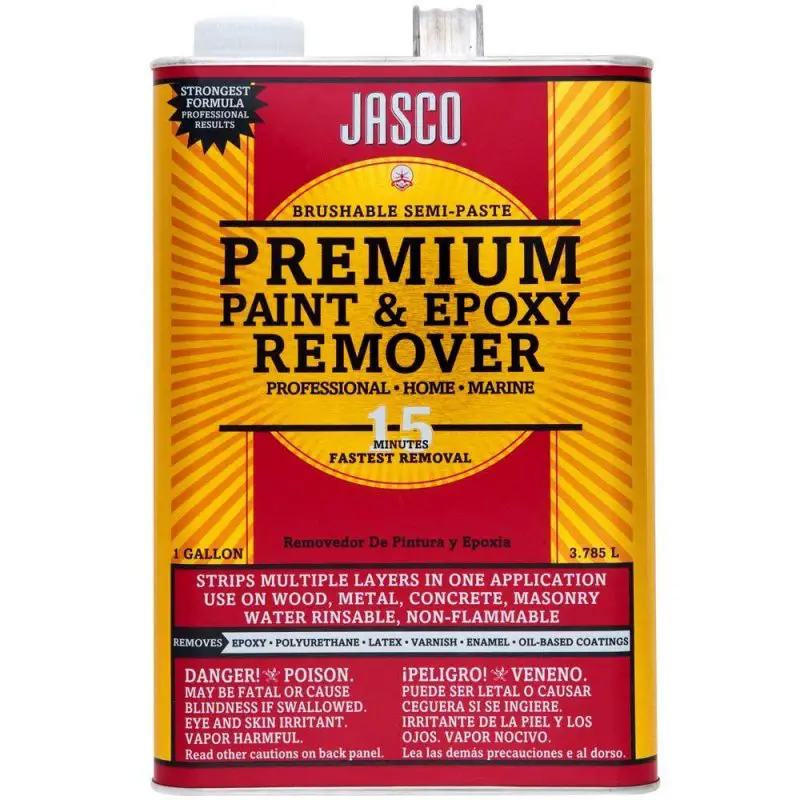 It will KILL you if you breath too much of it. I was determined to breath none of it... This ( the entire gallon ) went into the tank along with 2 lbs of drywall screws. All sealed up with no leaks I let it set on a well padded set of body work stands. Flipping it every 2 hours or so to let it soak in every direction. I had done some testing weeks before with strips of metal dipped in the Caswells sealer to approximate the time needed. The next day was aggitation day. I would rock the thing up and down side to side then flip it over and and do it some more, then let it soak while I recovered. This went on for 1 1/2 days. Time came to drain it and I very carefully positioned the frame to drain from the lowest spot ( internal vent bung ) and positioned a floor dry filled roaster pan under the spot. With the bits of the frame that had a chance of being exposed to the chemical wrapped in heavy duty aluminum foil. That's Alum-inum not al-u-minium ( wink ) I was amazed how well this worked. One of my other tests on a powdercoated bolt from the same job I was lucky to have proved that the stripper worked much faster on powdercoat than epoxy OR paint; but I got away with it. So far so good. Now to get the rest out. That came in the form of a nutralizer of sorts found HERE:
 A good sloshing with 2 quarts of this still moving the nails around and I was ready to flush. Drained out and with a special attachment on the hose I..um. Gave it the hose. Millions and millions of tiny flakes came out with the water. This concerned me. Once everything was dry and my powdercoat was intact, I had a look around in the tank with my inspection camera snakey thing. Their was STILL bits of epoxy in the tank. Tiny little red shiny spots. My only choice was to reseal it or I would be having clogged filters and jets forever. Once more I threw the dice and etched the insides of the tank with lye ( generic ACE Hardware extra strength drano ) to make sure the new liner stuck. Again I got away with it. Flushed out and ready I let it dry with a hair drier on fan only directed into the fuel fill for several days. Then new Dragons Blood that looked perfect this time. All sealed up I'm now ready to build. By the way; The screws came out a lot harder that they went in. Magnet on a stick and a few hours and they were out.
Last edited:

")