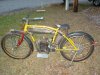
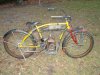
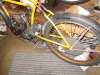
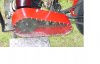
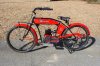
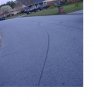
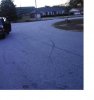
OK, ready for the first ride after re-assembly. Everything was going well, I was cruising about 25 MPH or so into a sweeping curve just getting real confident about my engineering skills when the rear sprocket cocked enough for the chain to come off and wedge itself in the wheel just enough to lock everything down. I'm sure all of you know the shear panic there is when you know something is not right and you are going to pay for it real soon. Well being in the curve really screwed me on this one, the bike started skidding from side to side in an ever increasingly arcs until it couldn't go any further and just slammed me on the road. Of course I had on shorts and a cut off shirt and sandals. What else would you wear on a maiden voyage? I escaped with road rash and the bike and I both lost a small amount of blood (oil). The funniest thing was one of my neighbors walked over to me about the time I stood up and said "boy I thought you was going to pull out of it for a minute there". I said "ya so did I right before I hit the pavement". I had to get my van to haul the bike home so I took these pictures of the skid marks, I measured 45 feet before I was slammed.
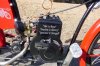
Anyway that was the end of the chain drive, I modified it to a V-belt drive the following week and have had no trouble since. It does go a little slower with the belt drive but cruises good at 25-30 MPH.


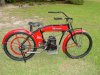
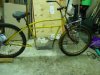 146.8 KB Views: 963
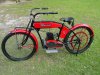
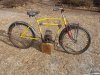 176 KB Views: 1,030
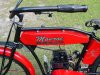
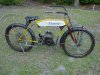 147.2 KB Views: 1,607
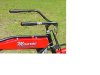