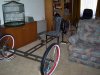
Hi to everyone following my build.
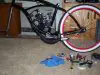
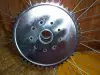
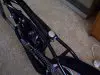
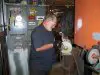
I rebuilt the rear coaster brake wheel and added the rag joint, I used my own bolts and still managed to strip one that is how tight I like to assemble the bolts.
I also used loose ball bearings instead of the raced bearings because I can get more ball bearings in to support the axle, but it does make it a lot harder to assemble the coaster brake hub. I also used automotive teflon grease.
After the first time I tried to assembled a coaster brake wheel, I did not get it right, bugger! I found some good videos on YouTube, the coaster brake wheel must be assembled in a certain order.
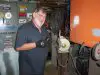
The raced bearings are 2 x 11 ball bearings and 1 x 9 ball bearings, by using loose ball bearings I can get 15 ball bearings in place of the raced bearings 11 and 11 ball bearings in place of the raced bearings 9.
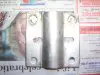
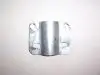
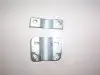
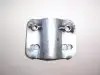
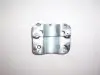
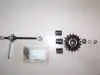
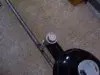
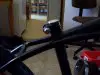
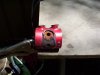
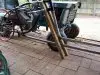
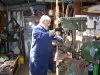
Here are some more pictures, the one of the sprocket shows how well it goes onto a 36 spoke coaster brake hub. I did surface grind the dust shield to get it to fit because of the thickness of the sprocket.
Someone with good eyes will notice that the brake shoes are actually back to front.
Cheers,
Dave.


 230 KB Views: 673
 165.3 KB Views: 816
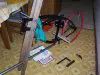

")