


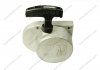
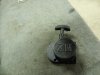
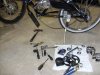
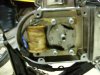
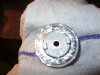
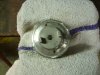
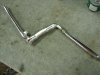
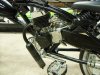
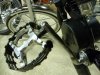
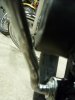
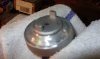
I finally recieved my pullstart today and couldn't wait to get it on. Here are some pics I took while I was Getting all the components ready. Anybody with a 49 cc engine I assume will have to do the same if they would like to install one. First, the color was pretty bad, a dull grey, so i painted it Black to match my head. While trying to mount the thing, I realized that the screws from the magneto were rubing and had to grind down a good portion of the bell(check the pics). After everything fit well, and the magneto spun free and smooth, I screwed on the faceplate. Then i put my cranks into a vice and got my pops sedaline torch(think thats how u spell it) and heated the **** out of it and bent it just far enough to clear the pullstart. I still had to grind a littlebit of the crank down to allow a nice smooth pedal. Last I put the crank back on and I was good to go! The only thing that I still need to do is finish bending the pedal back a little straighter.... kinda crooked right now but no worries cuz.......No more pedalin!!!! Hope this Helps anyone installing thins on their own motor!
Attachments
-
 66.1 KB Views: 228
 -
 247 KB Views: 247
 -
 243.3 KB Views: 329
 -
 163.6 KB Views: 335
Last edited:

")