my performance oriented thread

GoldenMotor.com

Davezilla

New Member
Mar 15, 2014
2,705
10
0
San Antonio Texas
The idea of the squish band is to compress everything closer to the center of the chamber keeping all the heat away from the outter edge of the piston where heat can build up and cause detonation... This is the simplest way I can describe it, but it lets you get away with running more compression so you can make more power while keeping the heat in check.
The idea is to set this clearance as close to the piston top as possible while allowing just enough room for the piston not to hit the head, typically anything under 1mm and over .25mm is good, you may need to play with your gasket thicknesses a bit to get the clearance right but it's worth the extra effort.
To measure this clearance accurately you'll need some .040" (1mm) thick solder and then assemble the engine gaskets and all, and torque the head bolts to at least 80 in/lb but not over 120 in/lb (7 to 10 ft/lb)then run a piece of solder into your spark plug hole until you feel it hit the cylinder wall, then gently turn the engine over to crush the solder, the piston must be able to go all the way up and passed the solder. Next thing you do is pull the solder out and measure how thick it is with a micrometer or caliper, then you can adjust your base gasket or head gasket thicknesses by stacking or removing one etc to get your clearance to the acceptable range. Be sure to check that your piston isn't hitting the head each time you make an adjustment by free turning it at least one full turn before doing each squish check. There are a few videos on Juice's site about surfacing the head if you do need to shave off some to get it right, and there are also several youtubes out there on the same subject for these engines, but we're also here to help if you get stuck on anything.
 

Davezilla

New Member
Mar 15, 2014
2,705
10
0
San Antonio Texas
Wow.. tight clearance with the sparkplug... You may need a short plug, or to find one of those old style leads where the lead clips around the plug from the side instead of over the top, unless you can tilt your engine forward just a tad more and still get a nice solid mount to the seat post. I had to shave off a little from my front mount to get mine to sit low enough in my frame but still have a very tight fit.
 

a.graham52

New Member
Nov 22, 2013
232
1
0
island of misfit toys, maine
Wow.. tight clearance with the sparkplug... You may need a short plug, or to find one of those old style leads where the lead clips around the plug from the side instead of over the top, unless you can tilt your engine forward just a tad more and still get a nice solid mount to the seat post. I had to shave off a little from my front mount to get mine to sit low enough in my frame but still have a very tight fit.
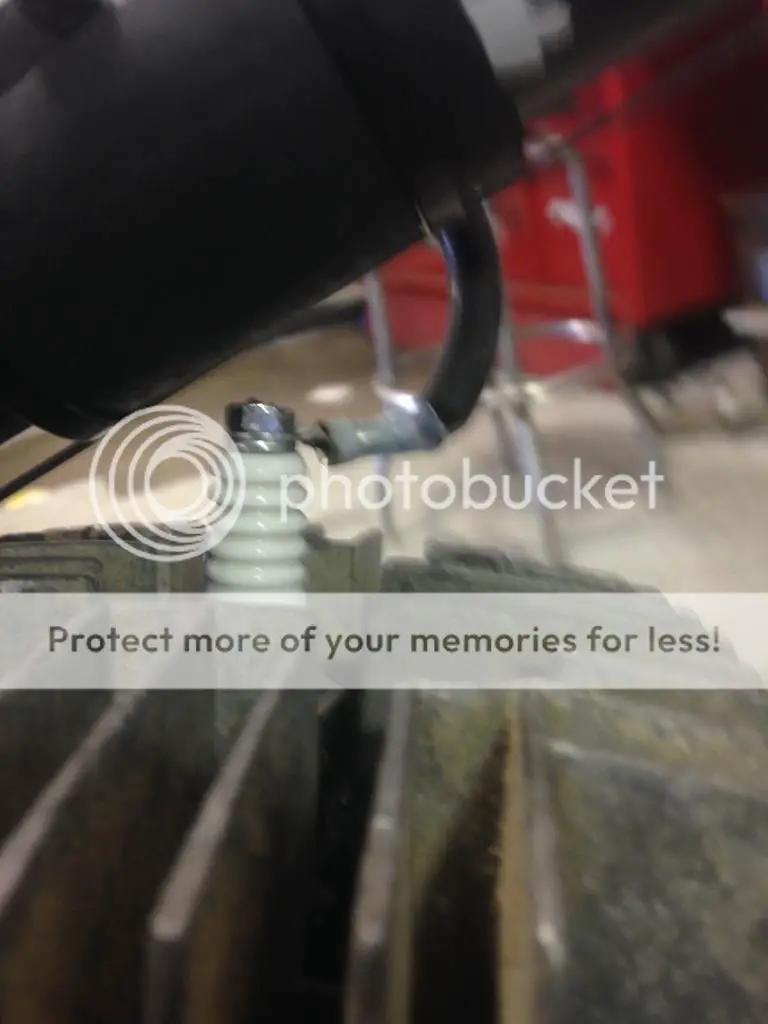
Moving te engine is not an option. Both mounts are nearly flat on the frame. My though: shave down the plug nut on top (or find a regular hex nut) and then just out an eye on the spark plug wire. Shave down the extra thread on the spark plug and throw some heater hose on the frame as an insulator.
 

Davezilla

New Member
Mar 15, 2014
2,705
10
0
San Antonio Texas
Check for availability of one of those 70's or 80's type lawnmower plug wires that has no boot and clips to the plug from the side, it has a forked terminal and doesn't use a boot, you'll need to insulate the frame like you mentioned to prevent shorting out the plug.

You could do like you said and put a loop terminal on the plug wire and use a nut to keep it on as well, a dab of rtv over the connection would insulate it good enough too once cured and protect the connection from corrosion.
 

a.graham52

New Member
Nov 22, 2013
232
1
0
island of misfit toys, maine
I'm going to be a stickler and have to stay with my spark plug wire. It's a wire off of a car and is nessasary for keeping my digital speedo from getting zapped. If it wasn't for that, the lawn mower wire sounds like the best option! And I never would of though of the RTV.
 

Davezilla

New Member
Mar 15, 2014
2,705
10
0
San Antonio Texas
I took a die grinder to my engine's front mount and shaved off quite a bit to change the angle so it would sit flat but that only gave me maybe another 1/4", then I trashed the front mount clamp bracket and welded tabs to bolt the front directly to the frame, it was a lot of work to gain that extra 1/4" clearance... if your engine sits nice and solid the way it is and you can work around the sparkplug clearance by modifying the terminal that might be the way to go. Mine just has enough room to remove the plug without dis mounting the engine the way I got it set up now.
 

a.graham52

New Member
Nov 22, 2013
232
1
0
island of misfit toys, maine
Yeah the genisis has a pretty wide front tube. I think. 1.75" area? I bought a wide front bracket that uses a plate. My goal was to mount the plate flat on the frame so it doesn't chaffe the frame since it's aluminum.
 

Davezilla

New Member
Mar 15, 2014
2,705
10
0
San Antonio Texas
Mine is an older Roadmaster MTB so it has a really wide front tube but it's more oval than round so it took some extra cutting to get it to sit right, luckily my frame is steel so it's easy to weld so that's how I decided to mount mine.

You could use some mylar or teflon sheet between your mount bracket and frame to prevent chafing and since those plastics aren't soft like rubber it won't cause any vibration problems.
 

a.graham52

New Member
Nov 22, 2013
232
1
0
island of misfit toys, maine
so i ended up trying my plan. i dont think the heater hose will work. i think there is too much carbon in the rubber to be a proper insolater. i still had to shove some paper in it to make it run right. i found a shorter plug however the threads are shorter too. it exposes about 2 threads inside the head. not horrible but not perfect either. still waiting to see if i can sorce a spark plug wire off my old truck that has a 90 degree fitting on it and give that a try. ill post pics later tonight.
 

a.graham52

New Member
Nov 22, 2013
232
1
0
island of misfit toys, maine
quicky update. when i did my last post i had yet to ride it with the short plug in it. just went otu and tryied it. no arcing with zero insolation around the plug, frame etc. i did notice that it skipped pretty good at high throttle. if i applied the choke it ran better so its running pretty lean. at wot. can changing the head effect fuel ratio that much?
 

a.graham52

New Member
Nov 22, 2013
232
1
0
island of misfit toys, maine
standard plug after i shortened the wire threads:


first attempt at an isolator:


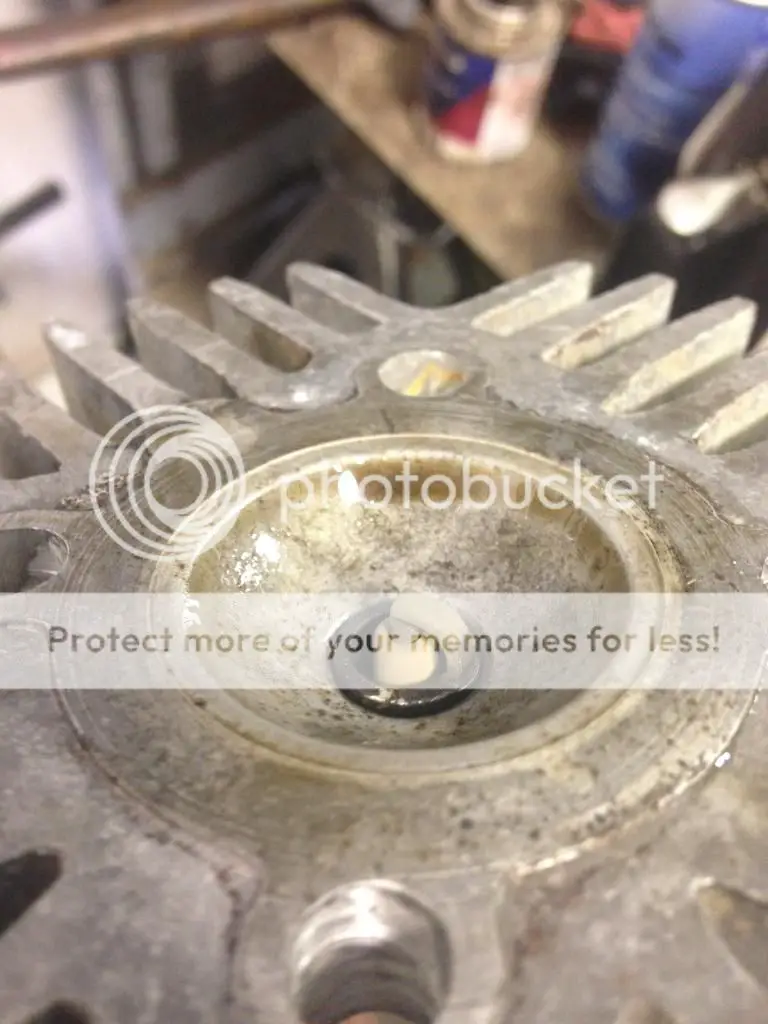
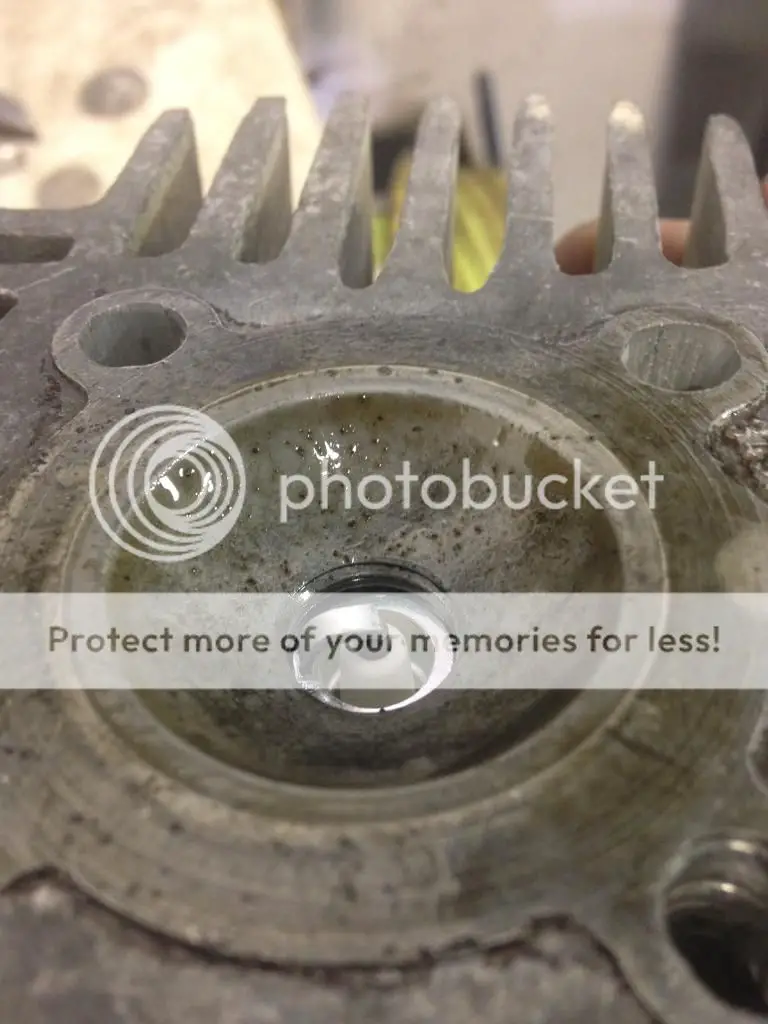
puch head with standard plug:


puch head with short plug, (also note: changed crush washers on plug and that gained me probably a mm.:
 

a.graham52

New Member
Nov 22, 2013
232
1
0
island of misfit toys, maine
update time for the head:
i reshapped the squish band, and the head where the spark plug is to open the spark plug hole up. stuck some solderr in there and cannot for the life of me get the solder to sqwish. its almost 1.75mm thick too. i have put some miles on it (about 15) as of today. runs great. opened up the main jet and this thing really feels nice. did a compression test... max pressure was 175psi. installed the gauge, get goign about 7mph and dumped the clutch with the throttle held wide open (no fuel in carb) and pressure started at 50psi and steadily climbed until it stopped at 175. repeated two more times and got the same pressure. im also running 91 pump gas too.
 

Theon

New Member
Jan 20, 2014
1,440
6
0
FNQ Australia
175 sounds a little high, you sure the gauge is accurate?
As for squish, if you have a 38mm crank, it may take decking the barrel.
How did the piston sit at TDC relative to the barrel deck height?
Can get 3mm solder.
 

a.graham52

New Member
Nov 22, 2013
232
1
0
island of misfit toys, maine
175 sounds a little high, you sure the gauge is accurate?
As for squish, if you have a 38mm crank, it may take decking the barrel.
How did the piston sit at TDC relative to the barrel deck height?
Can get 3mm solder.
quite certain its an accurate gauge. it was a borrowed tool from another tech i work with and he rely on it for engine diagnostics. as far as pistion relation, it sits about 3mm below deck height. i thought it sounded high too but idk what to expect.
 

Theon

New Member
Jan 20, 2014
1,440
6
0
FNQ Australia
It seems from my experience with these engines an unusually high compression to be getting with that head and without a squish of less than 1mm?
A lot of mechanics are mostly just looking for variations in compression between multiple cylinders, as such may not notice if their gauge is wrong?
With the right fittings it could be tested against another gauge.
Base gasket and exhaust port timing can have an effect on final compression?
But from what your telling me I would be surprised if you would have much more than 150 Psi?
If for example a mechanic found 175 psi instead of 150 on a car he would not think much about it if they were all even.
just saying.
 

a.graham52

New Member
Nov 22, 2013
232
1
0
island of misfit toys, maine
working at a dealer, we need to be able to document exact measurements for warranty work or for when we have to call technical assistance center. not only that be we hae a minimum psi spec as well as an average and difference.

none the less i shall get my hands on another gauge and take a look.

now iv opened the head up quite a bit and removed the "shelf" after tracing the head gasket. prior to this i squished solder to 1.17mm but the point of contact was not near the cylinder wall. it was actually a couple mm in which makes sense with the domed piston. after i opened up the shelf i was no longer able to squish solder. so i milled the head... a LOT. still no contact. so i did the cylinder and gave up when it still didnt squish the solder.
 

a.graham52

New Member
Nov 22, 2013
232
1
0
island of misfit toys, maine
i bought a high quality compression tester. same kit as what i borrowed from my fellow tech except mine was cornwell and not mac. well anywho, after having the ehad opened up, im still getting 150 psi.
 

Theon

New Member
Jan 20, 2014
1,440
6
0
FNQ Australia
150 is probably what you want.
Even att 150 it is probably good to try and boost the primary compression a little if possible to make the most of the increased compression,
Depends if you have a 3 piece or 5 piece (counter weight covers) as the 5 piece fills the case better.
Also good to flatten the roof angle on the transfers.
Did you do a comparison of the two gauges?