Hey Everybody,
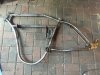
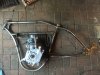
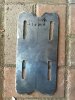
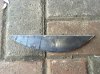
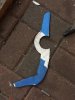
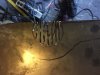
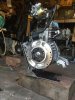
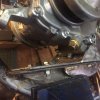
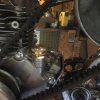
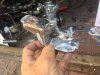
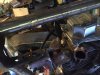
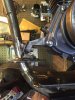
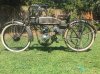
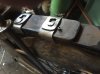
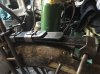
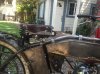
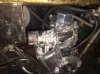
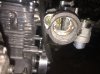
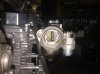
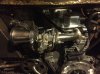
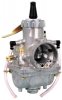
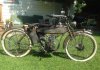
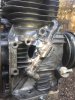
I built this bike going on 5 years ago now and I first ran it with a 5 horsepower briggs engine, then a Honda GC 190, then back to a built briggs raptor for the Socal Motorized Bicycle races, and using the GC 190 on the street. I have wrecked at least 4 of these GC 190 engines, sometimes snapped valves, sometimes scored cylinders, and lastly I threw a rod a couple of weeks ago. I decided I can't take it anymore.
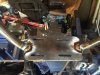
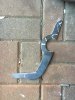
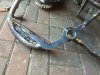
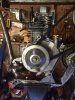
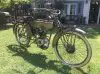
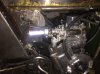
I have been contemplating rebuilding this bike for a Predator 212cc engine for a couple of years and now it is finally time.
Gilbert
I built this bike going on 5 years ago now and I first ran it with a 5 horsepower briggs engine, then a Honda GC 190, then back to a built briggs raptor for the Socal Motorized Bicycle races, and using the GC 190 on the street. I have wrecked at least 4 of these GC 190 engines, sometimes snapped valves, sometimes scored cylinders, and lastly I threw a rod a couple of weeks ago. I decided I can't take it anymore.
I have been contemplating rebuilding this bike for a Predator 212cc engine for a couple of years and now it is finally time.
Gilbert
Attachments
-
 593.7 KB Views: 523
 -
 454.5 KB Views: 510
Last edited: