

212 predator build
- Thread starter Amarion1
- Start date

It's been a while! I built the HD axle kit into my rear wheel BUT I just ordered new rims so I get to do it again.. also ordered a fork and front disc hub and hydrolic moped brakes. Finally getting some time to work on this again! So hopefully pics and progress to come ")
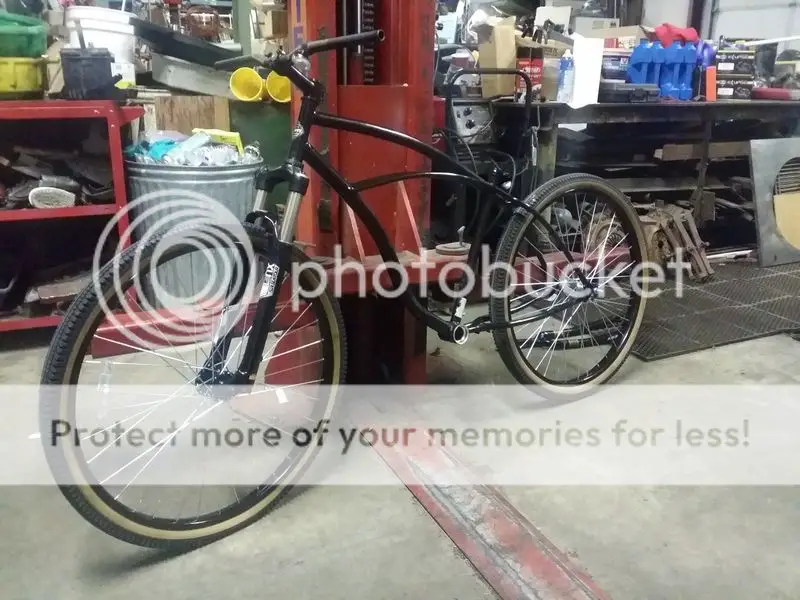
Not a huge update but I just finished installing my new fork! Went from 1 inch threaded to 1 1/8 inch threadless. My plan was to split the head tube open and tap in a new head tube for 1 1/8 forks and weld it up but it was big enough I tried to modify the original headset to reuse that and the bearings and such then decided that I didn't like that plan and scrapped it. So instead since I already ordered it and had it handy (1 1/8 headset) I ground down the part that presses in and cut 4 thin slits in them and also ground out the headset a bit and tapped them in to start and then pressed them in the rest of the way. Actually a very simple process with a bench grinder, die grinder and a press. Tomorrow my rims should arrive and I can build my wheels and get those done! Woohoo! Small steps but she'll get there 

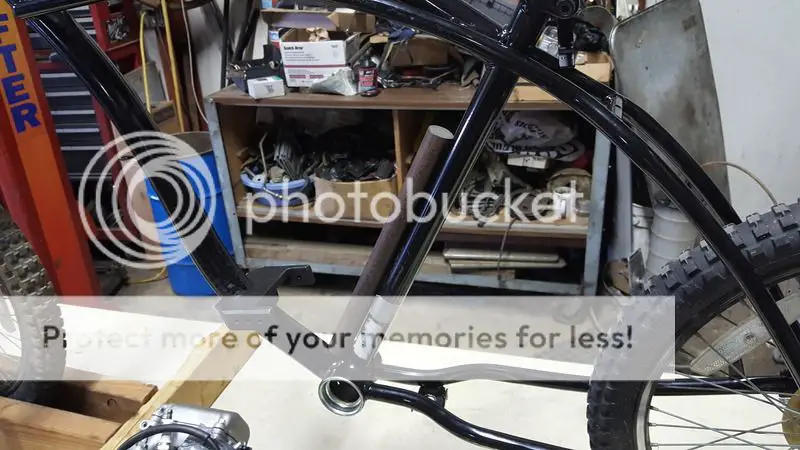
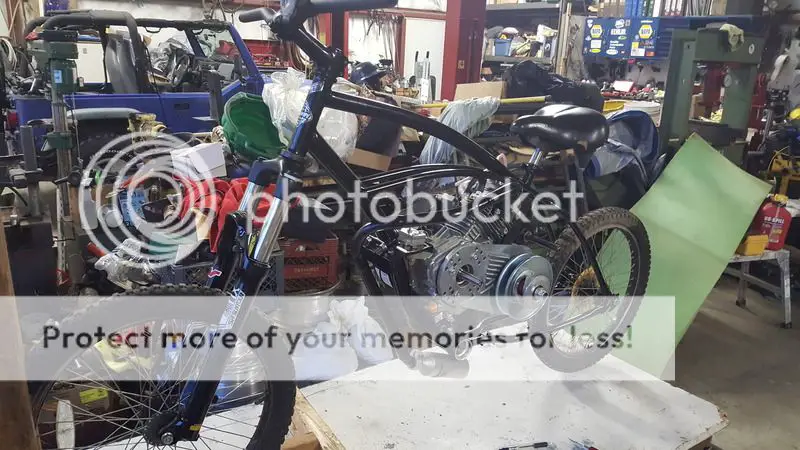
Well I got a few things done! Installed the ARC connecting rod, cam, springs and flywheel to the motor . And I got my solid steel rod shoved in the seat tube for clamping support. And tonight I installed the motor mount and motor. I have a few little touch ups to the mounts before she's 100% but it's looking good so far! Next I figure I'll build the jackshaft and see if my torque converter is usable on this bike or if I need to go a different route.

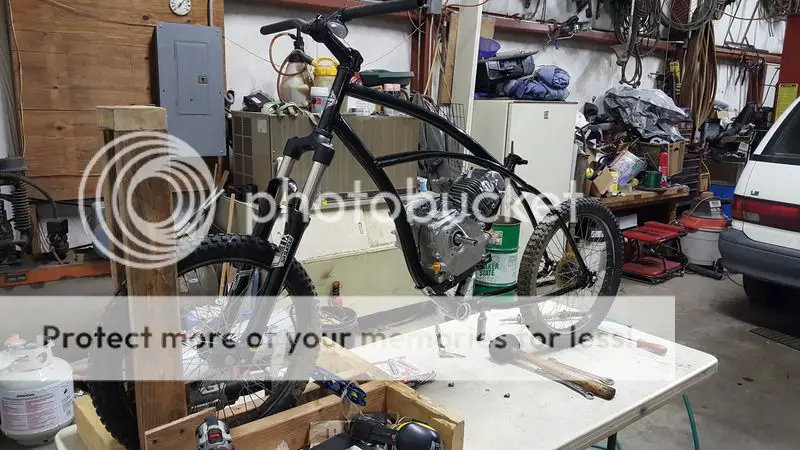
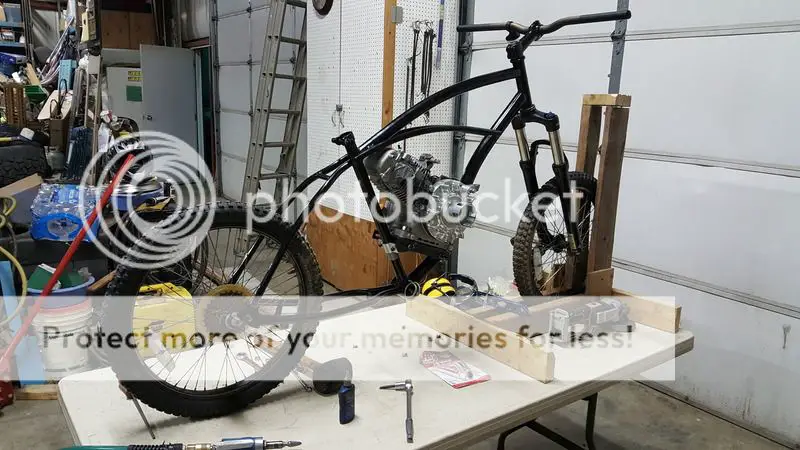
The little wheels are just for working on the bike until I build my main set
. And I got my solid steel rod shoved in the seat tube for clamping support. And tonight I installed the motor mount and motor. I have a few little touch ups to the mounts before she's 100% but it's looking good so far! Next I figure I'll build the jackshaft and see if my torque converter is usable on this bike or if I need to go a different route.


The little wheels are just for working on the bike until I build my main set
Thanks! She's a bit of a squeeze to get in there! I did have to mill some material off of the front mount to get it to work because of the bolts holding the engine to the plate. The cnc motor mount they make for this engine would have been much smarter and easier to work with.Nice fit!! Can I ask why you think the torque converter might not work? Bike is looking good...
After looking at the tranny and holding it up on the motor I see now that it should work out. I was worried because I looked at a couple and the drive sprocket was outside the housing for use without a jackshaft but the one I have has it on the inside and will require cutting the cover for the chain to come out which will go to the jackshaft then to the wheel. This set up is actually good as I will have to space it off the block or shave the shaft housing down a bit because it hits the seat post. And a sprocket against the seat post would have been a lot more trouble to deal with it think
If you get one of these plates you won't need a jackshaft.http://gokartsusa.com/Motorized-Bicycle-Gas-Engine-Jackshaft-Plate-Lifan-2.5hp-GX160-GX200.aspx there rear is for 5/8 shaft I use the one that comes with cvt ..cut it and put a clamp on the end.
A lot of guys say the belt on the torque converter slips with the 212 and it sounds like your motor is pretty built to. I would just get the noram cheetah clutch and be done with it.
Depending on your pulley size going to rear wheel it could slip. With an Ax belt and the pulley no smaller than 2.5 it won't slip. If you run just a v belt oh ya it's going to slip. Also a spring loaded tensioner will help a lot to prevent slipping. A clutch is a way to go but that's more for racing. The cvt is the best drive for the streets.
Wes I agree, What s a Ax belt? ......... CurtDepending on your pulley size going to rear wheel it could slip. With an Ax belt and the pulley no smaller than 2.5 it won't slip. If you run just a v belt oh ya it's going to slip. Also a spring loaded tensioner will help a lot to prevent slipping. A clutch is a way to go but that's more for racing. The cvt is the best drive for the streets.
Notches molded into underside for the flexibility to fit smaller diameter sheaves...a v belt with notchesWes I agree, What s a Ax belt? ......... Curt
Excellent!!!This is going to be a slow build and I'm hoping to get it done for the summer and my funding is coming from donating plasma which is $200 a month
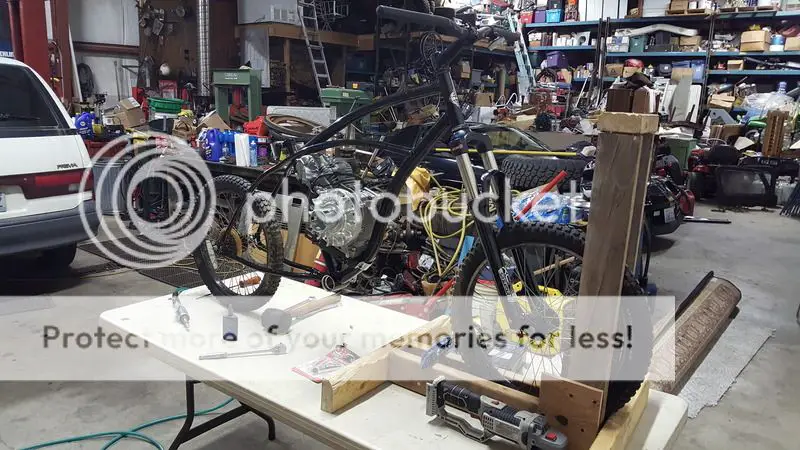
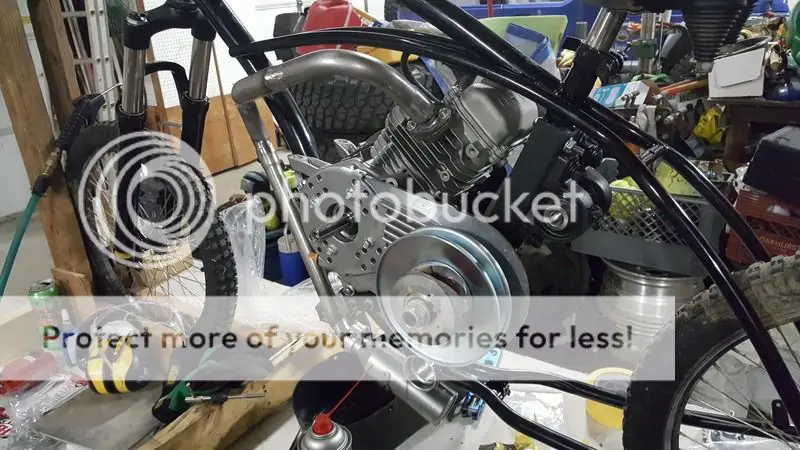
This project came to a halt but I was able to get a few hours on it this week. The 2 drain plugs on the platform of the motor stuck out too far so I drilled and tapped them and have inset bolts to plug them. I finished installing the motor and she's now apart of the bike. I built and installed the jackshaft. Installed the CVT to the motor. Still need to put it together. Built the exhaust and set it in place. Built a spacer to angle the intake manifold away from the frame. And put a seat on it
Today I will make an adapter plate to mount my carburetor to the intake and make a front motor mount then pack it all buck up again..
Today I will make an adapter plate to mount my carburetor to the intake and make a front motor mount then pack it all buck up again..


Get rid of that jackshaft! Find a shaft for your cvt that puts the sprocket inboard and not outboard which is why you think you need a jackshaft. I've seen em but never looked into it. And with 24" tires you'll definitely be fine with a tall ratio like 6:1, that is the same as my current high gear ratio of 6.4:1 on 26" tires. I don't have the billet parts so I geared it like that to not overrev in either gear. Might want to run 35 chain to get the big rear sprocket for that, or 10 to 60 if you can find a 60t #41. Believe me! It is one less point of power loss especially when you consider the chain alignment tweaking out under power...
Half the point of my jackshaft is because I'm going to install a disk brake on it. I do get what you're saying though. And I'm only using this transmission because I already had it from another build that it was too big for. My main plan is a centrifugal. But I want to see how this runs since I already paid for it. And I'm not using the 41 chain it's too big and will move around too much. Im going to use 35 or 415 that I have chain and sprockets for. Might have to reorder some parts though. Not sure yetGet rid of that jackshaft! Find a shaft for your cvt that puts the sprocket inboard and not outboard which is why you think you need a jackshaft. I've seen em but never looked into it. And with 24" tires you'll definitely be fine with a tall ratio like 6:1, that is the same as my current high gear ratio of 6.4:1 on 26" tires. I don't have the billet parts so I geared it like that to not overrev in either gear. Might want to run 35 chain to get the big rear sprocket for that, or 10 to 60 if you can find a 60t #41. Believe me! It is one less point of power loss especially when you consider the chain alignment tweaking out under power...
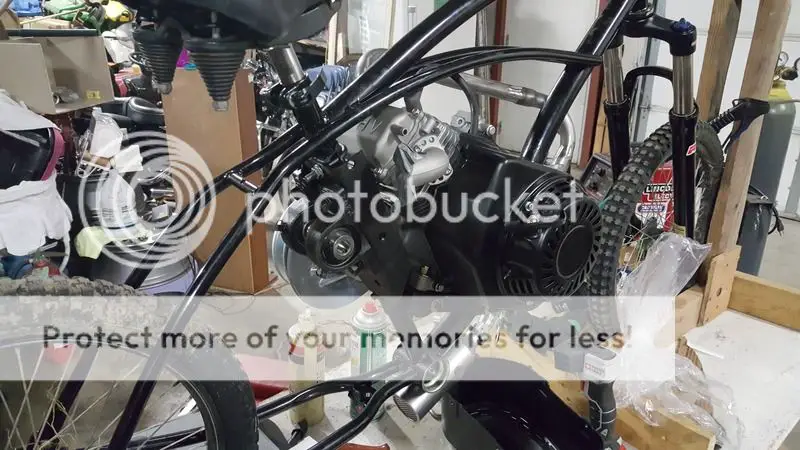
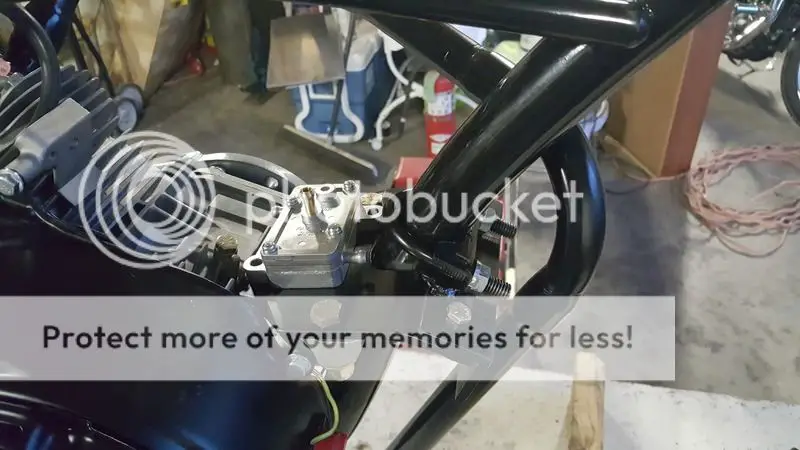
I did make some pretty good progress this week! Most of the major work is done. I bought the aluminum for my gas tank so I need to plan and cut and weld it. Exhaust is done besides wrapping it. Might have to make a guard for it since it sticks out a lot up top.. intake is done and carb is on. And front motor mount is done and installed
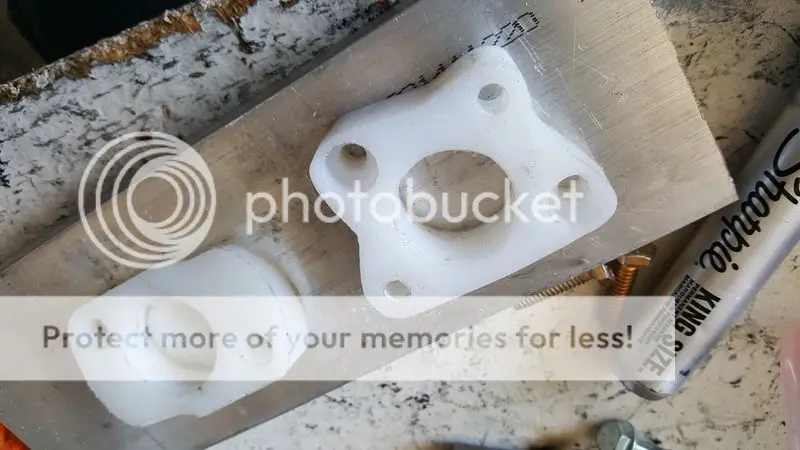
Intake to block spacer and carburetor adapter

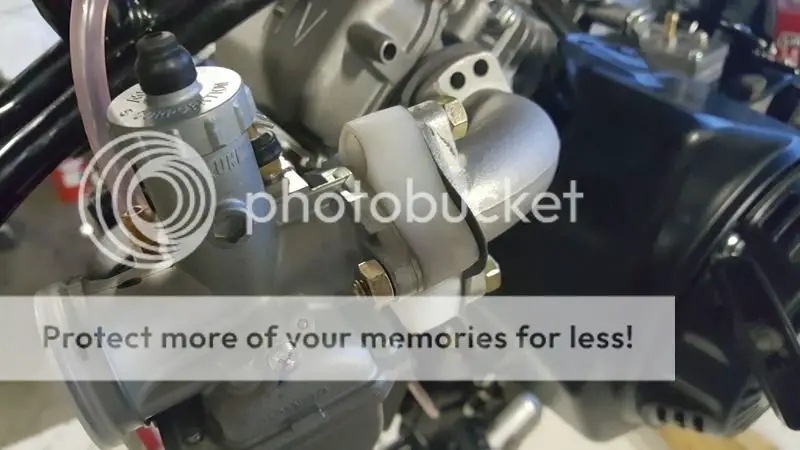
Finished motor mount with a spot for the fuel pump to bolt to
Intake to block spacer and carburetor adapter


Finished motor mount with a spot for the fuel pump to bolt to

Just a quick update! I installed my fuel pump. Drilled and tapped the valve cover and put in a brass fitting for the pulse line. Hooked up the throttle and rpm/hour meter. After a good few minutes of pulling the rope and getting pretty discouraged she finally kicked over and HOLYMOTHEROFBALLS excuse my language this engine is a monster!! I'm super excited it kicked over! Doesn't sound anything like a lawnmower or generator like I thought it might. Tomorrow I'll try to get out and fire it up again and see if she idles. It was too late tonight to let it run. Can't wait to finish it and ride it!! =-D
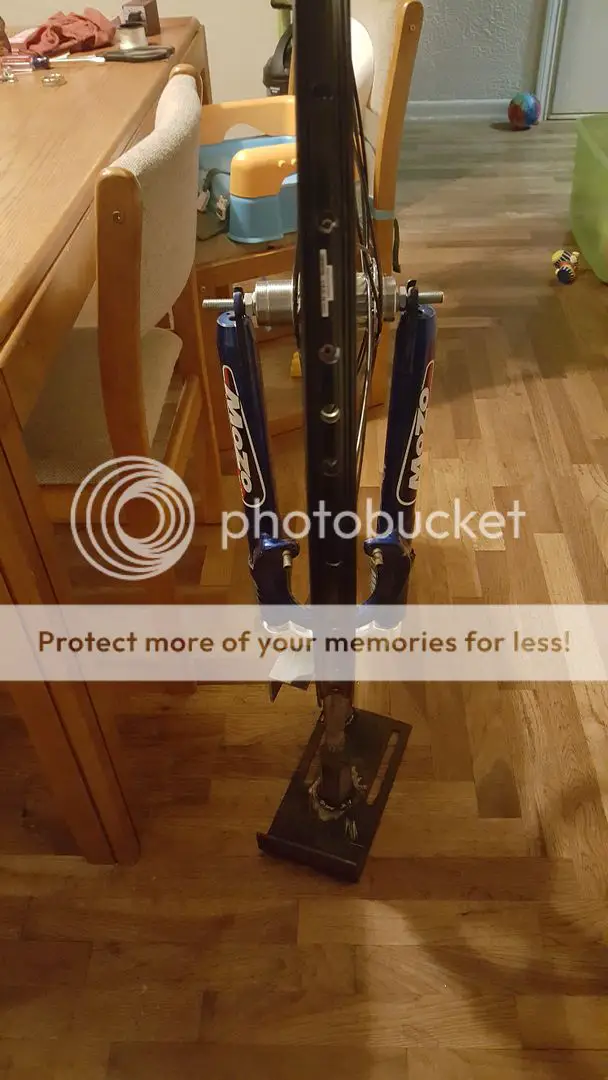
Finally another step in the right direction! I built my rear wheel and was worried about spoke length but the lbs said it was fine. Front wheel spokes somehow came up super short... so I replaced those with the rear spokes and ordered longer ones for the rear. Just got it together tonight!! I dished it and trued it side/side and up/down within 1 thousandth each way and the tension feels pretty good too. Don't have a tensiometer though.. I'm in the works of building my dishing stick but wanted to use it now so I quick fixed it for now =-D and she worked beautifully! Each side came out nuts on. Was worried about pulling the rim over probably a half inch but she came with no troubles.
Here's my dishing stick. Wood cutout with aluminum pads. I used a piece of ribbon to hold the measuring rod in place

And my newly worked rear wheel dished way the heck over
Here's my dishing stick. Wood cutout with aluminum pads. I used a piece of ribbon to hold the measuring rod in place

And my newly worked rear wheel dished way the heck over
