


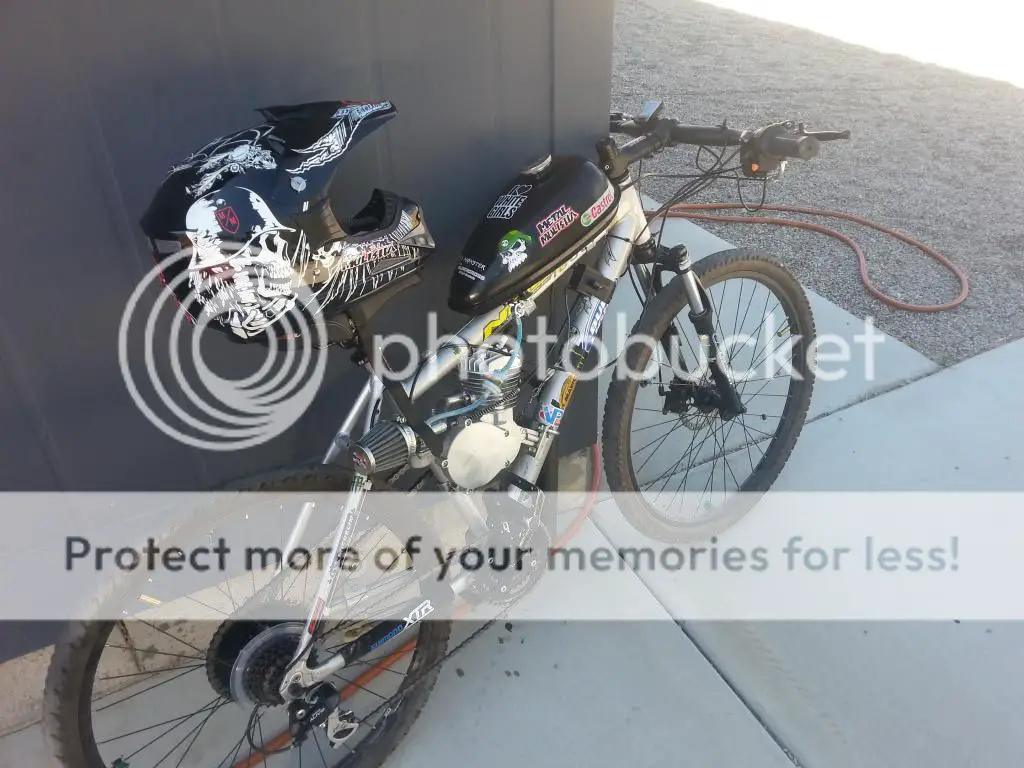
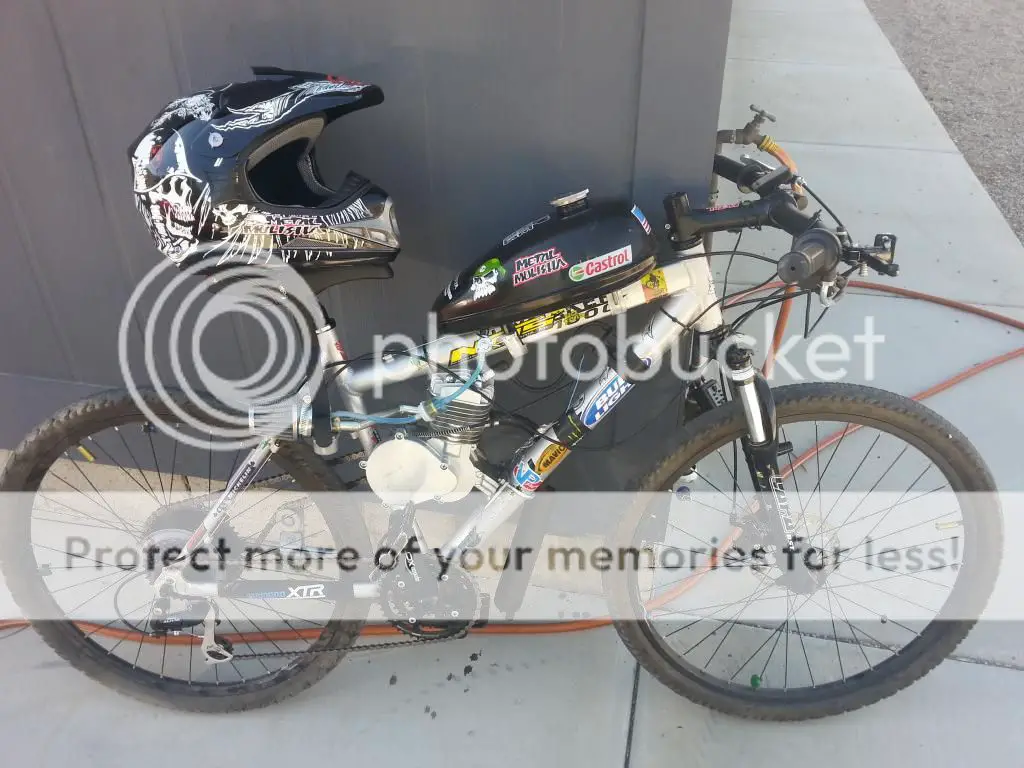
I bought a 19“ mtb with front suspension from bikes direct, I plan on building a decent mtb that happens to have an 80cc motor.
http://www.bikesdirect.com/products/dawes/hay1000xi.htm
Disc brakes, lock out forks and it was cheap.
Got it, put it together, rode it. Now I'm waiting on my motor.
Parts ordered
California Motorbike wildcat engine kit
Frame mount
Dual pull lever
Sram thumb shifter sans brake levers
New cables
CatEye 7 computer
Origin 8 bat wing bar
Kings top hat disc adapter
Spring chain tensioner with sprocket
I already have a cygolite hotshot, helmet, mtb pedals and plenty of cycling gear
Plan on ordering
Maxxis tapeworm 2.5 tires with downhill tubes
Arrow torque pipe
Extended manifold
Dellorto SHA 14.12 carb
Brooks b67 spring saddle
Jaguar cdi
Avid bb7 brakes
bicycle designer 255mm monster rotor kit
Maybe a Jack Shaft kit eventually
Wish me luck, I should start wrenching this weekend or early next week
Finally riding


Last edited:


