Juicer 48, the Etek build

GoldenMotor.com

Flügelwagen

New Member
Mar 24, 2010
97
1
0
Los Angeles
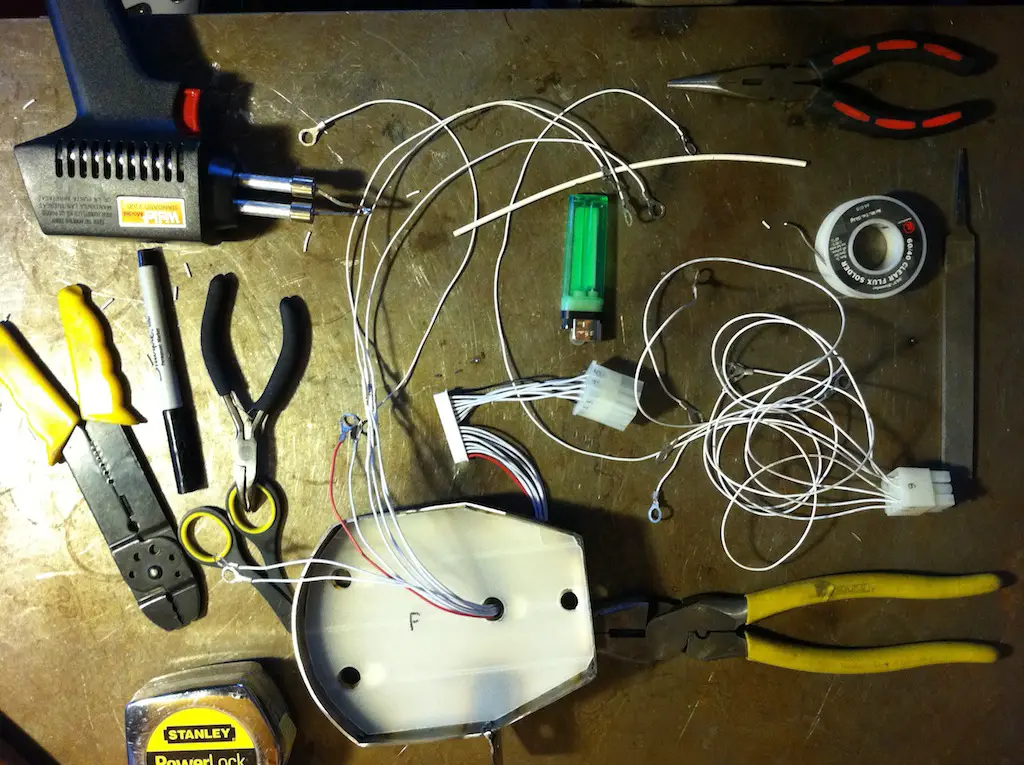
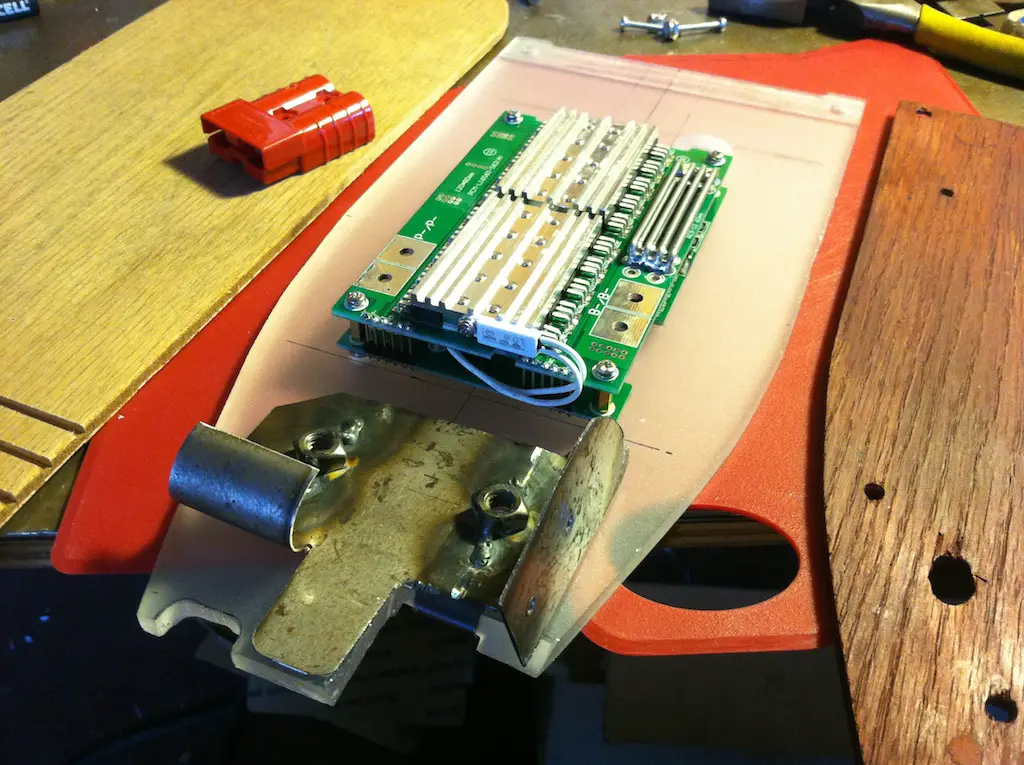
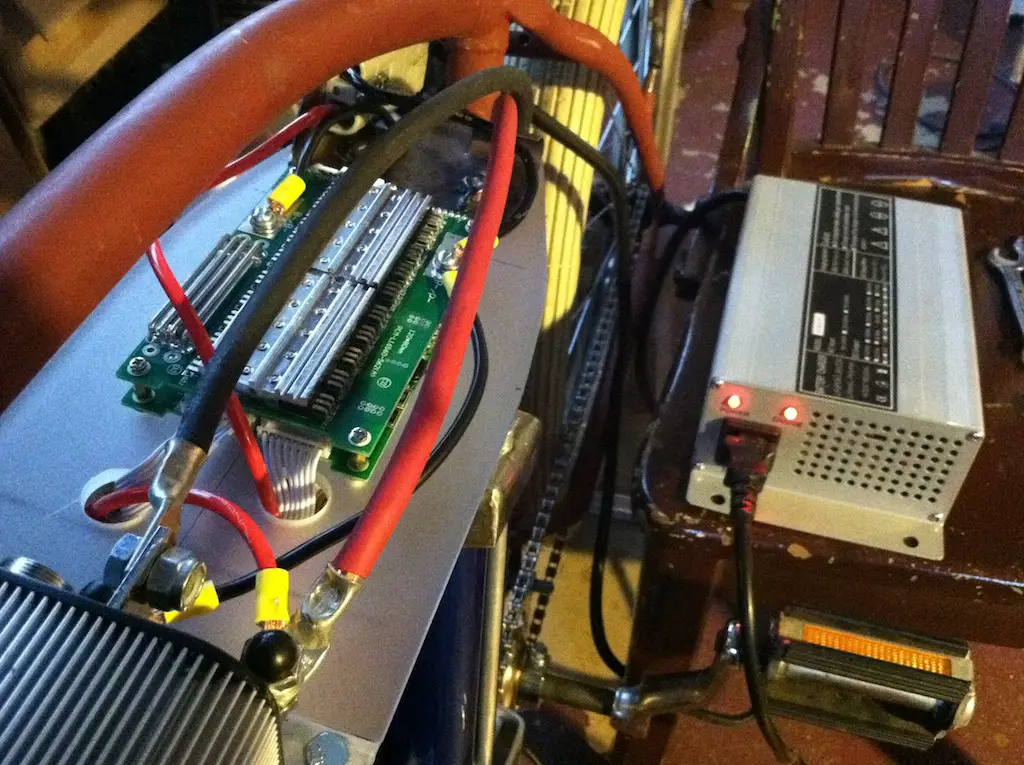
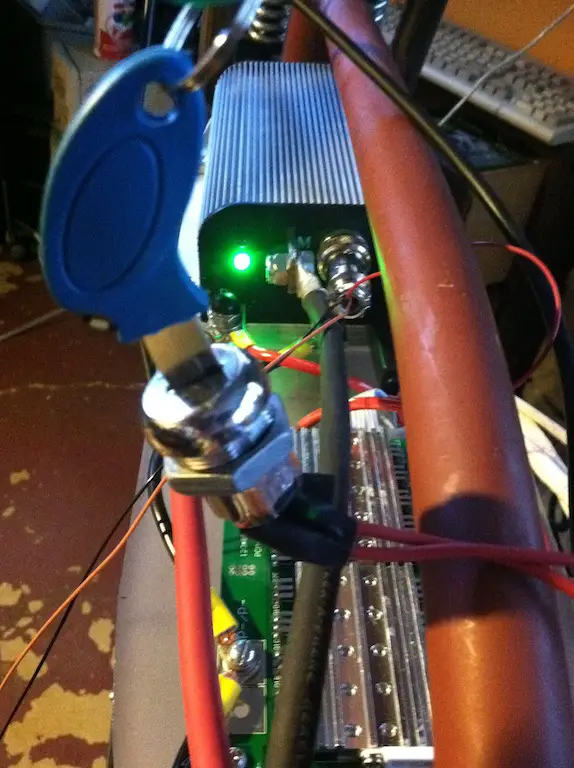
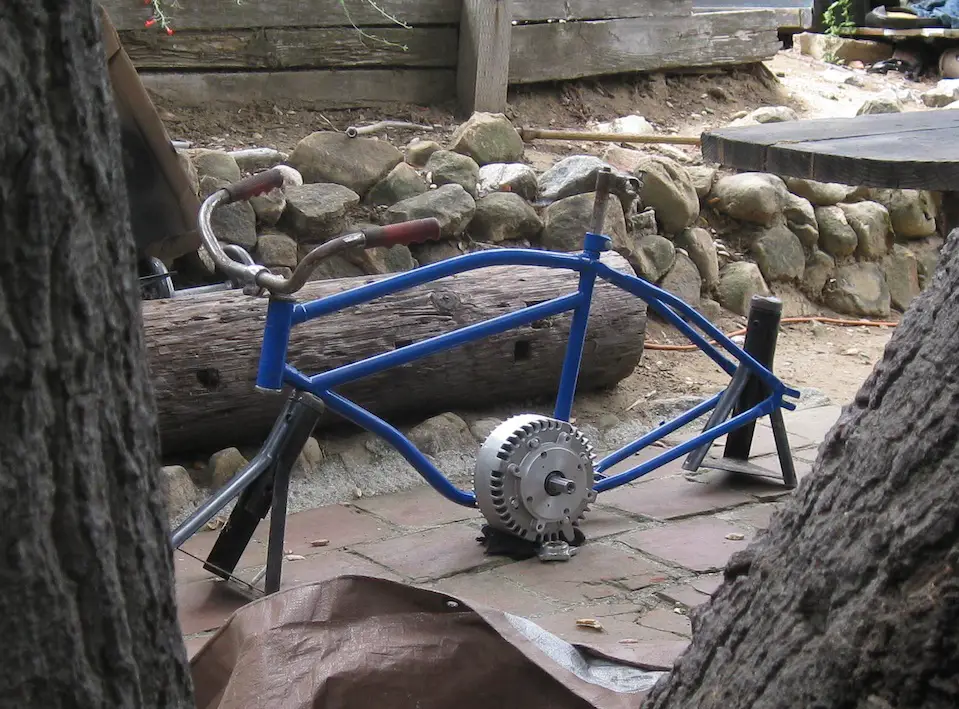
It's been slow-going for awhile...still pimping Juicer 36 (see the media page of emotorbicycle.com) but have finally started to see some visible progress on my second bike, the Etek/Worksman build.

These are the proportions I'm going for, but will have to make custom forks and add a loop to the frame to cradle the Etek.

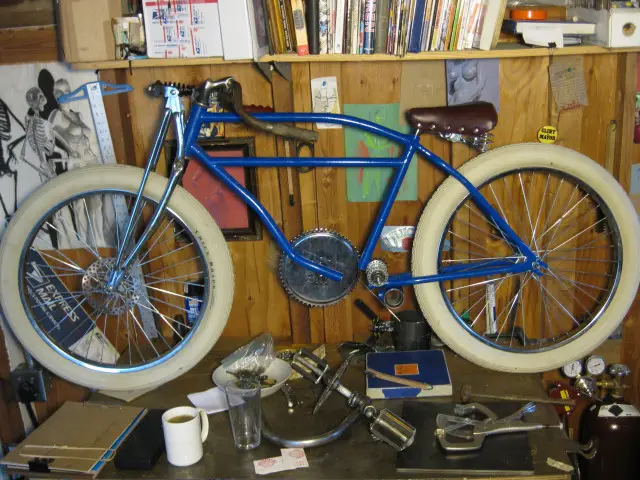
The forks will be based on the Brain Fork ingredients, but this is not a chopper, so changes will be made.
You gotta love John Brain. Most folks who come up with a great design keep it to themselves, or try'n sell it. Most would worry that if they publish their plans in an act of generosity that somebody will botch it, crash and end up suing your pants off. This did not deter John Brain. I tip my hat to you, JB.

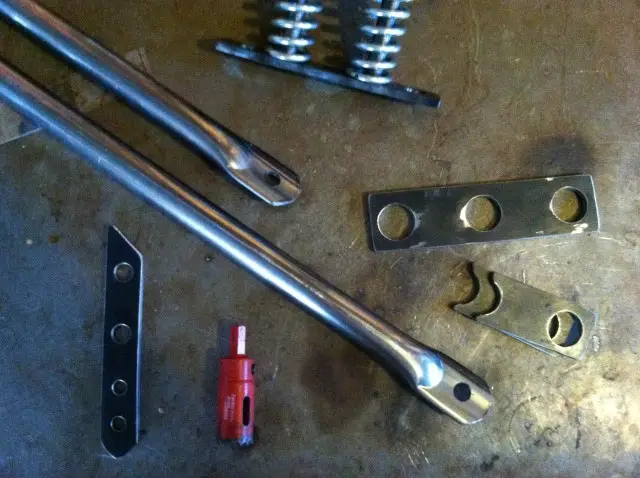
Drilling one inch holes in 1/4" steel with a hand-drill was not my first choice but was forced to after one plate failed the stringent Juicer QC. After going through two other bit brands (white and black) this red sucker got the job done. I cut the flunked part in half and used the pieces to squeeze this nice pattern into the fork-legs. Unfortunately, to get them flat I destroyed my new, blue vice that I got at Sears. It did not say the magic word, "Craftsman" on the package, so I was out some bucks. Determined not to bring another knife to the gunfight I bought this giant antique vice for $80. End of problem.
 

Flügelwagen

New Member
Mar 24, 2010
97
1
0
Los Angeles

Hydroencephalac forks; Brain Juice. I inverted the positions of the plates to eliminate the stretch. For risers I'm using identical stems. I bent the bars with a conduit bender...kind of a wide, hoopy bend, but does look old-timey.

I had to get the frame loop bent at a machine-shop. I h8 having to pay someone else to screw up my parts when I can screw them up for free.

Here's the hubbub at the hub hub; going clockwise from left, for the rear wheel I was going to use this nice kart-bike part before I found the heavier-duty scooter part that came with a 45t sprocket mounted already. I threw them both over for this little BMX hub with Left-Hand-Drive. Why LHD? Because I'm banking on a hunch that a coaster-brake hub will make a great jack-shaft...

Coaster-brakes are actually an overrunning clutch and a drum-brake all in one. As much as I would have liked the look of a freewheel crank setup, I didn't have confidence that the pawls would stand the stress of a 14hp motor. Will a free-coaster explode under the strain? That is TBD. But if it holds, I believe the braking feature can be modified to be cable-actuated which will make it an ideal regenerating brake.
 

SANGESF

New Member
Feb 23, 2009
641
0
0
Lake Worth
I would still like to buy a copy of that mid motor drive you created for the original ejuicer, but don't want to pay $800 for $20 worth of metal.
 

Flügelwagen

New Member
Mar 24, 2010
97
1
0
Los Angeles
I feel lucky to have found it, Catfisher. I got it at an antique salvage place in town. I'm sure you could find a similar deal in Illinois. Call some antique shops that carry tools and ask if they have a big, old vice. Worked for me.

...finished the jack-shaft carrier today. I'd value the metal at about $2.75.
 

Flügelwagen

New Member
Mar 24, 2010
97
1
0
Los Angeles

Jackshaft carrier mounted; even though I stripped the frame to metal near the welds, the Worksman frame fumed like galvanized metal. It smelled like a future in the respiratory ward.

...the motor-mounts have joints like this. There are templates and programs to plan such intersections, but they didn't work for me. Instead, I got one real tight via trial and error, and rolled it in paint to make a template for the rest.

Ah, the frame is done at last. The loop is sleeved in the seat tube and gusseted at the down tube.

If you're a human, like me (allegedly) toolmaking is a satisfying activity. The task was to hollow out the bars for my bar-end brake levers. The tool is another "practice" part from the fork build slit down the hollow end to hold folded sandpaper. The threads that were welded to the other end fit into my drill chuck. This did the trick...eventually.

So I dusted the frame with primer and slapped together what I had so far. The fit to the Etek is tight and balanced. The aluminum face-place will allow me to mount the battery trays a-la Juicer I.
 

NewAge

New Member
Jun 19, 2009
28
0
0
California
I notice by your photos that you intend to run the motor in a clockwise direction, have you checked the specs for that, I have an original etek like yours but I run mine in a counter clockwise direction which is what the specs specify. I am not sure if these old eteks use cooling fans, I know that the new Mars motors use cooling fans and are set up for counter clockwise operation and that if you intend to run them clockwise you need to swap out the optional clockwise fan. I never paid much attention to whether or not mine had a fan because I was running it in the recommended direction, I will do some more research on it and report back.
 

SANGESF

New Member
Feb 23, 2009
641
0
0
Lake Worth
So, have you lowered the price on the original motor/battery combo (minus the batteries?)
$500 was a bit much for a $50 motor and $30 worth of metal.
 

harry76

Well-Known Member
Apr 16, 2011
2,557
47
48
Brisbane, Australia
WOW.... i dont usually check out this section because i didnt think there were many vintage style builds (which is what i love), and this is the first bike i look at. and im blown away by the build quality. Keep up the top work, this bike is not getting the attention it deserves....
 

Frequent Flyer

New Member
Sep 2, 2011
1
0
0
Honolulu
Great build...

If you live on busy street hope you’re not planning on using thoughts bicycle hub brakes. They look great but they’re not going to stop this bike quickly. I have a 48V Etek bike I use for a daily commuter that weighs approx. 120lbs with SLA batteries. I'm running front and rear Avid BB7 disk brakes and I still feel like I need to upgrade my braking system because of the way people drive now days. If you really want to use a hub brake you should see if it's possible to lace a motorcycle hub brake to a bicycle rim....Will add extra weight but will be well worth it.

Keep posting pictures. Great Job!
 

Flügelwagen

New Member
Mar 24, 2010
97
1
0
Los Angeles
Thanks for the comments, guys!

I notice by your photos that you intend to run the motor in a clockwise direction, have you checked the specs for that... I will do some more research on it and report back.
New Age, that's a good thought. I scoured the web but did not find a comprehensive exploded diagram. But none of the info I did find showed a fan or suggested a single direction. Technically this is a Manta, which is a refurbished Etek or a clone, and it came with zero documentation. The power-poles are not even labeled. Definitely let me know if you find out something.
 

Flügelwagen

New Member
Mar 24, 2010
97
1
0
Los Angeles
Made some progress, but still much to do.

The LHD hub I'm using has a teeny driver/sprocket so I really need a small sprocket up front, but I still need the long spindle to clear the motor. So I got the wide crank kit again from bicycle-engines dot com and pulled the mounting do-dad off with a gear-puller.


A board-member sold me this nice, crankset with a little sprock, but the chainline was too far off when mounted at the end of the spindle, so I drilled out the back of the crank and banged the sprocket off with my favorite tool. These parts musta been from the same Chinese factory or summut 'cause the splines were the same. So it was an easy fit to the do-dad- melt a little metal over it, and voila.


So now I have a bicycle. Whoop-dee-do. Check out my new shade of primer. Nice, right? I'm gonna leave it like this as long as I can, but eventually will use my can of "tomato" on it.


Next task, kick-stand. Normally that would be an afterthought, but I don't have a MC lift, so it had to be done at this stage. I wanted to make one like they had in the teens, but in aluminum. Welding aluminum is a pain, and it took me a couple of trys, but finally got it done to my satisfaction. I used u-channel material, 1/4" plate and some rod left over from the EV-Twin. The rod makes a positive stop in the deployed position. For now, I can clamp it up using the skewer, but when the bike gets a fender, it will have the typical hook in the back.
 

Flügelwagen

New Member
Mar 24, 2010
97
1
0
Los Angeles
Okay, time to wire this bugger up.

These batteries need the protection of a Battery Management System (BMS) to keep the series in balance. Juicer I had a Signalab BMS, so I figured go with what you know. The challenge there is to work out a balance wire loom that reaches battery terminals at varying lengths. Also it would be nice if I could disconnect each "cylinder" separately. To that end I used a 9-terminal plug for half of the sense wires.

Then I fashioned a mounting platform to accomodate all the plugs and wires that had to go through it. Wood is non-conductive and this oak-ply sure looked nice after I stained it. But once I connected it all up the BMS failed to activate the charger. Sonofa-! Although the vendor refunded my money I was bummed about all the lost time spent customizing the loom and mounts.
Fortunately, since my original search for a high-amperage 48v BMS some new products had come to my attention. I took a chance on a nice-looking piece of hardware made by EcityPower. Two things attracted me to this BMS; first, it had a nice, fat heat-sink on top, and second, it had two balance wire plugs which meant I wouldn't have to do any splicing to remove the "cylinders" separately.

This time I decided, for strength's sake, to use 1/4" plastic to directly mount the BMS to. I used my table-saw dado-blades to create a lip which would overlap the aluminum plate I'm mounting the controller to. This will allow me to use the aluminum as a heat-sink without worrying about shorting the terminals through it. But what I'm most proud of is this ugly bracket in the foreground. It will not be seen, but it does three jobs; it guides the fat motor wires over the BMS, two, it is a rigid bracket for the Anderson charger-plug and three, it is what the frame-bracket will bolt to.

So today I finally had a chance to wire it up. This time, Yureka, it triggered the charger. Next I connected the controller to the ignition switch and, hot-dog!, the contactor clicked and the controller lights lit up too.

Okay, ready for the trifecta, I connected the throttle and, holy jumpin' Moses, that rear wheel spun like the devil!
OK, let's put a lid on this spaghetti and hit the road...