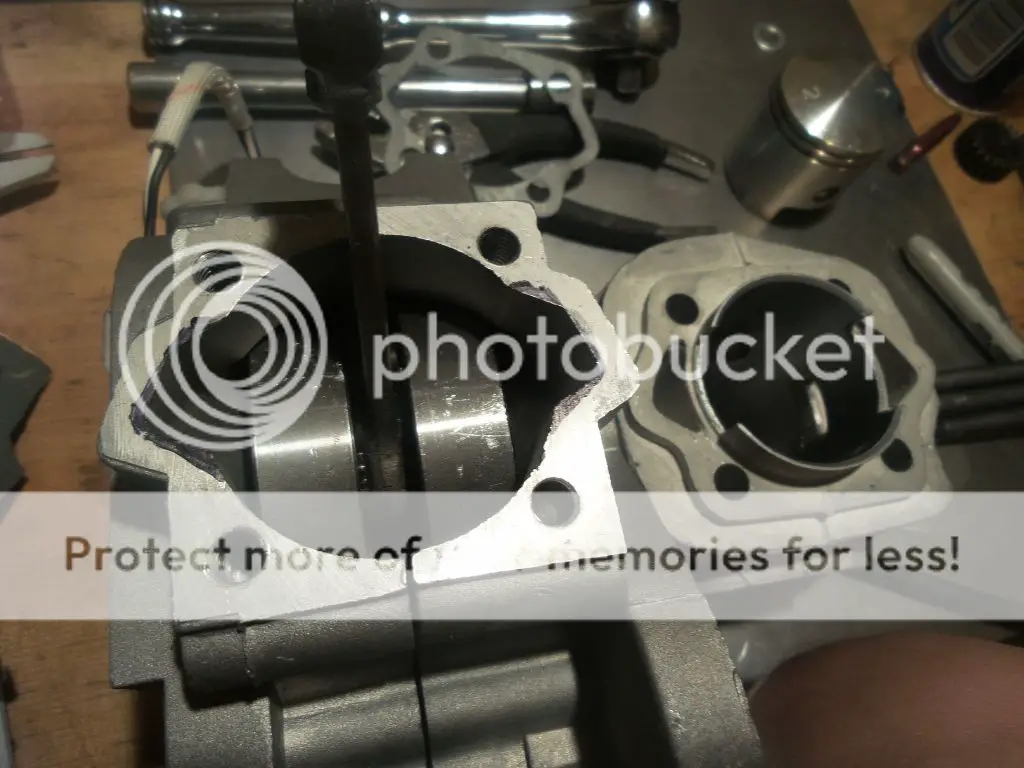
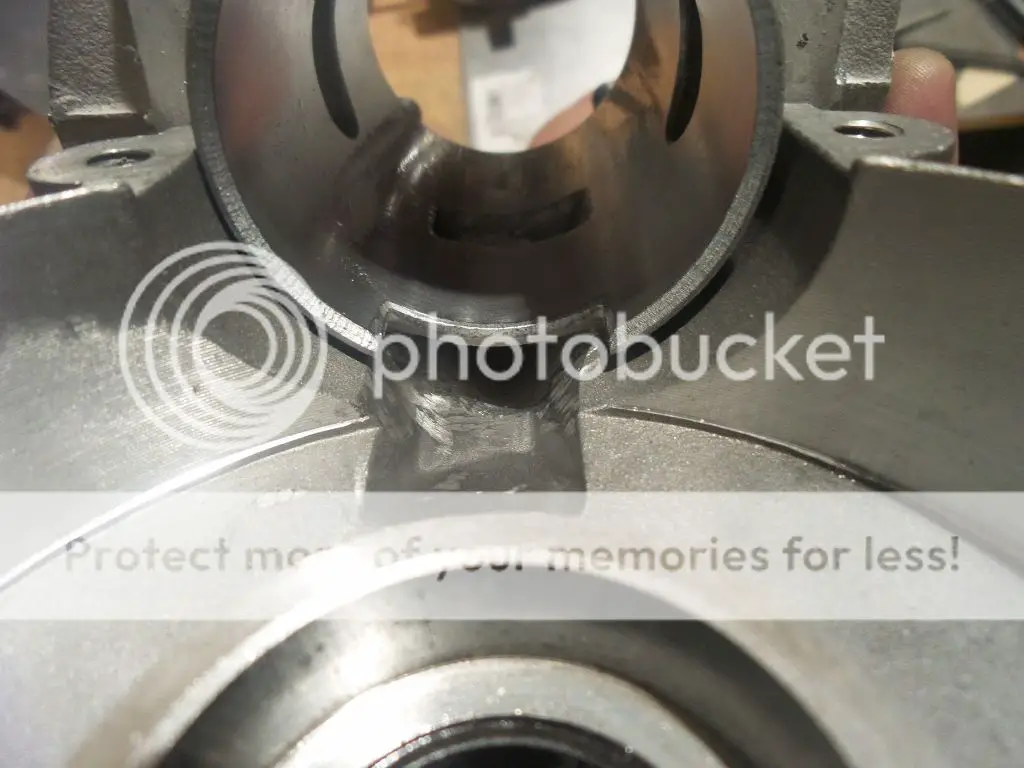
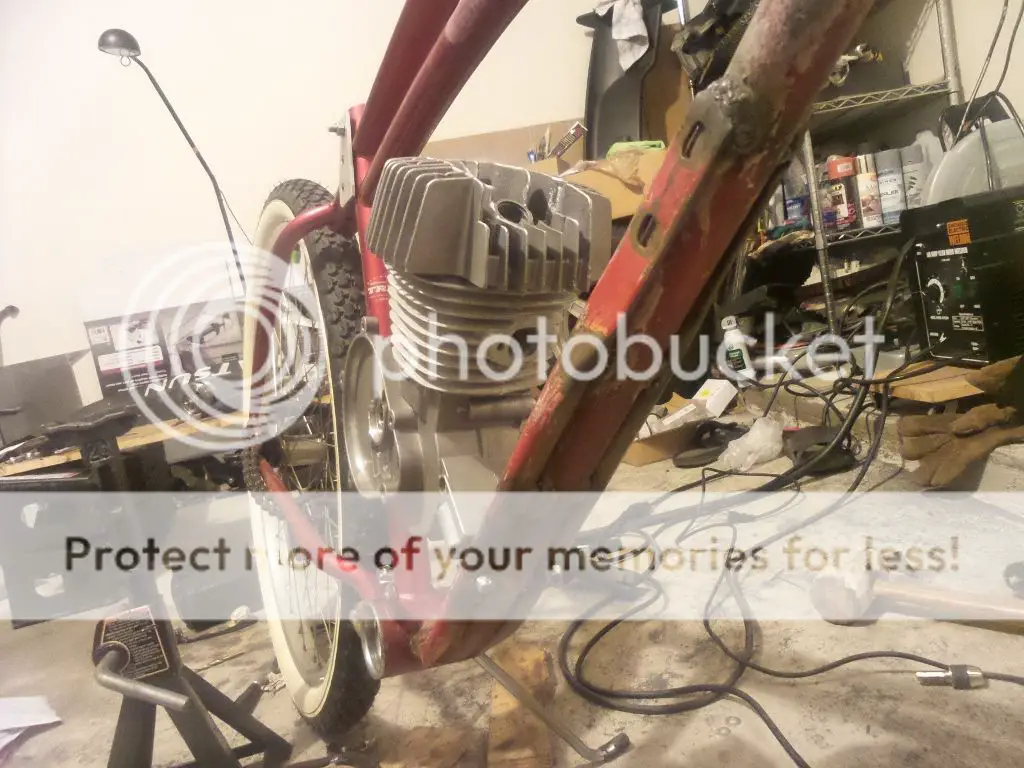
I'm liking the build but I'm a little concerned about your engine. A bent crank and connecting rod? Not good. Good luck.
Keep us informed.
Tom
Keep us informed.
Tom

I'm reluctant on using this crank but honestly... I doubt its any better from factory.I'm liking the build but I'm a little concerned about your engine. A bent crank and connecting rod? Not good. Good luck.
Keep us informed.
Tom

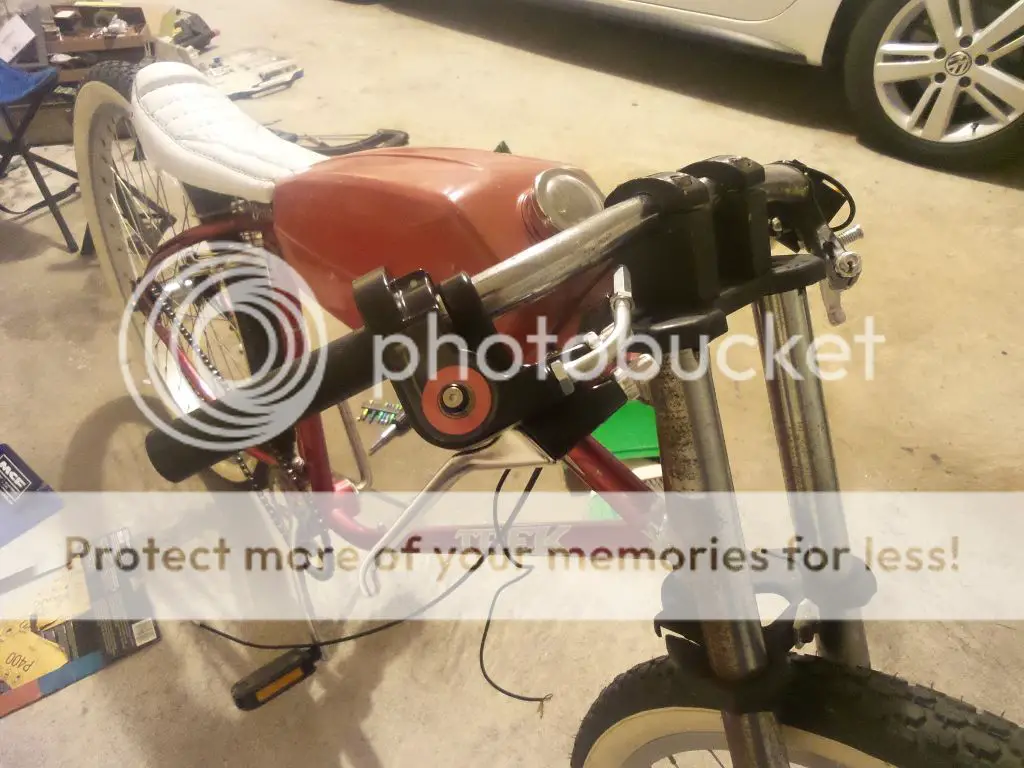
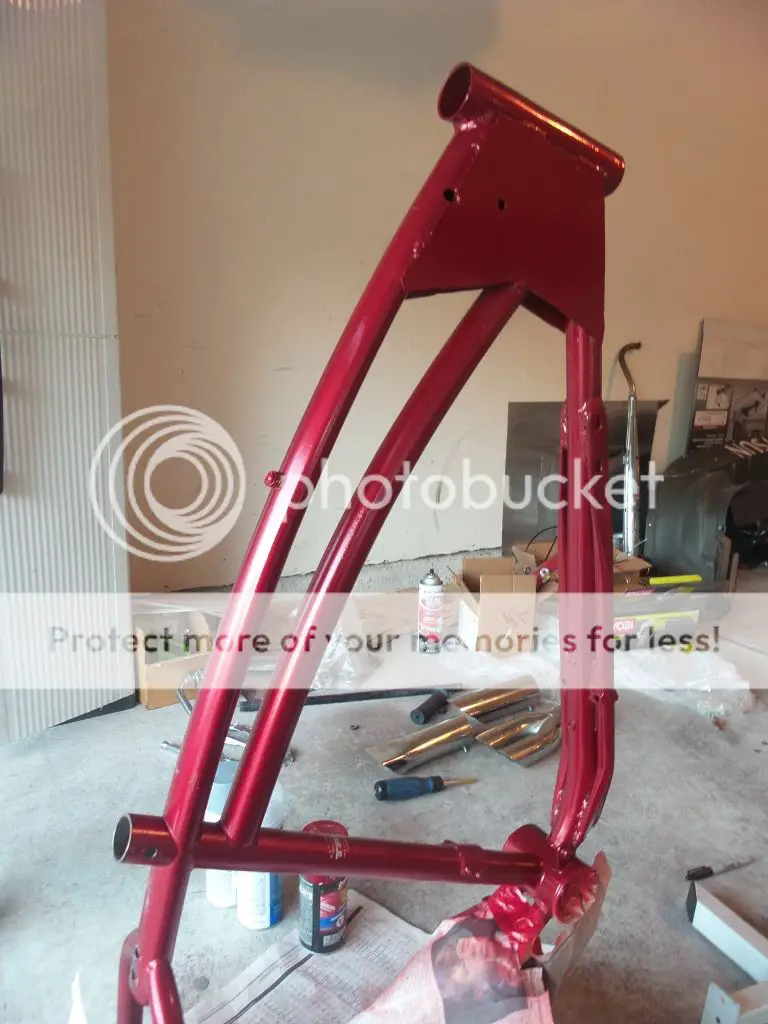
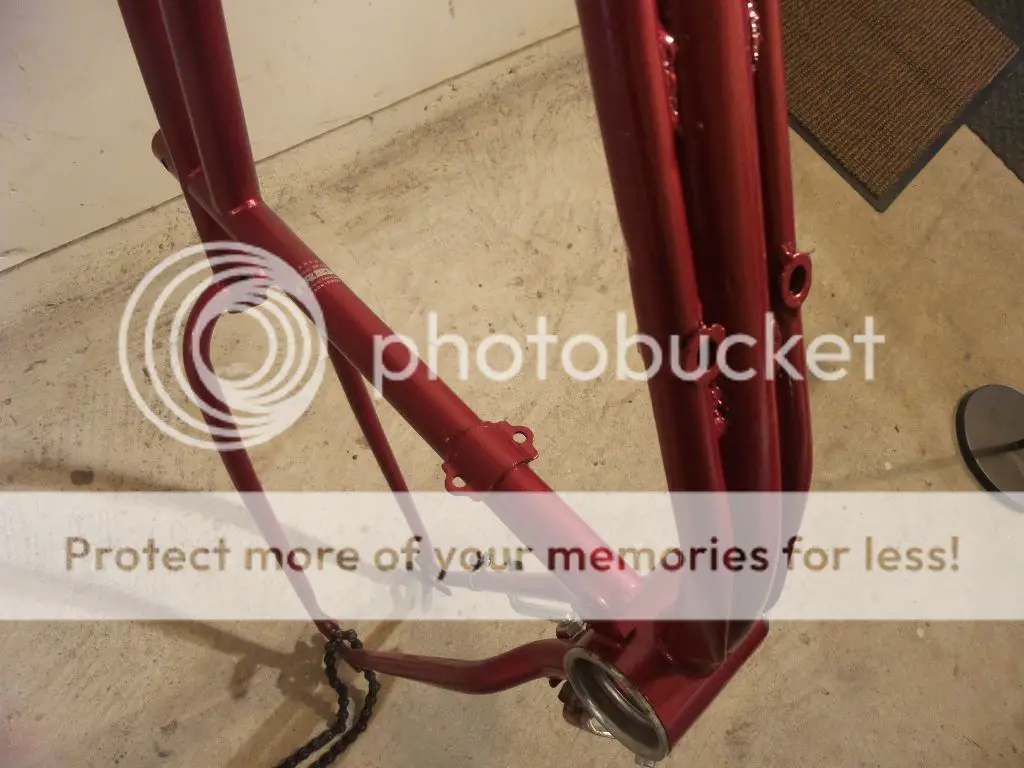
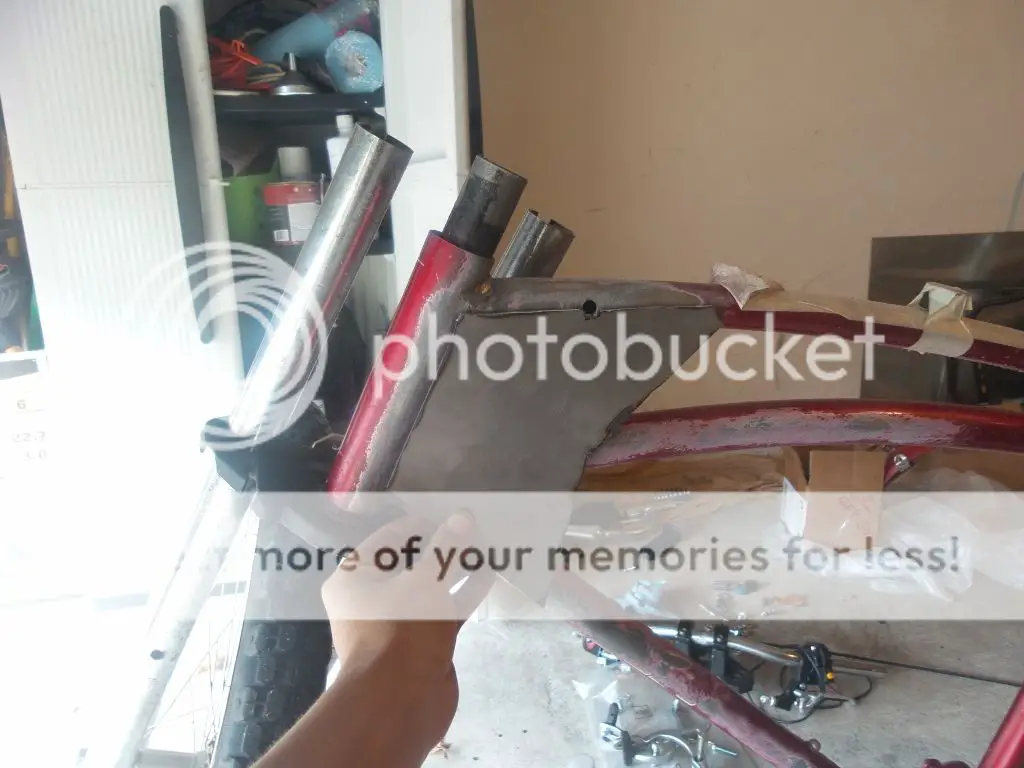
Thanks, I may add some gussets in the rear quarter of the bike... Don't know yet. I still need to fabricate a tensioner and I'll finally be finished with grinding and welding!I like the mounts nice and solid. And the guests should make a nice strong frame.............Curt
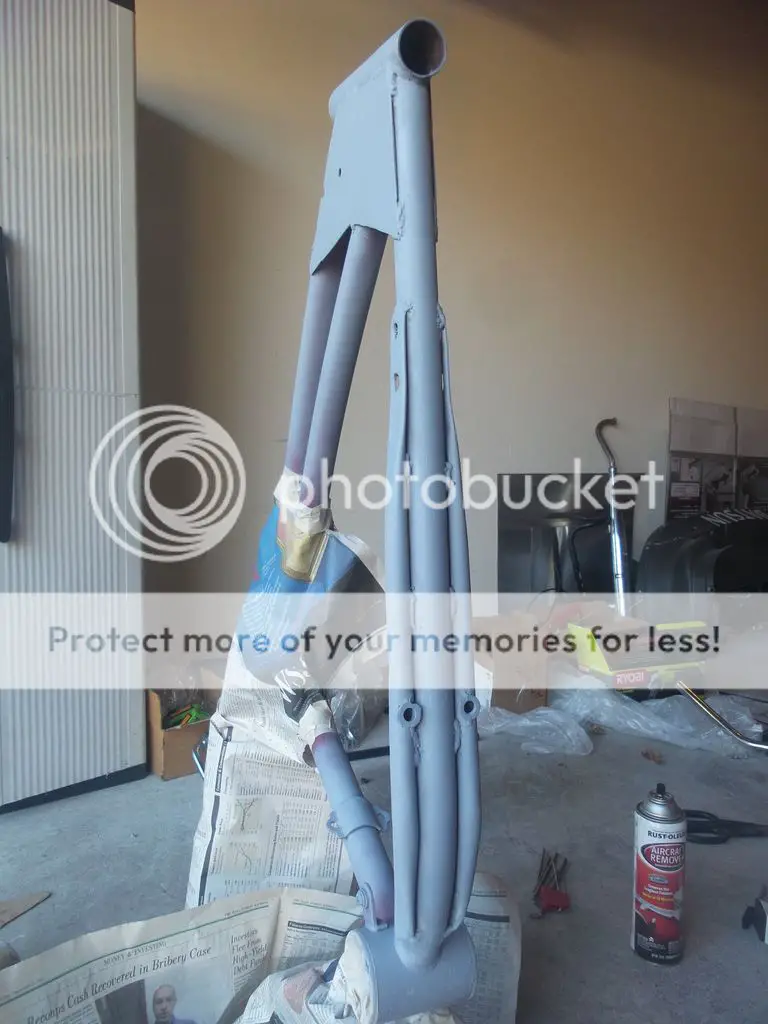
It's a 100 something bucks Harbor Freight welder man lol. Not optimal for welding thin wall tubing like these but it welds... Not sure how strong... Only one way to find out!beautiful build! man, i wish i had access to a welder.